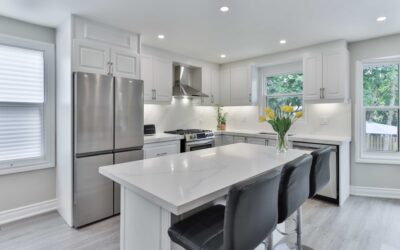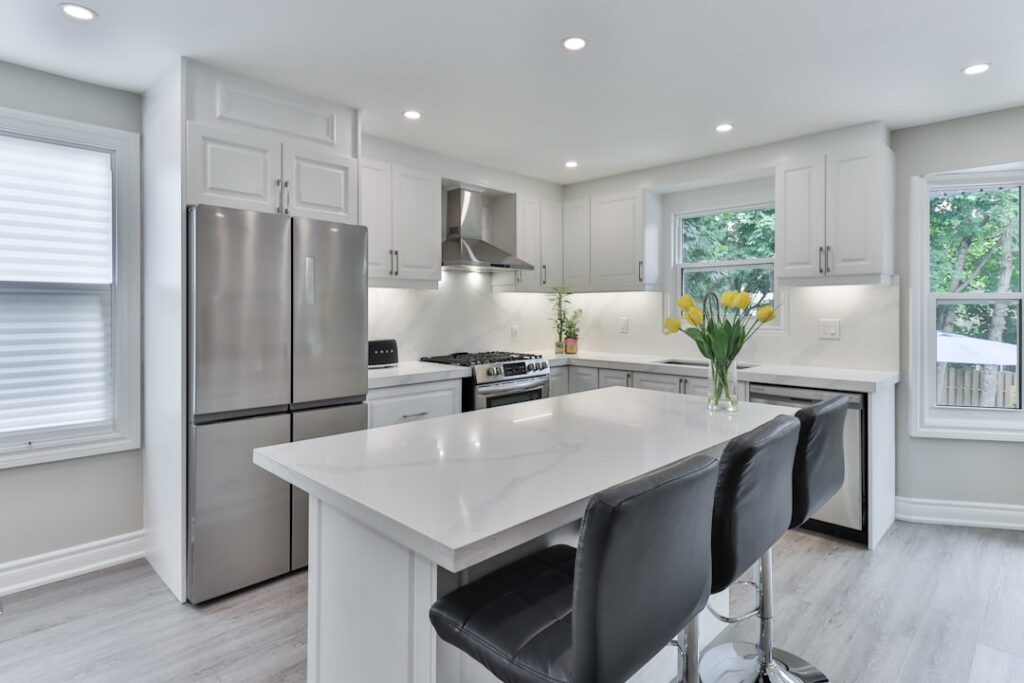
An island transforms a kitchen from a workspace into a hub. It adds storage, prep area, casual seating, and sometimes a second sink or cooktop. But the wrong island shrinks a kitchen by blocking traffic, ruining the work triangle, and creating awkward dead corners that nobody can reach. Smart kitchen layout ideas with island start with the room dimensions and walk lanes, not Pinterest inspiration. This guide breaks down the six layouts that consistently work, the clearances they require, and the island sizes that match.
Part of our Kitchen Remodeling guide — explore the full guide →
- The Minimum Room Size for an Island
- Layout 1: L-Shape with Center Island
- Layout 2: U-Shape with Inset Island
- Layout 3: Single-Wall with Parallel Island
- Layout 4: Two-Tier Island for Casual Dining
- Layout 5: Working Island with Cooktop
- Layout 6: Storage Island with No Sink or Cooktop
- Seating Calculations
- Outlets, Lighting, and Code
- Storage Layouts Inside the Island
- Common Island Mistakes
The Minimum Room Size for an Island
Before discussing styles, make sure the island fits at all. Industry guidance from the National Kitchen and Bath Association calls for 42 inches of clearance on all sides of an island where one cook works, and 48 inches where two cooks work or where appliance doors open into the aisle. A 4 by 2 foot island is the smallest typically functional. Add the clearances and you need a kitchen at least 10 by 8 feet — about 80 square feet — to support an island without crowding.
Galley kitchens narrower than 10 feet should consider a peninsula instead, where one end of the island connects to the wall.
Layout 1: L-Shape with Center Island
The most popular kitchen footprint pairs an L-shaped run of counters along two walls with a freestanding island parallel to one leg. Best for kitchens between 150 and 250 square feet. The island typically holds the prep sink or the cooktop, freeing the perimeter for cabinetry and the dishwasher.
Standard island size: 4 by 7 to 5 by 8 feet. Seating: 2 to 3 stools on the long side. Total project cost for a remodel into this layout: 25,000 to 50,000 dollars in 2026 with mid-grade finishes.
Layout 2: U-Shape with Inset Island
A U-shaped kitchen with three walls of cabinets gains a small inset island in the center. Works in larger rooms — minimum 200 square feet. The island here is usually 3 by 5 feet, prep-only, with no seating because the surrounding U already provides prep space.
This layout is the most efficient cooking layout in residential design but requires generous square footage. The work triangle stays tight on the perimeter while the island serves as a landing zone.
Layout 3: Single-Wall with Parallel Island
Long, narrow kitchens or open floor plans suit a single run of cabinets along one wall with an island running parallel. Minimum room dimensions: 10 by 16 feet. The island acts as a second counter run, often hosting the sink and dishwasher to keep plumbing on one side of the room.
Island size: 3 by 8 to 4 by 10 feet. Seating: 4 stools on the long side facing into the room. This layout is the choice for open-concept living spaces where the kitchen flows into the dining or family room.
Layout 4: Two-Tier Island for Casual Dining
A two-tier island raises one section to bar height (42 inches) while the cooking-side stays at counter height (36 inches). The bar level hides prep mess from the seating side and adds visual separation between cooking and dining zones. Useful in open-concept layouts where the kitchen faces a living room.
Trend note: single-level islands have outpaced two-tier in new construction since 2018 because designers prefer the cleaner look. Two-tier still works in transitional and traditional kitchens where some visual screening is desirable.
Layout 5: Working Island with Cooktop
Putting the cooktop on the island creates a focal point and lets the cook face the room while preparing meals. Requires a downdraft vent (rises from the counter) or an overhead range hood ducted through the ceiling. Both are more expensive than a wall-mounted vent: downdrafts run 1,200 to 3,500 dollars, and ceiling-mounted island hoods 800 to 4,000 dollars.
Plan for a minimum 9 inches of counter on each side of the cooktop and 15 inches behind for safety. The island needs to be at least 4 by 7 feet to absorb these clearances.
Layout 6: Storage Island with No Sink or Cooktop
The simplest and least expensive island holds nothing but storage and prep space. No plumbing, no electrical, no venting. Drop in a butcher block top and you have a chef’s table. Cost runs 2,500 to 8,000 dollars for a finished install, depending on cabinetry and counter material.
This is often the smartest first island for a budget-conscious renovation. You can add a prep sink later by running plumbing through the floor.
Seating Calculations
Each stool needs 24 inches of linear counter and 15 inches of knee depth under the overhang. So a 5-foot island accommodates 2 stools, a 7-foot island fits 3, and a 9-foot island holds 4. Counter overhang for stool seating should be 12 inches at counter height (36 inches) or 10 inches at bar height (42 inches). Less than that and knees hit the cabinet face.
Outlets, Lighting, and Code
The 2020 NEC requires at least one outlet on any island larger than 12 by 24 inches. Modern code allows the outlet to be on the side rather than the surface, which keeps the counter clean. Pendant lighting hangs 30 to 36 inches above the counter, with one pendant per 24 to 30 inches of island length. A 7-foot island typically takes two or three pendants.
Storage Layouts Inside the Island
The island base is the most underutilized storage zone in many remodels. Smart layouts include:
- Deep drawers for pots and pans on the cooking side
- A trash and recycling pull-out near the prep zone
- Cookbook shelving on a visible end
- A microwave drawer accessible from outside the work triangle
- Pull-out bins for produce or pet food
- A wine fridge or beverage drawer at the entertaining end
Common Island Mistakes
Three errors come up in most of the failed islands homeowners regret. Building too big — an 11-foot island in a 12-foot kitchen blocks circulation. Adding too many appliances — a sink, cooktop, microwave, and seating in one island clutters every zone. And ignoring sight lines — an island that blocks the view from the cooking zone to the dining area kills the open-concept benefit.
Before signing the design, walk through every common task in the proposed layout: groceries to fridge, prep to cooktop, plate to dishwasher. The path should never cross another work zone.