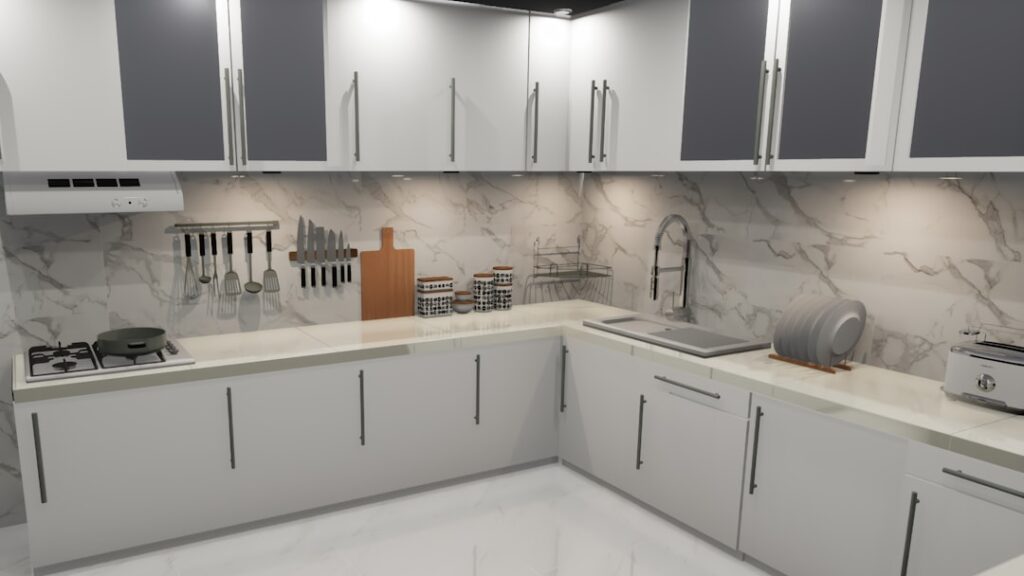
Nothing warms up a kitchen quite like real wood, and a kitchen with butcher block island delivers that warmth right at the heart of the room. The combination of a stone or quartz perimeter with a wood island has become a design staple because it balances durable, low-maintenance surfaces with a natural, hands-on centerpiece. But butcher block is a living material, and getting the look and longevity right comes down to choosing the right wood, pairing it thoughtfully, and committing to simple, regular care.
- Why Choose Butcher Block for the Island
- Types of Wood and Grain
- Pairing Butcher Block with Your Kitchen
- Sealing: Oil vs. Hard Finish
- How to Oil and Maintain Butcher Block
- Daily Cleaning and Protecting the Wood
- Refreshing a Worn Surface
- Sizing and Designing the Island
- Common Mistakes to Avoid
- The Bottom Line
Why Choose Butcher Block for the Island
Putting wood on the island rather than the whole kitchen is a smart compromise. You get the inviting, organic feel of a butcher block prep surface where you do most of your hands-on work, while keeping waterproof stone near the sink and stove. Wood is also forgiving on dropped glassware, naturally warm to the touch, and easy to refresh by sanding when it gets worn. For homeowners who want character without committing every countertop to maintenance, the island is the perfect place for it.
Types of Wood and Grain
- Maple: The classic choice, hard, pale, and tight-grained. Durable and budget-friendly.
- Walnut: Rich, dark, and luxurious. Softer than maple but stunning as a statement island.
- Oak: Strong with pronounced grain that adds rustic texture.
- Cherry: Warm reddish tone that deepens beautifully with age.
Grain construction matters too. Edge grain shows long, clean lines and is the most common and affordable. End grain, the checkerboard look you see on traditional chopping blocks, is the most durable for cutting and self-heals knife marks, but it costs more. Face grain shows the widest, most dramatic figure but scratches most easily, so it suits decorative islands over heavy cutting use.
Pairing Butcher Block with Your Kitchen
The magic of a butcher block island is contrast. Warm wood pops against cool surfaces and painted cabinetry. A few pairings that consistently work:
- White or light gray perimeter cabinets: Lets a natural maple or walnut island take center stage.
- Navy or deep green island base: A painted cabinet base under a wood top reads modern and intentional.
- Quartz or granite perimeter counters: Keeps the wet zones maintenance-free while the wood island handles prep.
- Black hardware and fixtures: Grounds the warm wood with crisp definition.
Match the wood tone to your flooring with care. If your floors are also warm wood, choose an island in a clearly different shade so the two don’t blur together into one muddy tone.
Sealing: Oil vs. Hard Finish
How you finish the wood determines how you’ll use and maintain it. There are two camps.
Food-safe oil finish: Mineral oil, or a beeswax-and-oil blend, soaks into the wood and keeps it food-safe for cutting directly on the surface. This is the choice if you want a true working butcher block. The trade-off is frequent reapplication.
Hard film finish: A penetrating tung oil that cures hard, or a durable polyurethane-style finish, creates a water-resistant barrier that needs far less upkeep. The downside is you can’t cut directly on it, and repairing a deep scratch means refinishing a section.
How to Oil and Maintain Butcher Block
For an oiled island, the routine is simple and quick:
- Apply a generous coat of food-grade mineral oil with a clean cloth, working with the grain.
- Let it soak in for several hours or overnight.
- Wipe off any excess that hasn’t absorbed.
- Repeat until the wood stops drinking the oil.
A common rule of thumb is “once a day for a week, once a week for a month, once a month forever,” tapering the frequency as the wood becomes saturated. In practice, re-oil whenever the surface looks dry, dull, or pale, often every one to three months with normal use. A periodic beeswax topcoat adds extra water resistance.
Daily Cleaning and Protecting the Wood
- Wipe spills promptly. Standing water is the enemy of wood.
- Clean with mild dish soap and a damp cloth, then dry immediately. Never let it soak.
- Avoid harsh chemicals and abrasive scrubbers that strip the oil.
- For odors or light sanitizing, a wipe of diluted white vinegar or a sprinkle of salt with a lemon half works well.
- Use trivets under hot pans, since heat can scorch or crack the finish.
- Keep the island out of direct, constant sunlight to limit fading.
Refreshing a Worn Surface
One of butcher block’s best traits is renewability. When the top gets scratched, stained, or dull, sand it back with progressively finer grits, wipe away the dust, and re-oil or refinish. Deep stains often disappear entirely after sanding. That ability to bring the surface back to like-new condition is something stone and laminate simply can’t offer.
Sizing and Designing the Island
The island itself needs to be planned with the same care as the countertop. Leave at least 36 to 42 inches of clearance around the island so people can move and open appliances comfortably. If you plan to add seating, allow roughly 24 inches of width per stool and a counter overhang of around 12 inches for legroom. Decide early whether the island will house a prep sink, a cooktop, or just open prep space, because those choices affect both the wood layout and how you’ll protect the surface from water and heat.
For a working butcher block, an oiled finish makes the most sense so you can cut directly on it. If the island will mostly serve as a serving and gathering spot, a hard, water-resistant finish keeps maintenance low. Many homeowners compromise by oiling one zone for chopping and keeping the rest sealed.
Common Mistakes to Avoid
- Letting water pool around a sink cutout, which causes the wood to swell and crack.
- Setting hot pans directly on the surface without a trivet.
- Forgetting to oil the underside and edges, which can lead to uneven moisture and warping.
- Using harsh disinfectant wipes daily, which strip the finish over time.
- Choosing a soft face-grain top for an island you’ll chop on hard.
Avoid these and your butcher block stays flat, sealed, and beautiful far longer.
The Bottom Line
A kitchen with butcher block island gives you a warm, functional centerpiece that balances perfectly against durable stone counters and painted cabinetry. Choose a wood and grain that match your cooking habits, pair it with contrasting cabinets for impact, and decide early between an oiled working surface or a low-maintenance hard finish. Stay on top of simple oiling and quick cleanups, and your island will only grow more beautiful with the years.