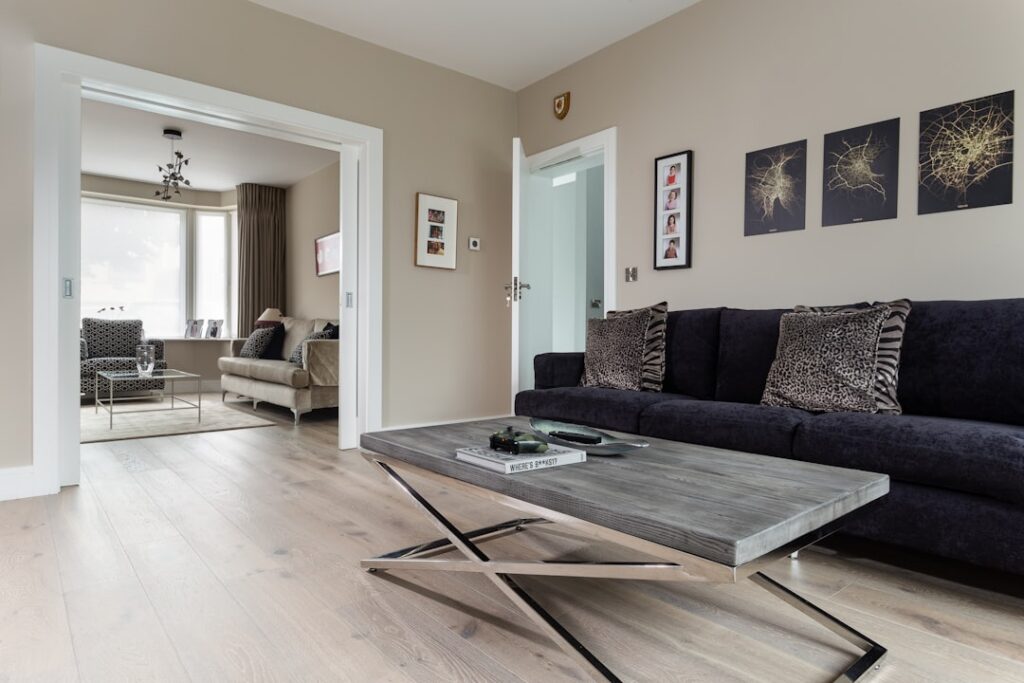
Laminate has been quietly evolving for two decades. The honey-oak, hollow-sounding planks of the early 2000s are gone, replaced by deeply embossed, water-resistant, AC5-rated products that pass for engineered hardwood under most lighting. Laminate floor covering still leads the price-to-performance curve, especially in homes where the foot traffic is heavy, the pets are big, and the floor needs to look good for 15-25 years on a real budget. The trick is knowing which specs to chase and which marketing words to ignore.
What Modern Laminate Actually Is
Every quality laminate plank is a four-layer sandwich:
- Wear layer – melamine resin reinforced with aluminum oxide
- Decor layer – high-resolution photographic paper showing the pattern
- Core – high-density fiberboard (HDF), 7-12 mm thick
- Backing – balancing paper that prevents cupping
The wear layer determines the AC rating, the decor layer determines how convincing the look is, and the core density determines acoustic feel and dent resistance. A 12 mm AC4 plank with a registered emboss (texture aligned with the printed grain) is the modern sweet spot for residential use.
AC Ratings: The Most Important Number
The Abrasion Class (AC) rating, set by the European Producers of Laminate Flooring (EPLF), runs from AC1 to AC6:
- AC1 – light residential, closets and guest rooms only
- AC2 – residential, low-to-moderate traffic
- AC3 – residential heavy traffic and light commercial – the typical Big Box minimum
- AC4 – heavy commercial, ideal for entire homes with kids and pets
- AC5-AC6 – intense commercial use; airports, public buildings
For a primary residence, AC4 is the cost-effective sweet spot. The premium over AC3 is usually $0.50-$1.00 per sq ft, and the lifespan extension is roughly double in real-world conditions.
Realistic 2026 Pricing
Laminate floor covering pricing has held remarkably steady. Material plus labor:
- Builder-grade AC3 8 mm: $1.50-$2.50 per sq ft material; $4-$6 installed
- Mid-range AC4 12 mm: $2.50-$4.50 per sq ft material; $6-$9 installed
- Premium water-resistant AC5: $4-$7 per sq ft material; $8-$12 installed
- Underlayment with vapor barrier: $0.30-$0.80 per sq ft
- Subfloor prep (leveling, patching): $0.50-$2.00 per sq ft
For a 1,200 sq ft installation, expect $7,200-$10,800 total at the mid-range. Compare to engineered hardwood at $13,000-$19,000 for the same coverage, and the value case for laminate is clear when you do not need the resand-ability of real wood.
Water-Resistant vs Waterproof Claims
Most modern laminates advertise water resistance. Read the spec carefully. “Water-resistant” usually means the surface and edges resist surface spills for 24-72 hours – fine for the kitchen if you mop up the dog water bowl promptly. “Waterproof” laminate uses a sealed HDF core or a hybrid SPC-laminate construction that survives standing water; AquaGuard, RevWood Premier, and Pergo Outlast Plus are well-known examples.
For full bathrooms, basements, and laundry rooms, choose a waterproof line or step up to luxury vinyl plank (LVP). Standard laminate in any of those rooms is a future repair bill.
Installation: The Floating Floor Done Right
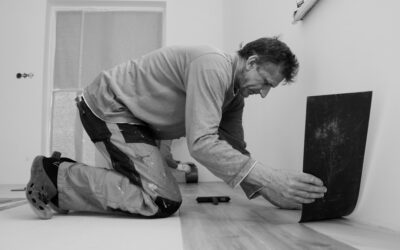
Laminate is a floating floor – it does not glue, nail, or staple to the subfloor. The full install workflow:
- Acclimate planks in the room for 48-72 hours, opened boxes
- Confirm subfloor is flat to 3/16 inch within 10 ft
- Install a quality underlayment with vapor barrier on concrete
- Plan plank direction along the longest line of sight
- Maintain 1/4 to 3/8 inch expansion gap at every wall
- Stagger end joints 8-12 inches minimum
- Use a tapping block – never a hammer directly on plank edges
- Reinstall baseboards or quarter-round to cover the expansion gap
The expansion gap is non-negotiable. Skip it on a 30 ft run and the floor buckles into a tent within the first humid summer.
Underlayment: Cheap Insurance
The underlayment is not optional, even if the plank has an attached pad. The right underlayment provides three benefits: vapor barrier on concrete, sound dampening for upstairs installs, and minor smoothing of subfloor imperfections. Quality choices:
- Roberts Quiet Cushion 2-in-1 – good general-purpose option, $0.40 per sq ft
- Floor Muffler UltraSeal – high-end acoustic, $0.85 per sq ft
- MP Global Insulayment – premium for upstairs, $1.10 per sq ft
Skip the rolls of cheap foam – they crush within a year, transmit sound, and offer no real vapor protection. Match the underlayment to the substrate (concrete needs vapor barrier; plywood does not always).
Care, Cleaning, and Common Mistakes
Laminate is famously low-maintenance, but two common mistakes ruin floors fast. Mistake one: wet-mopping with too much water. The HDF core swells if water reaches it through plank seams or expansion gaps. Use a damp mop only – microfiber spray mops like the Bona Hard-Surface Floor Mop work well. Mistake two: harsh cleaners. Avoid vinegar (etches the wear layer over years), ammonia, and any wax or oil-based polish. Manufacturer-approved laminate cleaners or a 1:8 dilution of clear dish soap are safe.
Felt pads on all furniture, walk-off mats at exterior doors, and prompt cleanup of spills give a quality laminate floor a 20-year service life. Choose the right AC rating, install with the correct expansion gap, and respect the cleaning rules – laminate floor covering will reward the discipline with two decades of low-cost, good-looking flooring.
Repairs and Replacement Planks
One legitimate weakness of laminate is repair complexity. Unlike LVP, which often clicks together loosely enough to pop a damaged plank out from the middle of a room, most laminate repair requires unclicking from the nearest wall to the damaged plank, replacing it, and reinstalling the path. For minor surface damage – small chips and scratches under 1/4 inch – color-matched filler markers and wax sticks (Mohawk Fill Stick, Bona Touch-Up Markers) hide the imperfection well enough to defer the full replacement. Buy two extra cartons at install time and label them clearly in the basement; manufacturers discontinue colors and runs faster than you would expect, and matching a 7-year-old plank to current inventory is often impossible. For bigger damage – water swelling, deep gouges, burns – replacement is the only fix. Plan on roughly 30 minutes per plank for the experienced DIYer, longer for plank near built-ins or cabinets.
Prefer to explore on your own?
See how new flooring looks in your actual room in seconds — free, no signup.
Try the free Floor Studio →