
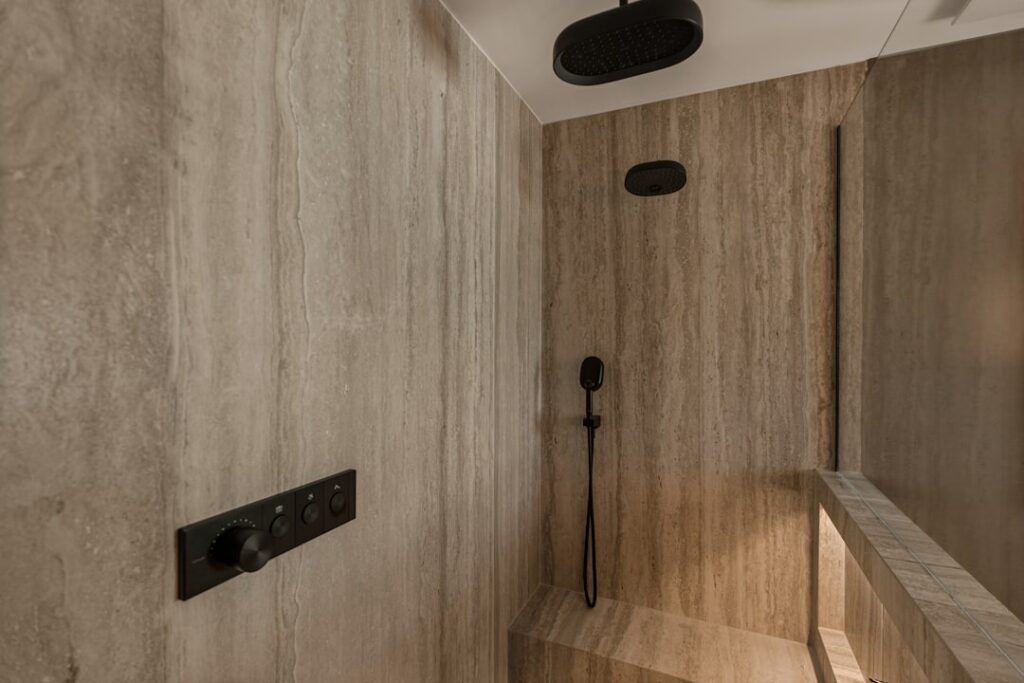
A recessed shampoo shelf is useful; a recessed shampoo shelf that glows is the detail guests notice the moment they walk in. An LED shower niche adds soft, indirect light to the most functional cubby in your bathroom, turning a practical feature into a design statement. The catch is that an LED shower niche puts electricity inside a wet, tiled box, so the waterproofing and product choices have to be right.
Part of our Bathroom Remodeling & Flooring guide — explore the full guide →
I have installed these in everything from tiny guest baths to giant primary showers, and the successful ones all share the same fundamentals. Here is how they work, what they cost, and how to build one that lights up for years without a single short.
- What an LED Shower Niche Is and Why Add One
- Choosing the Right LED Strip
- Waterproofing Around the Light
- Powering and Wiring the Niche
- Installation Step by Step
- Cost of an LED Shower Niche
- Where to Position the Light for the Best Glow
- Single Color vs Color-Changing Options
- Retrofitting an LED Niche Into an Existing Shower
- Maintenance and Common Mistakes
What an LED Shower Niche Is and Why Add One
An LED shower niche is a standard recessed wall niche, the built-in shelf that holds soap and bottles, with a low-voltage LED light strip integrated to illuminate it. The light is usually hidden behind the lip of the niche or under a shelf so you see the glow, not the diodes.
Beyond looks, the practical benefit is real. A lit niche makes it easy to find products in a dim shower, adds a warm ambient glow that softens a hard-tiled room, and, with a color-changing option, can even signal water temperature. It is one of the highest-impact, lowest-cost upgrades in a shower remodel.
Choosing the Right LED Strip
Not every LED strip belongs in a shower. The strip and its power path must be suited to a wet, humid environment. Key features to look for:
- Waterproof rating: at minimum IP65, ideally IP67, so splashing and humidity cannot reach the circuitry.
- Low voltage: 12V or 24V DC strips, powered by a transformer located safely outside the wet zone.
- Color temperature: around 2700K to 3000K for a warm, spa-like glow, or an RGB/RGBW strip if you want color options.
- Encased silicone sleeve: a sealed silicone jacket over the strip adds durability and easy cleaning.
Buy a slightly longer run than you think you need so you can position the strip precisely behind the lip. Cheap, non-waterproof strips will corrode and fail within months in a shower, so this is not the place to cut corners.
Waterproofing Around the Light
The niche itself must be waterproofed exactly like the rest of the shower, which means a continuous membrane, either liquid-applied like RedGard or a sheet system like Schluter-Kerdi, wrapping the entire niche box and sealed to the surrounding wall membrane. A prefabricated foam niche is the easiest way to guarantee this, since it bonds directly into the waterproofing system.
The LED strip is installed after the niche is fully waterproofed and tiled, mounted behind the finished tile lip so the membrane is never penetrated by the light. The transformer and any wiring connections stay completely outside the shower, typically in an adjacent wall cavity, vanity, or accessible junction box. Water and the low-voltage strip can coexist; water and the transformer or wire splices cannot.
Powering and Wiring the Niche
Because the strip runs on 12V or 24V DC, you need a driver, essentially a small transformer, that converts household power. This driver must be placed in a dry, accessible location, never inside the shower. A common approach is to run low-voltage wire from the strip, through a sealed penetration behind the tile, to the driver in the adjacent wall or vanity.
Have a licensed electrician handle the line-voltage connection to the driver and confirm the circuit is on a GFCI-protected outlet or breaker. You can control the niche with a simple switch, a dimmer rated for LED loads, or a remote for RGB strips. Plan the wiring path during the rough-in stage; retrofitting power to an existing tiled niche is far messier.
Installation Step by Step
The build sequence keeps everything dry and hidden:
- Frame or set the niche during rough-in, sizing it for your bottles, commonly 12 to 16 inches wide and 14 to 20 inches tall.
- Run the low-voltage wire to the niche location and out to the future driver spot.
- Waterproof the entire niche and shower with a continuous membrane and flood-test the pan.
- Tile the niche, positioning the front lip or a shelf so it will conceal the strip.
- Mount the IP-rated LED strip behind the lip after tile and grout cure.
- Connect the strip to the driver outside the wet zone, and have the electrician finalize power.
Test the light before final sealing so you can reposition the strip if the glow is uneven. Even, indirect light with no visible dots is the goal.
Cost of an LED Shower Niche
The upgrade is surprisingly affordable relative to its impact. The LED components, an IP-rated strip, driver, and dimmer or remote, typically run $50 to $200. A prefabricated waterproof niche costs $30 to $120. If your tile setter and electrician are already on site for a remodel, the added labor is modest, often $150 to $500.
All in, adding lighting to a niche you were building anyway usually lands between $300 and $800. For a standalone retrofit into an existing shower, expect more because of the wiring and tile work involved. Either way, few upgrades deliver as much visual payoff per dollar.
Where to Position the Light for the Best Glow
Placement makes or breaks the effect. The most flattering result comes from hiding the strip behind the front lip of the niche so light washes back and up onto the tile, and you never see the individual diodes. Mounting the strip along the top interior edge, pointing down, lights the shelves and the products on them. Running it along the bottom front lip casts an upward glow that reads as ambient mood lighting.
For a tall or long niche with a mid-shelf, a strip tucked under that shelf lights the lower compartment and adds depth. Whatever position you choose, aim for indirect light; a strip pointed straight at the viewer creates harsh dots and glare. Test the placement before final sealing, because moving a strip after the silicone cures means peeling everything back out.
Single Color vs Color-Changing Options
Deciding between fixed white and color-changing light comes down to how you will actually use it. A fixed warm white around 2700K to 3000K delivers the spa glow most homeowners want, costs the least, and needs only a simple switch or dimmer. It is the choice I recommend for the majority of bathrooms because it looks intentional and timeless.
An RGBW strip adds full color plus a true white channel, controlled by a remote or app. Some homeowners tie the color to water temperature, set relaxing scenes, or match a mood. The trade-off is a controller to house in the dry zone, a higher price, and one more thing that can fail. If you love the idea and will use it, go RGBW; if you suspect it will sit on warm white forever, save the money and buy a quality fixed-white strip.
Retrofitting an LED Niche Into an Existing Shower
Adding light to a niche that is already tiled is possible but far more involved than doing it during a remodel. The challenge is getting power to the niche without breaking the waterproofing. In some cases you can surface-mount a slim, fully sealed IP67 strip inside the existing niche and run the low-voltage wire out through a discreet sealed penetration to a driver in the adjacent wall or vanity, then reseal thoroughly.
If no wiring path exists, a battery-powered, rechargeable, waterproof LED puck or motion strip designed for showers is a no-demolition option, though you will need to recharge it periodically. For a hardwired retrofit, weigh the cost and risk of cutting into finished tile; often it makes more sense to wait until the next shower update. When you do build a new shower, always run the low-voltage wire during rough-in so a lit niche is a simple add later.
Maintenance and Common Mistakes
Once installed, an LED shower niche needs little care. Wipe the strip and tile as you clean the rest of the shower, and avoid harsh abrasive cleaners on the silicone sleeve. Quality IP67 strips last 30,000 to 50,000 hours, so a failure usually points to a poor-quality strip or moisture reaching the connections.
The mistakes I see most are using non-waterproof strips, placing the driver inside the wet zone, and skipping the niche waterproofing because “the light will seal it.” None of those shortcuts hold up. Respect the low-voltage rule, keep every connection dry, waterproof the niche completely, and your glowing shelf will look as good in ten years as it did on day one.


