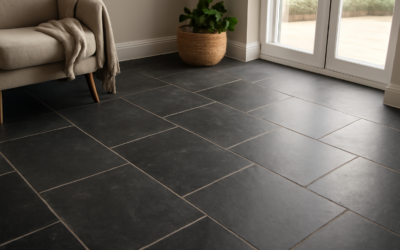
Few materials bring the soft, quarried elegance of natural stone quite like limestone, and on a wall it shows off that character without the traffic and moisture demands of a floor. Limestone wall tile gives you the honeyed neutrals, subtle fossil patterns, and matte depth that manufactured tile spends fortunes trying to imitate. Used on a fireplace surround, a shower wall, or a kitchen backsplash, it reads as timeless and expensive because it is a real sedimentary stone, formed over millions of years. The payoff is genuine beauty; the responsibility is understanding how a porous, relatively soft stone behaves before you commit.
Part of our Tile & Grout guide — explore the full guide →
What Limestone Is and How It Looks
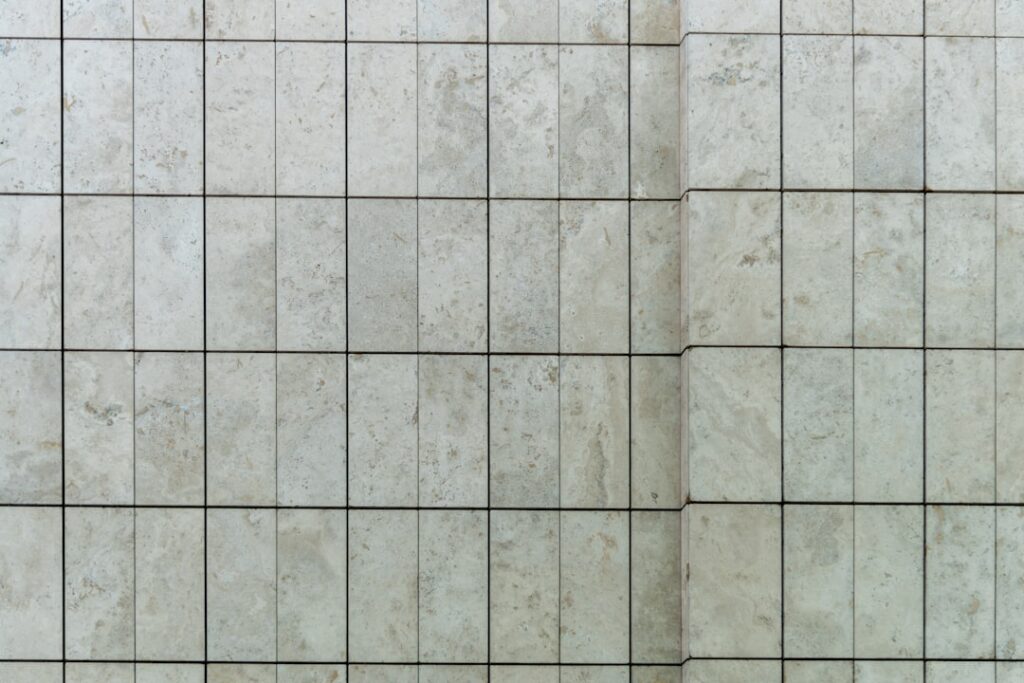
Limestone is a sedimentary rock made mostly of calcium carbonate, formed from ancient marine sediment. That origin gives it its signature look: soft, warm neutrals in cream, beige, tan, gray, and buff, often with faint veining and occasional fossil imprints that add organic interest. No two tiles are identical, which is exactly the appeal for homeowners tired of the repetition in printed porcelain.
Because it is calcium-based, limestone is softer than granite or porcelain and more reactive to acids. On a wall, that softness matters far less than it would underfoot, which is why walls are one of the best places to use it. You get all the natural beauty with much lower risk of the scratching and wear that limestone floors can suffer in busy rooms.
Finishes and How They Change the Look
The finish you choose dramatically shifts both appearance and performance. Limestone wall tile comes in several surface treatments, each suited to a different style.
- Honed: a smooth matte finish, the most common for walls, showing the stone’s natural color cleanly.
- Tumbled: softened, rounded edges and a worn face for a rustic, old-world feel, popular for backsplashes.
- Brushed: a lightly textured surface that adds subtle depth without looking distressed.
- Polished: less common for limestone since the stone rarely takes a high gloss, but available for a more formal look.
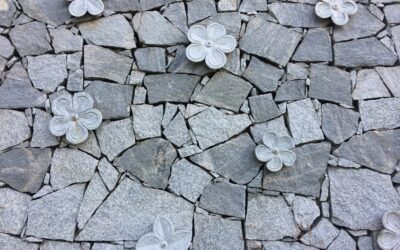
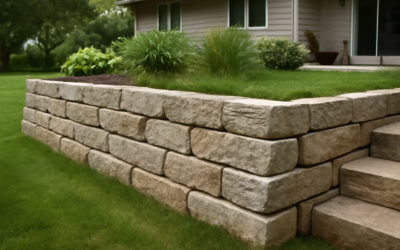
- Split-face or ledgestone: stacked strips with a three-dimensional cleft face, dramatic on a fireplace or accent wall.
For a shower or backsplash, honed and tumbled finishes dominate because their matte surfaces hide water spots and fit both traditional and transitional interiors.
Where Limestone Wall Tile Works Best
Limestone shines in vertical applications where its softness is not a liability. A fireplace surround is a classic use, where the stone’s warmth suits the fire and there is no water or foot traffic to worry about. Kitchen backsplashes are another favorite, though you should seal the stone well because tomato sauce, vinegar, citrus, and wine are acidic and will etch unsealed limestone.
Shower and tub walls work beautifully with limestone provided the installation is properly waterproofed and the stone is diligently sealed. Accent walls in living rooms, entryways, and bedrooms let the material act as a design statement without any performance demands at all. The rule of thumb is simple: the drier and lower-contact the wall, the easier limestone is to live with.
The Sealing Reality You Must Accept
Limestone is porous, and porosity is the defining maintenance fact of this stone. Left unsealed, it absorbs water, oils, and stains, and acidic substances etch dull spots into the surface. That is not a reason to avoid it; it is a reason to seal it correctly and keep up with the routine.
Apply a penetrating (impregnating) sealer before grouting so the grout does not stain the stone, then again after grouting. In a shower or backsplash, plan to reseal every six to twelve months, and use only pH-neutral, stone-safe cleaners. Never reach for vinegar, bleach, or generic bathroom sprays; the acids and harsh chemicals will damage the surface. A simple water-drop test tells you when it is time to reseal: if water beads on the surface, the sealer is working, and if it soaks in and darkens the stone, it is time for another coat.
What Limestone Wall Tile Costs
Limestone wall tile typically runs $4 to $15 per square foot for the material, depending on the grade, finish, and format. Standard honed field tile sits at the lower end, while tumbled, brushed, and specialty ledgestone or mosaic pieces climb higher. Premium and rare limestones can exceed $20 per square foot.
Installation adds $8 to $15 per square foot because natural stone takes more care to set than porcelain: it requires a white thinset to avoid discoloration, careful handling of a softer material, and often pre-sealing before grouting. Intricate patterns, mosaics, and split-face installations raise labor further. Budget an extra 10 to 15 percent of material for cuts and breakage, and buy from a single lot so color and veining stay consistent across the wall, since natural variation between batches can be significant.
Installation Details That Matter
Setting limestone on a wall demands attention to a few specifics. Use a white polymer-modified thinset rather than gray, because gray thinset can bleed through the lighter, porous stone and shadow the finished surface. In a shower, a waterproofing membrane behind the backer board is mandatory; the stone and grout are not a water barrier on their own.
Pre-seal each tile before grouting so pigment from the grout does not lodge in the pores and permanently discolor the face. Handle the tiles gently, since limestone chips more easily than porcelain, and dry-cut with a stone blade to avoid overheating and staining. Keep grout joints consistent, and choose a grout color that complements the stone’s natural tone rather than fighting it. A thin, close-matched grout line lets the limestone’s veining and color read as a continuous, quarried surface.
Grout, Layout, and Design Choices
Because limestone is a natural product with variation from tile to tile, the way you lay it out shapes the final effect. Before setting anything, dry-lay several square feet on the floor and shuffle the tiles to distribute the lighter and darker pieces evenly, rather than clustering all the pale tiles in one corner. This blending step takes twenty minutes and is the difference between a wall that looks intentionally quarried and one that looks patchy.
Grout color is a design decision as much as a practical one. A grout matched closely to the limestone’s dominant tone lets the stone read as a continuous surface and downplays the grid, which suits a large feature wall. A slightly contrasting grout defines each tile and can highlight a tumbled, old-world backsplash. Whatever you choose, keep the joints tight and uniform, and consider a stain-resistant grout since limestone walls in kitchens and baths face splashes that ordinary cementitious grout absorbs and discolors over time.
Pros, Cons, and the Verdict
The advantages of limestone wall tile are real: genuine natural beauty, warm neutral tones that flatter almost any palette, unique character in every tile, and a timeless quality that never looks like a passing trend. The drawbacks are equally real: it is porous, requires diligent sealing, reacts to acids, and costs more to buy and install than porcelain that mimics its look.
The decision comes down to how you value authenticity against maintenance. If you want the true depth and irregularity of natural stone and you are willing to seal it and clean it gently, limestone wall tile rewards you with a surface no printed tile can match. If you want the look with zero upkeep, a quality limestone-look porcelain gets you most of the way there for less money and no sealing. Either path is valid; just go in knowing exactly which trade-off you are choosing so your finished wall delights you rather than surprising you a year later.
Prefer to explore on your own?
See how new flooring looks in your actual room in seconds — free, no signup.
Try the free Floor Studio →