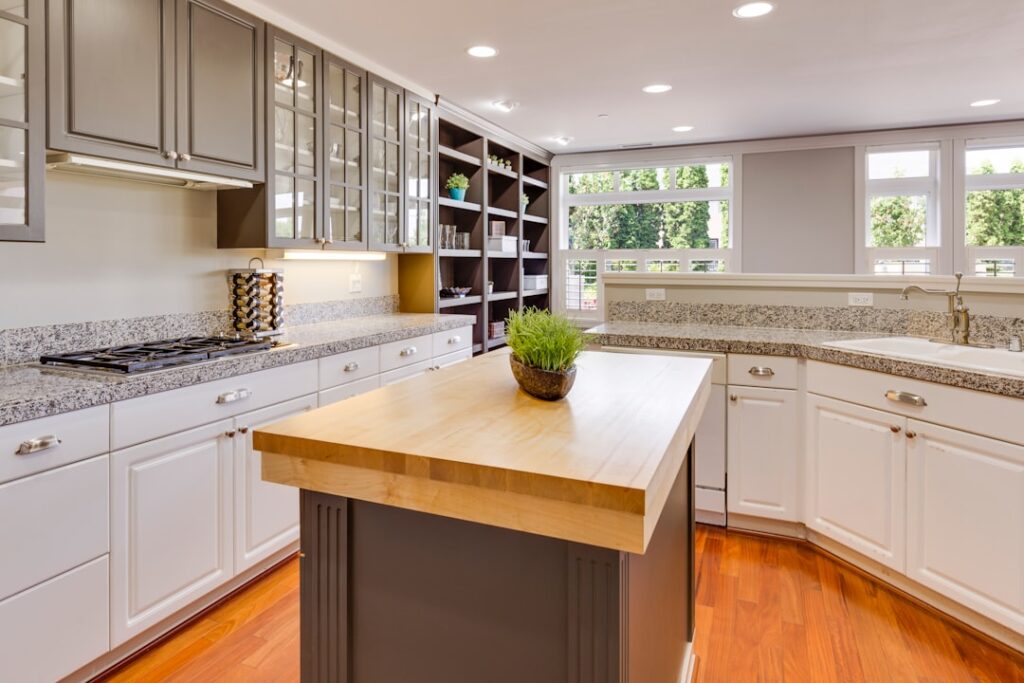
Opening up a closed kitchen by taking out the wall between it and the living room is one of the most requested renovations there is, and it often gets paired with a new island in the freed-up space. Planning a load bearing wall kitchen island with support beams means understanding how the roof and floor loads that the wall carries will be rerouted through a beam and down into posts. This is genuinely structural work, and while this guide explains how it functions, removing a load-bearing wall always requires a structural engineer’s design, a building permit, and licensed contractors. Treat any do-it-yourself temptation with extreme caution.
Below is a plain-language look at how the load transfer works, the parts involved, roughly what it costs, and where the island fits into the picture.
First, Confirm Whether the Wall Is Load-Bearing
Not every wall holds weight, but you cannot assume. A load-bearing wall carries the weight of the roof, upper floors, or ceiling joists down to the foundation. Removing one without replacing its support can cause sagging floors, cracked drywall, sticking doors, or in the worst case a partial collapse.
Signs a wall is likely load-bearing include:
- It runs perpendicular to the floor or ceiling joists above it.
- It sits roughly in the center of the house or stacks over a beam or wall in the basement below.
- It continues in the same line on multiple floors.
- You can see joists resting on top of it or a beam directly below it.
Only a structural engineer or qualified contractor can confirm this for certain, often by inspecting the attic, basement, and framing. Never rely on a guess. The engineer’s assessment is the foundation of the entire project.
How the Load Gets Transferred to a Beam
When you remove a load-bearing wall, the weight it carried does not disappear. It has to travel somewhere. The solution is to install a horizontal beam, sometimes called a header when it spans an opening, where the wall used to be. That beam picks up the load from the joists above and carries it sideways to vertical posts at each end, which then send the load straight down through the floor structure to the foundation.
The chain of support looks like this:
- Joists above bear down on the new beam.
- The beam spans the open area and collects that load.
- Posts (or columns) at each end of the beam carry the load down.
- A continuous load path runs through the wall framing, the floor, and ideally onto a footing or existing foundation element strong enough to accept the concentrated weight.
The engineer calculates the size of the beam and posts based on the span, the weight above, snow and roof loads, and local code. Getting any of these numbers wrong is dangerous, which is exactly why this is not a guessing game.
Types of Support Beams
The right beam depends on the span and load. Common choices include:
- LVL (laminated veneer lumber): Engineered wood beams built from bonded layers. Strong, consistent, and popular for residential openings. Often several plies bolted together.
- Glulam: Glue-laminated timber, sometimes left exposed for an architectural look.
- Steel I-beams (W-beams): Used for long spans or heavy loads where a wood beam would be impractically deep. Heavier and pricier to install, sometimes requiring a crane or many hands.
- Flush vs. dropped beams: A flush beam sits up inside the ceiling for a clean, uninterrupted look but is more labor-intensive; a dropped beam hangs below the ceiling line and is simpler and cheaper.
Temporary Shoring During the Work
Before the wall comes out, the crew must support the load temporarily so nothing shifts. This is called temporary shoring: a wall of adjustable steel posts or a stud wall built a few feet back from the existing wall, on each side if needed, to hold up the joists while the old wall is removed and the permanent beam is installed. Shoring must be placed correctly and sit on something capable of carrying the load. Skipping or misplacing it is how ceilings crack and crews get hurt. This step alone is a strong reason the job belongs to experienced professionals.
Where the Island Comes In
Homeowners often want the new island positioned near where the wall stood, which raises two structural questions. First, if the beam is a dropped beam, some designs use a post that lands right at the edge of the island; a few designs even conceal a support post inside a decorative column or a cabinet at the end of the island. Second, the island itself does not carry structural load, but its location must not interfere with the posts that do. The engineer and designer coordinate so that the required posts either tuck neatly against a wall, hide inside a pantry or cabinet run, or become an intentional design feature, rather than landing awkwardly in the middle of your walkway.
Islands also add plumbing and electrical considerations. If the removed wall contained wiring, outlets, switches, or pipes, those services must be rerouted, which adds to the scope and cost. Building codes require outlets on islands, so plan for a power source that does not conflict with the new framing.
Permits, Professionals, and Why They Matter
This cannot be overstated: taking out a load-bearing wall is regulated construction. You will almost always need a building permit, and the permit office will require stamped structural drawings from a licensed structural engineer showing the beam and post sizes and the load path. Inspectors typically check the work at framing stage before it is closed up. The people who should be involved are:
- A structural engineer to design the beam, posts, and connections.
- A licensed general contractor to build it, handle shoring, and coordinate trades.
- Licensed electricians and plumbers if services must move.
- Your local building department for permits and inspections.
Doing this without a permit can void your homeowner’s insurance, create problems when you sell, and, far worse, put your family at risk if the structure is undersized. Frame any DIY ambitions very cautiously; demolition and finish carpentry might be within a skilled homeowner’s reach under a pro’s supervision, but the structural design and load transfer are not weekend-warrior territory.
What It Costs
Budgets vary widely by span, beam material, and whether services must be rerouted, but rough ranges help set expectations:
- Structural engineer’s assessment and drawings: $500 to $2,000.
- Removing a load-bearing wall and installing a beam: commonly $4,000 to $10,000, and $10,000 to $20,000 or more for long spans, steel beams, or multi-story loads.
- Permit fees: $200 to $1,000 depending on jurisdiction.
- Rerouting electrical and plumbing: $1,000 to $5,000 if the wall carried services.
- The island itself, cabinetry, and finishes: a separate line item, often several thousand dollars.
A realistic all-in figure for an open-concept conversion with a new island frequently lands between $10,000 and $30,000.
Frequently Asked Questions
Can I remove a load-bearing wall myself?
The structural portion should not be a DIY project. Even if you are handy, the beam and post sizing must be engineered, a permit is required, and the temporary shoring and load transfer are genuinely hazardous if done wrong. Homeowners sometimes handle demolition or finishing under a contractor’s guidance, but the structure belongs to professionals.
Do I always need a beam when removing a load-bearing wall?
Yes, unless an engineer determines the load can be carried another way. Because the wall was holding weight, that weight must be rerouted through a properly sized beam and posts down to the foundation.
Will the support posts be visible near my island?
Not necessarily. A designer can often hide posts inside cabinetry, a pantry wall, or a decorative column, or place them at the ends of the opening. A flush beam tucked into the ceiling avoids a visible drop, though it costs more to install.
How long does the project take?
The engineering and permitting can take a few weeks. The physical wall removal and beam installation is often a few days to a week, with additional time for electrical, plumbing, drywall, and finishing before the island goes in.
Turning a closed kitchen into an open one around a new island is very achievable, and understanding beams, posts, headers, and shoring helps you have a smart conversation with your team. Just remember that a load-bearing wall kitchen island with support beams is a structural undertaking. Bring in a structural engineer, pull the permit, hire licensed contractors, and the result will be both beautiful and safe.