Luxury vinyl tile has become one of the most popular DIY flooring projects in the country, and a well-planned LVT installation can transform a room in a single weekend. Because LVT installation forgives minor mistakes better than tile or hardwood, it appeals to first-timers, yet the results still look professional when you respect the fundamentals: a flat subfloor, proper acclimation, and the correct method for your specific product. This guide walks through every stage, from evaluating your existing floor to the final expansion gap, so you can decide whether to DIY or hire out with confidence.
- Understanding LVT and Its Installation Methods
- Tools and Materials You Will Need
- Subfloor Preparation: The Make-or-Break Step
- Acclimation and Layout Planning
- Step-by-Step Installation
- Cost, Timeline, and DIY Versus Pro
- Cutting Planks and Working Around Obstacles
- Finishing Touches and Common Mistakes
Understanding LVT and Its Installation Methods
Luxury vinyl tile is a multi-layer product with a rigid or flexible core, a printed design layer, and a clear wear layer measured in mils. Wear layers of 12 mil suit light residential use, 20 mil handles busy households, and 28 mil or higher targets commercial spaces. The core type determines the install method. Rigid SPC and WPC planks usually feature a click-lock edge and float over the subfloor, while flexible LVT typically glues down with a pressure-sensitive or hard-set adhesive.
Choose your method based on the room. Bathrooms, basements, and large open spaces above 40 feet in any direction often perform better glued down, which eliminates movement and hollow spots. Bedrooms, living rooms, and rental turnarounds favor floating click floors for speed and easy replacement.
Tools and Materials You Will Need
Gather everything before you start so momentum never stalls. A typical kit includes:
- Utility knife with plenty of fresh blades, plus a fine-tooth saw or LVT cutter for cleaner cross-cuts
- Tapping block, pull bar, and rubber mallet for seating click joints
- Spacers (usually 1/4 inch) to hold the perimeter expansion gap
- Speed square, chalk line, and tape measure for layout
- Notched trowel and the manufacturer-specified adhesive for glue-down products
- Knee pads, a shop vacuum, and a moisture meter for concrete subfloors
Order 7 to 10 percent extra material to cover cuts, waste, and future repairs. Keep the leftover from the same production run because dye lots vary subtly.
Subfloor Preparation: The Make-or-Break Step
Most failed vinyl floors trace back to the subfloor, not the product. LVT telegraphs every bump and dip, so flatness tolerance matters. Aim for no more than 3/16 inch of variation over a 10-foot span. Grind down high spots on concrete and fill low areas with a cementitious patching or self-leveling compound. On wood subfloors, screw down any squeaks, replace soft plywood, and sand ridges at seams.
Cleanliness is equally critical. Vacuum thoroughly and remove any adhesive ridges, paint drips, or drywall mud. For concrete slabs, test moisture with a meter or a calcium chloride test; readings above the manufacturer’s limit require a moisture barrier or a delay until the slab cures. Skipping this step invites edge curling and adhesive failure months later.
Acclimation and Layout Planning
Let the boxes sit flat in the installation room for 48 hours at normal living temperature, generally between 65°F and 85°F. This lets the planks reach equilibrium so they neither expand nor contract dramatically after install. While the material acclimates, plan your layout. Measure the room, divide by plank width, and check the final row. If it lands under a third of a plank wide, trim the first row so both edges finish with a balanced, attractive width.
Decide on plank direction too. Running planks parallel to the longest wall or toward the main light source generally looks best and makes the space feel larger. Snap a chalk line as your starting reference and dry-lay a few rows to preview the pattern and stagger.
Step-by-Step Installation
With prep done, the actual laying goes quickly. For a floating click floor:
- Start in a corner, placing spacers along both walls to maintain the expansion gap.
- Lay the first row with the tongue side facing the wall, angling and clicking each plank end to end.
- Begin the second row with the offcut from the first row, keeping end joints staggered at least 6 to 8 inches for strength and appearance.
- Angle and lock the long edge, then use the tapping block along the seam to close any gaps.
- Continue row by row, cutting the final row to width and using the pull bar to snug pieces against the wall.
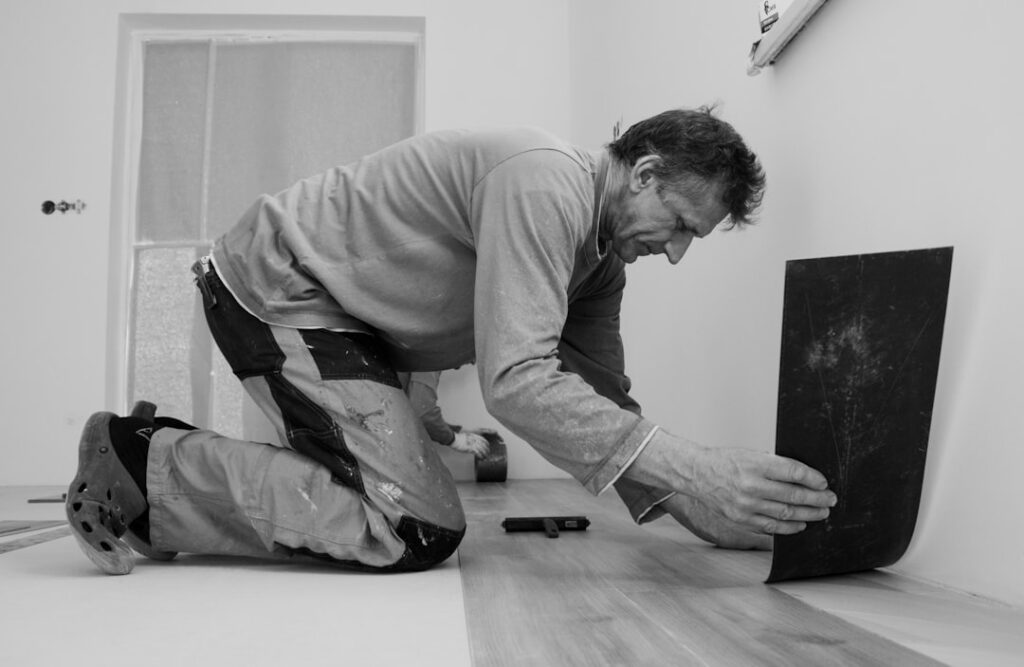
For glue-down LVT, spread adhesive with the specified notched trowel, observe the open time so it becomes tacky, then set tiles firmly and roll the floor with a 100-pound roller to guarantee full transfer. Wipe adhesive squeeze-out immediately with the recommended solvent.
Cost, Timeline, and DIY Versus Pro
Material costs range from about $2 to $5 per square foot for solid residential LVT, with premium rigid-core lines reaching $7. Professional installation adds roughly $2 to $5 per square foot depending on region and subfloor work. A 200-square-foot room in materials alone might run $400 to $1,000, and a confident DIYer can complete it in one to two days.
Hire a pro when the subfloor needs significant leveling, when you are gluing down large commercial-grade areas, or when intricate cuts around curved cabinetry and multiple doorways would frustrate a first-timer. The labor premium often pays for itself in a flatter, quieter, longer-lasting floor.
Cutting Planks and Working Around Obstacles
Clean cuts separate amateur jobs from professional ones. For straight cross-cuts, score the wear layer firmly with a utility knife and snap the plank over an edge; the core breaks cleanly along the line. Use a jigsaw or a fine-tooth handsaw for curves around toilet flanges, floor vents, and pipe penetrations. Make a paper or cardboard template for complex shapes, trace it onto the plank, and cut just outside the line so you can fine-tune the fit.
Undercut door casings rather than trying to notch planks around them. Lay a scrap plank flat as a height guide, run a flush-cut saw along the top of it, and slide the flooring beneath the trim for a seamless, factory-looking edge. Around cabinet toe kicks and irregular walls, a contour gauge captures the profile so you can transfer it accurately to the plank.
Finishing Touches and Common Mistakes
Install transition strips at doorways and where LVT meets other flooring, and add quarter-round or baseboard to hide the expansion gap without pinning the planks. Never nail trim through the floor itself, since the field must remain free to move.
- Do not skip the expansion gap; trapped planks buckle in summer heat.
- Do not install over an uneven subfloor hoping the vinyl will hide it; it will not.
- Avoid rolling heavy furniture onto glue-down LVT for 24 hours while adhesive cures.
- Use felt pads under furniture legs and walk-off mats at entries to protect the wear layer.
Approach the project methodically and LVT rewards you with a durable, water-resistant, handsome floor. Prep patiently, acclimate fully, respect the expansion gap, and match your method to the room. Do that, and your finished floor will look and perform like professional work for well over a decade.
Prefer to explore on your own?
See how new flooring looks in your actual room in seconds — free, no signup.
Try the free Floor Studio →