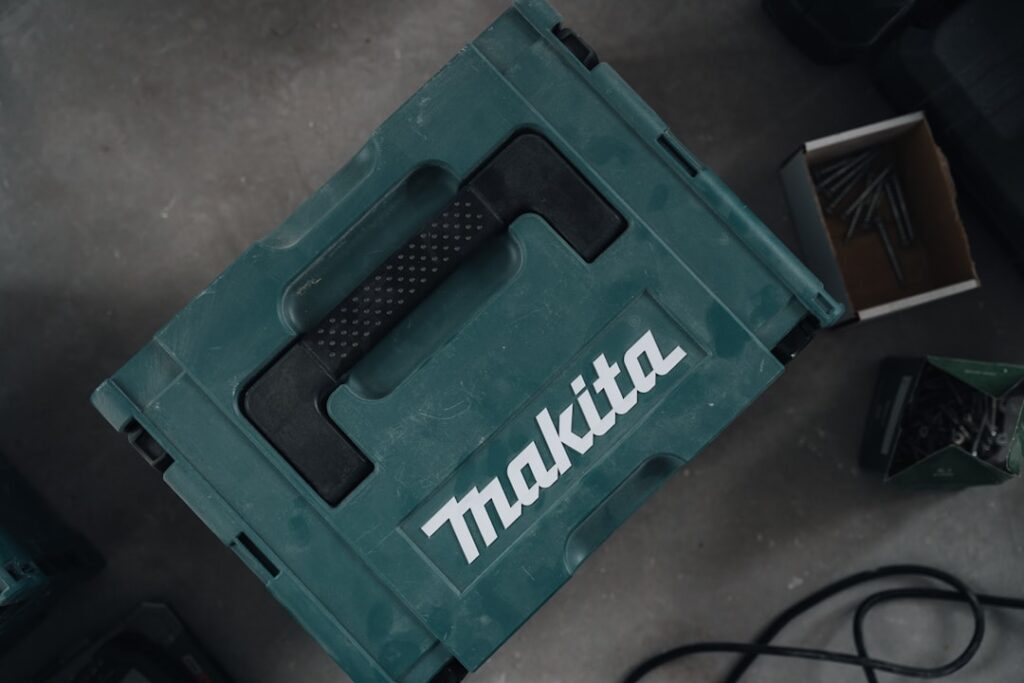
When people search for a Makita tile saw, they are usually picturing one thing: a dependable, wet-cutting tool that slices ceramic and stone without chipping, backed by a brand contractors already trust for drills and grinders. Makita’s reputation is built on rugged motors and a huge cordless ecosystem, and that same reliability carries into its tile and masonry cutting tools. This guide walks through what Makita actually offers for tile work, how wet cutting keeps your edges clean, and how to choose the right setup for a real project.
Part of our Tile & Grout guide — explore the full guide →
Understanding the Makita Tile Saw Lineup
It helps to set expectations up front. Makita is best known in the tile world for handheld and portable wet-cutting tools rather than large stationary tile-saw tables. The clearest example is the corded Makita 4101RH, a 5-inch electric cutter designed to cut tile, stone, and masonry with an integrated water feed. Instead of a big tub-and-table design, it puts the diamond blade in a compact handheld body so you can bring the tool to the tile.
Alongside that corded cutter, Makita’s strength is its 18V LXT and 40V XGT cordless platforms. Angle grinders and cut-off tools from those lines accept diamond blades and, with the right accessories, handle straight tile cuts, notches, and stone work. If you already own Makita batteries, that cordless compatibility is a major reason homeowners look to the brand for tile cutting in the first place.
Why Wet Cutting Matters
Every serious tile-cutting tool, Makita or otherwise, leans on water for a reason. Cutting hard, dense porcelain or natural stone generates intense friction heat at the blade. Water cools the diamond blade, flushes away the fine slurry, and keeps airborne silica dust down to a fraction of what dry cutting produces. That cooling also extends blade life dramatically and prevents the glaze from chipping along the cut line.
The Makita 4101RH is built around this principle, feeding water directly to the blade as you cut. If you cut tile dry with an ordinary grinder, you get dust clouds, a hotter blade, and rougher edges. The wet approach is slower to set up but produces the clean, professional results that make the extra hose worthwhile. Anytime you are cutting more than a handful of tiles, wet cutting is the right call.
Blades: The Part That Does the Real Work
No tile tool is better than the blade mounted on it, and Makita sells a broad range of diamond blades to match different materials. Choosing correctly is more important than the tool badge:
- Continuous rim blades: A smooth, unbroken diamond edge for the cleanest cuts in ceramic and porcelain. These run best wet and give the least chipping.
- Turbo rim blades: A serrated rim that cuts faster and clears slurry well, a good all-around choice for mixed tile and stone.
- Segmented blades: Gapped segments built for aggressive cutting of brick, block, and pavers rather than fine finish work on glazed tile.
Match the blade’s arbor size to your tool, confirm it is rated for wet use, and pick continuous rim if edge quality is your priority. A quality 5-inch diamond blade runs roughly $20 to $50, and it is money far better spent than saving a few dollars on a bargain disc that burns and chips.
Corded or Cordless for Tile Work
Choosing between a corded Makita tool and a cordless one comes down to how and where you cut. Corded tools like the 4101RH deliver steady, uninterrupted power, which is ideal for long cutting sessions and dense material where you never want the motor bogging down. You trade cord management and a nearby outlet for that consistency.
Cordless LXT and XGT tools shine on jobsites and remodels where dragging a cord and a water source is awkward. You gain mobility for quick cuts, trims, and work in finished spaces. The tradeoff is battery runtime and the fact that pairing water with a battery tool requires more care to keep water away from the battery and switch. For a homeowner tackling a bathroom or a backsplash, a corded wet cutter is often the simpler, more predictable choice.
Setting Up and Using a Makita Tile Saw Safely
Good results start with a stable, safe setup. Whether you run the 4101RH or a Makita grinder with a diamond blade, follow the same core routine:
- Read the manual for your exact model and use only blades rated for that tool’s speed and arbor.
- Connect and check the water feed before you start so the blade is cooled from the first cut.
- Wear safety glasses, hearing protection, and cut-resistant gloves; add a respirator if any dry cutting is unavoidable.
- Mark your cut line clearly, support the tile fully, and let the tool’s blade speed do the work rather than forcing the tile through.
- Feed the tile slowly and steadily, easing off pressure as the blade exits to prevent chipping the trailing edge.
Keep the work area free of standing water near cords and outlets, and always run a wet-rated electric tool through a GFCI-protected circuit. A slow, controlled feed rate does more for edge quality than any single tool upgrade.
Caring for Your Tool and Blades
A wet-cutting tool lives a harder life than a drill, so a little maintenance goes a long way. After every session, disconnect the water feed and run the blade briefly to sling off excess moisture, then wipe the tool down and let it dry fully before storing. Slurry left to harden on a tool is far tougher to remove later and can gum up moving parts.
Blades need attention too. Inspect the diamond rim for glazing, a shiny, smooth look that means the diamonds have dulled and are no longer cutting freely. You can often revive a glazed blade by making a few cuts through an abrasive dressing stone or a concrete block, which exposes fresh diamond. Store blades flat or hung so they stay true, and never force a blade that has started to wander; a warped or worn blade chips tile and strains the motor. Treated well, a quality diamond blade lasts through many hundreds of feet of cutting.
Common Mistakes to Avoid
Most poor cuts come from a handful of avoidable errors:
- Forcing the feed: Pushing the tile too fast bogs the motor and chips the edge. Let the blade cut at its own pace.
- Running the blade dry: Skipping the water to save setup time overheats the blade and produces hazardous dust.
- Using the wrong blade: A segmented masonry blade will chew up glazed tile. Match the blade to the material.
- Neglecting support: An unsupported offcut snaps and chips as the blade exits. Support both sides of the cut.
Avoid those four and your cut quality improves immediately, regardless of which tool you own.
Is a Makita Tile Saw Right for Your Project?
A Makita tile saw setup makes the most sense for homeowners who already own Makita batteries or who value the brand’s build quality and want a wet-cutting tool that lasts across many projects. For a compact bathroom floor, a backsplash, or trim cuts on a remodel, a corded wet cutter like the 4101RH paired with a quality continuous-rim diamond blade covers the vast majority of household tile work.
If your project involves hundreds of square feet of large-format porcelain, compare Makita’s handheld options against dedicated stationary wet saws from brands that specialize in big tile tables, since the rip-cutting capacity of a full table can save time. But for most residential jobs, Makita’s wet-cutting tools deliver clean, chip-free edges, dependable power, and a platform that plays nicely with the rest of your cordless kit. Match the tool to the blade, keep the water flowing, and take your time on the feed, and you will get professional-looking cuts without the professional price tag.
Prefer to explore on your own?
See how new flooring looks in your actual room in seconds — free, no signup.
Try the free Floor Studio →