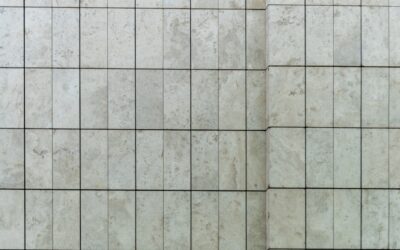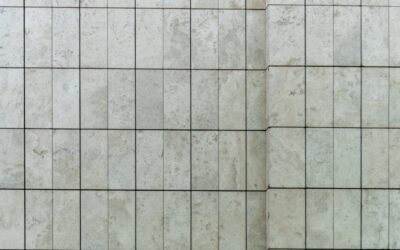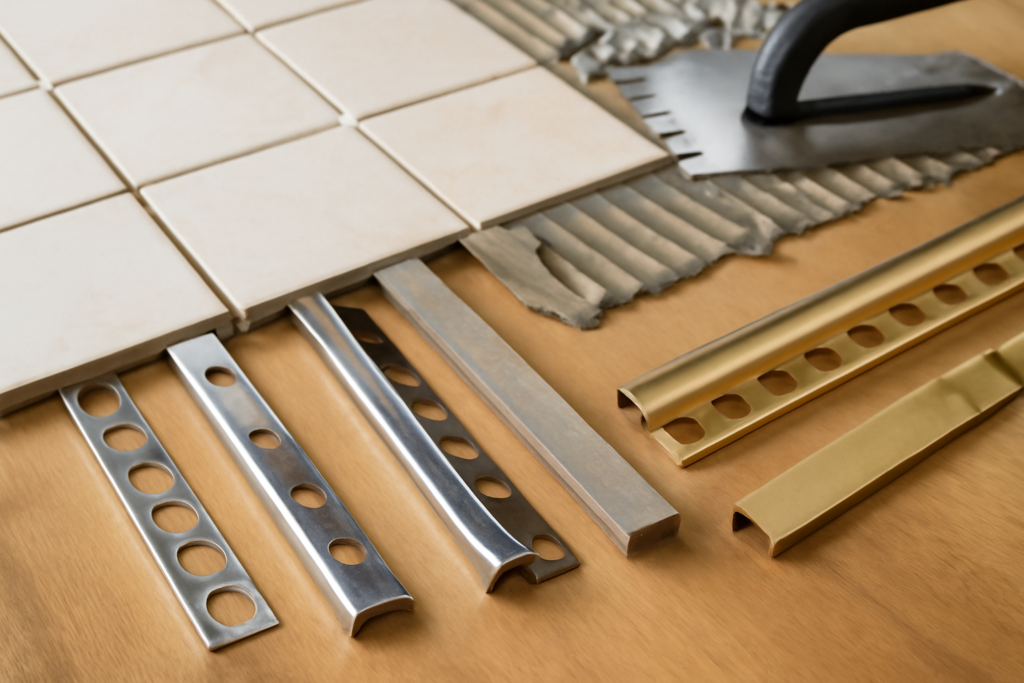
The phrase metales para tile translates from Spanish as “metals for tile,” and it refers to the metal trim and edging profiles used to finish the exposed edges of a tile installation. These slim metal strips protect vulnerable tile edges, create crisp transitions, and replace the traditional bullnose tile that is increasingly hard to find in modern tile lines. If you have ever wondered how professionals achieve those clean, polished edges where tile meets a corner, a countertop, or another flooring material, metal tile trim is usually the answer. This guide walks you through the profiles, materials, finishes, and installation.
Part of our Tile & Grout guide — explore the full guide →
What Metal Tile Trim Does
Tile edges are surprisingly fragile. A raw, unfinished edge can chip, collect grime, and look unfinished, especially on outside corners and where a tiled surface ends. Metal trim solves several problems at once: it caps and protects the edge, hides the unglazed tile body, creates a clean visual border, and bridges height differences between materials. Because many contemporary tiles, particularly large-format porcelain and natural stone, are not sold with matching bullnose pieces, metal trim has become the standard way to give an installation a professional finish.
Common Profile Types
Metal tile trim comes in several shapes, each suited to a different situation:
- Square edge: A clean, modern profile with a flat vertical face for a contemporary look.
- Rounded (bullnose) edge: A soft, curved profile that mimics traditional bullnose tile.
- Quarter-round: A gentle curve often used at floor-to-wall or inside-corner transitions.
- Reducer and transition strips: Profiles that bridge tile to a lower or higher adjacent floor like wood or vinyl.
- Stair-nosing profiles: Reinforced edges designed for the front of tiled steps.
Each profile has a perforated anchoring leg that sits under the tile in the thin-set, plus a visible face that finishes the edge. Choosing the right profile depends on where the edge is and the effect you want.
Material Options
The metal you choose affects durability, appearance, and cost:
- Anodized aluminum: Lightweight, affordable, and corrosion-resistant; the most common choice for walls and light-traffic areas.
- Stainless steel: Tough and elegant, well suited to kitchens, high-traffic floors, and a sleek modern look.
- Brass and bronze: Warmer metallic tones for a luxe, designer feel, often used as a decorative accent.
- Coated or painted metal: Aluminum finished in custom colors to match or contrast the tile.
For wet areas and floors, prioritize corrosion resistance and strength; stainless steel and quality anodized aluminum both perform well. Brass adds character but may patina over time, which some homeowners prize and others prefer to avoid.
Finishes and Style
Beyond the base metal, finish options let you tailor the look. Polished finishes are bright and reflective, brushed or satin finishes are subtle and hide fingerprints, and matte finishes read soft and contemporary. The trend toward mixed metals means you can coordinate trim with cabinet hardware, faucets, and lighting for a pulled-together design. A black matte trim, for instance, frames white subway tile dramatically, while brushed brass warms a neutral palette.
Choosing the Right Size
Metal trim must match your tile thickness. The visible face height of the profile should equal the combined thickness of the tile and the thin-set bed so the trim sits flush with the tile surface. Manufacturers list trim by this height, commonly ranging from about 3/8 inch to 1/2 inch and up for thicker tiles. Measure your tile, add the mortar thickness, and select trim accordingly. A profile that is too short will sit below the tile, and one too tall will stand proud and catch on feet or cleaning tools.
Installation Overview
Installing metal tile trim is straightforward when you plan ahead, since the trim goes in as you set the tile:
- Plan trim locations before tiling, identifying every exposed edge, corner, and transition.
- Spread thin-set along the edge, then press the perforated anchoring leg of the trim into the mortar.
- Set the adjacent tile over the leg, leaving a normal grout-line gap between the tile face and the trim.
- Use corner pieces or miter cuts where two trim runs meet at a corner.
- Grout as usual, keeping the joint between tile and trim consistent with the rest of the field.
Because the trim integrates with the tile installation, decide on it before you start setting tile. Retrofitting trim onto a finished edge is much harder. Follow the trim manufacturer’s guidance, and if your project involves stairs or heavy-traffic transitions, consider hiring an experienced tile setter.
Cost Expectations
Metal tile trim is sold by the length, typically in strips around 8 feet long. As a general estimate, anodized aluminum profiles run roughly $8 to $20 per strip, stainless steel falls around $15 to $40, and brass or specialty finishes can cost more. Corner and transition accessories are priced separately. For a typical bathroom or backsplash, trim might add $40 to $150 to the project. Confirm current pricing with your tile supplier, since metal costs and product lines vary.
Maintenance
Metal trim is low maintenance. Wipe it with a soft, damp cloth and mild cleaner, avoiding abrasive pads that can scratch polished finishes. Stainless and anodized aluminum resist corrosion well, while brass may develop a natural patina you can either embrace or polish away. Keeping the grout joints around the trim clean preserves the crisp look. With minimal care, quality metal tile trim keeps your edges protected and sharp for the life of the installation.
Metal Trim vs. Other Edge Options
Metal trim is not the only way to finish a tile edge, so it helps to know the alternatives. Traditional bullnose tile, a piece with one rounded, glazed edge, gives a soft, monolithic look that matches the field tile exactly, but it is increasingly unavailable for modern porcelain and stone lines. A mitered edge, where two tiles are cut at 45 degrees and joined to wrap a corner, creates a seamless, high-end appearance with no visible trim, but it is labor-intensive and leaves a fragile point that can chip. Some installers simply caulk a raw edge, which is the least durable and least attractive option.
Against these, metal trim offers a strong balance of protection, looks, and ease. It guards the vulnerable edge better than a bare mitered point, installs faster than custom miters, and adds a deliberate design line that has become a hallmark of contemporary tile work. The main trade-off is that the metal is visible and introduces another material and finish to coordinate, which some homeowners love and others prefer to hide. If you want the edge to disappear, a miter or matching bullnose suits you better; if you want a clean, protected, modern finish that doubles as an accent, metal trim is usually the smarter and more practical choice.
Understanding metales para tile, the metal profiles that finish tile edges, lets you specify the right trim for every corner and transition. The result is a tile job that looks intentional and professional, with durable edges that hold up to daily use.
Prefer to explore on your own?
See how new flooring looks in your actual room in seconds — free, no signup.
Try the free Floor Studio →