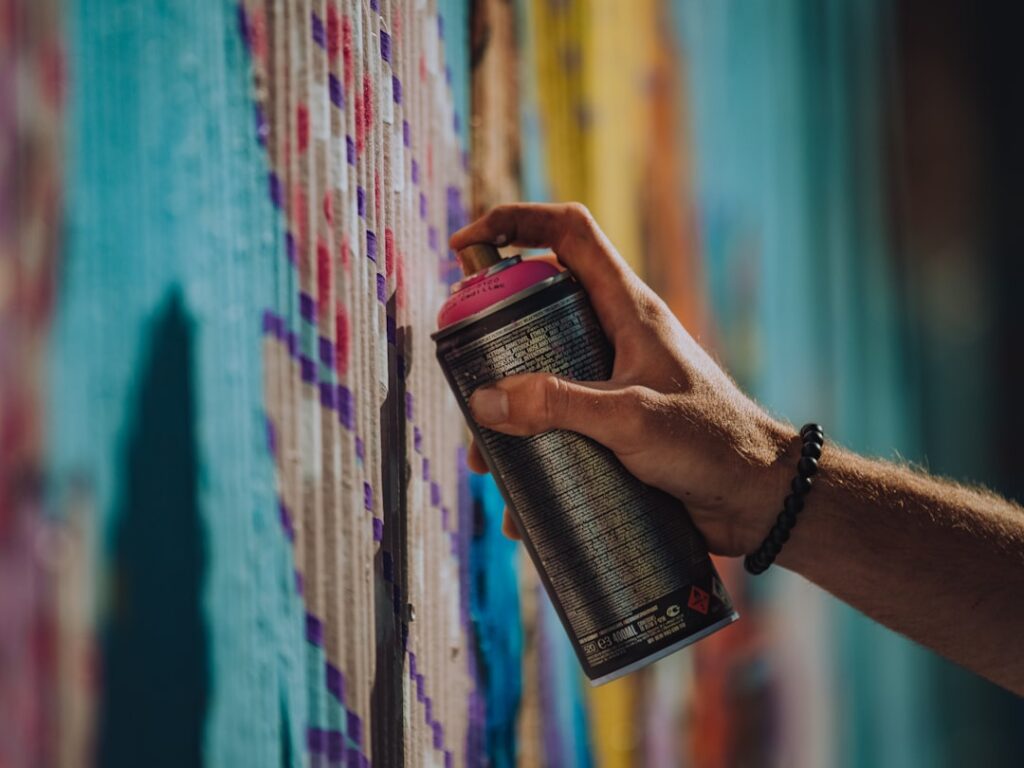
A can of the right metallic spray paint can turn a thrift-store lamp, a dated light fixture, or a plastic planter into something that looks like it cost ten times as much. The trick is understanding that metallic spray paint colors behave very differently from flat or gloss paints; they contain suspended metal or mica flakes that reflect light, so the sheen, the number of coats, and even your spraying angle change the final look. Choose well and prep properly, and you get a rich, jewelry-like finish on almost any surface.
Part of our Paint & Walls guide — explore the full guide →
- How Metallic Spray Paint Actually Works
- The Most Popular Metallic Shades
- Matching Metallic Spray Paint Colors to the Project
- Surface Prep Makes or Breaks the Finish
- Application Technique for a Professional Look
- Sealing and Protecting the Finish
- Common Mistakes to Avoid
- Bringing It All Together
- Choosing the Right Sheen and Flake Size
- Surfaces That Take Metallic Paint Well
- Real Projects Worth Trying
How Metallic Spray Paint Actually Works
Standard spray paint gets its color from pigment alone. Metallic formulas add tiny flakes of aluminum, bronze, or mica that orient themselves as the solvent flashes off, catching light from different directions. That is why a gold can looks bright and warm at one angle and deep and shadowed at another. The finer the flake, the smoother and more mirror-like the result; coarser flakes read as sparkle or “hammered” texture.
Because the flakes need to lie flat to look their best, application technique matters more than with ordinary paint. Thin, even passes let the metal align. Heavy coats trap flakes at random angles and produce a dull, blotchy sheen. Keep that principle in mind no matter which shade you pick.
The Most Popular Metallic Shades
Manufacturers like Rust-Oleum, Krylon, and Montana offer dozens of options, but a handful of core colors do most of the heavy lifting in home projects.
Gold
Gold is the workhorse of the category, and it comes in a surprising range. Warm, brassy golds suit vintage frames and traditional decor, while pale champagne and “pure gold” tones look modern and understated. If a gold reads too yellow or too orange for your taste, look for a “brushed” or “satin” gold, which mutes the shine into something more contemporary.
Copper and Bronze
Copper brings warmth and an artisanal feel, perfect for pendant lights, vases, and Mediterranean or industrial styling. Bronze sits a shade darker and reads as more traditional and grounded. Oil-rubbed bronze, technically a very dark brown-black metallic, is the go-to for updating builder-grade cabinet hardware and bathroom fixtures.
Silver and Chrome
Silver is versatile and neutral, blending into nearly any palette. True chrome and “mirror” finishes are a separate tier; they use ultra-fine aluminum to produce a genuinely reflective, glass-like surface, but they demand a glossy black base coat and a flawless substrate to look right. Expect chrome to show every fingerprint and imperfection.
Rose Gold and Pewter
Rose gold, a pink-tinged metallic, exploded in popularity for accent pieces and remains a favorite for a soft, feminine look. Pewter and graphite offer a muted, gunmetal gray that feels sophisticated and hides wear well, making them excellent choices for high-touch items.
Matching Metallic Spray Paint Colors to the Project
Not every metallic suits every job. When you are weighing metallic spray paint colors for a specific piece, think about the room’s existing metals and the mood you want:
- Light fixtures and lamps: Brushed gold, oil-rubbed bronze, and matte black metallic update fixtures without the cost of replacement.
- Cabinet and door hardware: Oil-rubbed bronze and satin nickel-look silver blend with most kitchens.
- Decor and accents: Copper, rose gold, and bright gold pop against neutral walls.
- Outdoor pieces: Choose a metallic labeled for exterior use with rust protection, and finish with a UV-resistant clear coat.
A good rule is to keep large fixtures in restrained tones and save the flashier shades for small accents your eye lands on deliberately.
Surface Prep Makes or Breaks the Finish
Metallic paint is unforgiving of a poor surface because the reflective flakes highlight every scratch, dust speck, and drip. Start by cleaning the item thoroughly with a degreaser or a mix of dish soap and warm water, then let it dry completely. Scuff glossy surfaces with 320-grit sandpaper so the paint has something to grip.
Prime next. A quality spray primer, gray or white for most colors and glossy black for chrome, evens out the substrate and dramatically improves flake alignment. Skipping primer on bare metal or plastic is the most common reason a project ends up looking patchy. Two light primer coats beat one heavy coat every time.
Application Technique for a Professional Look
Shake the can vigorously for at least one full minute, and re-shake every couple of minutes as you work. Hold the can 8 to 12 inches from the surface and spray in smooth, overlapping passes, starting and stopping your motion off the edge of the object so you never build up paint in one spot.
Apply three or four light coats rather than one or two heavy ones, waiting the recommended flash time, usually 5 to 10 minutes, between coats. Warmth and low humidity help; aim for temperatures between 50°F and 90°F and avoid spraying in direct sun, which can flash the solvent too fast and cause a rough, dusty finish. A slow, disciplined build gives you that even, luminous sheen that separates a pro result from a rushed one.
Sealing and Protecting the Finish
Bare metallic paint can rub off or dull with handling, especially on frequently touched hardware. A clear topcoat locks in the color and adds durability. Match the sheen you want: matte clear keeps the look subtle, while gloss clear deepens the shine. For high-wear or outdoor items, use a clear coat rated for exterior use and UV resistance so the finish does not chalk or fade.
Let the color coats cure for the time the label specifies before clear coating, and apply the clear in the same light, even passes. Rushing the clear over uncured metallic can cause wrinkling or cloudiness.
Common Mistakes to Avoid
Even seasoned DIYers trip over a few recurring issues with metallic finishes. Spraying too close creates runs; spraying too far leaves a gritty, powdery texture. Recoating outside the manufacturer’s window, that awkward zone between about one hour and 24 hours, can cause the new coat to lift or crack the one beneath it. And mixing brands of paint and clear coat sometimes triggers a chemical reaction that wrinkles the surface, so stick to one product line when you can.
Finally, resist the urge to touch or move the piece too soon. Metallic paints may feel dry in 30 minutes but need a full day or more to harden enough for handling, and several days to fully cure. Patience here protects all the careful work you put in.
Bringing It All Together
The best results come from pairing the right shade with clean prep and light, layered coats. Whether you are chasing the warmth of copper, the polish of chrome, or the soft glow of rose gold, the range of metallic spray paint colors available today makes it easy to give tired objects a genuinely high-end second life for the price of a single can. Start with a small accent piece to build confidence, keep your coats thin, and seal the finish, and you will be surprised how professional an afternoon project can look.
Choosing the Right Sheen and Flake Size
Two metallic paints in the same color can look completely different depending on their flake size and sheen, so read the label carefully. Fine-flake formulas, often labeled “metallic” or “shimmer,” produce a smooth, satiny glow that reads as elegant and understated. Coarse-flake and “glitter” or “hammered” formulas create visible sparkle or a textured, dimpled surface that hides imperfections and suits rustic or industrial pieces. Hammered finishes in particular are forgiving on rough or slightly rusty metal, since the texture disguises what a smooth finish would highlight.
Sheen matters too. A high-gloss metallic maximizes reflectivity and drama but shows every flaw, while a satin or brushed metallic mutes the shine into something more contemporary and fingerprint-friendly. For hardware and other high-touch items, a satin metallic sealed with a matte clear coat tends to age more gracefully than a mirror-bright gloss.
Surfaces That Take Metallic Paint Well
Metallic spray paint adheres to a wide range of materials when they are properly prepped. Metal, wood, ceramic, glass, and most rigid plastics all accept it beautifully. Slick surfaces like glazed ceramic and glass need a good scuff-sand and a bonding primer, or the paint will chip off with handling. Flexible plastics and vinyl can crack the finish as they bend, so reserve metallics for rigid items or use a paint formulated for flexible substrates.
Porous materials like unfinished wood, terracotta, and paper mache drink up paint and benefit from a primer or sanding sealer first, otherwise the metallic looks blotchy and dull as the flakes sink unevenly into the surface. A quick coat of primer levels the porosity and lets the metal flakes sit on top where they can catch the light.
Real Projects Worth Trying
If you are new to metallics, start small and build confidence. A tarnished brass-look picture frame, a plastic planter destined for the porch, or a dated light fixture are all forgiving first projects. From there, homeowners tackle cabinet and drawer pulls, curtain rods, vase collections, and even small furniture accents. Because a single can covers a surprising amount of surface, roughly 10 to 25 square feet depending on coats, the cost per project stays low.
The versatility is the real appeal. With the range of metallic spray paint colors on the shelf today, you can unify mismatched thrift-store finds into a cohesive set, update tired hardware to match a renovation, or add a single glamorous accent to an otherwise neutral room, all for the price of a can or two and an afternoon of patient, light coats.