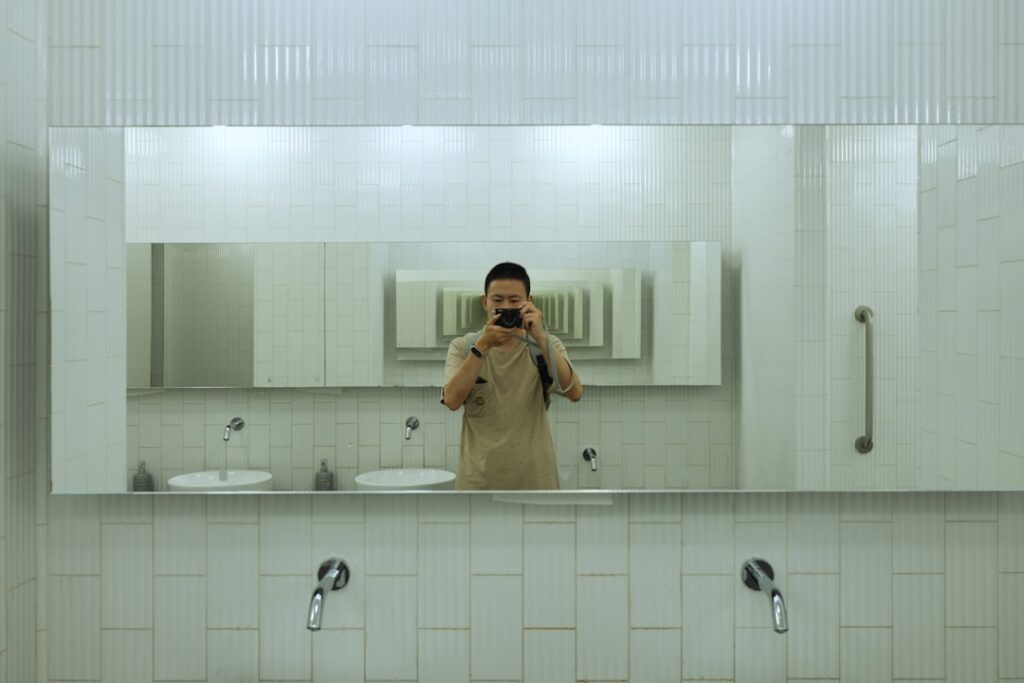
The fastest way to double the perceived size of a cramped room is not knocking down a wall. It is reflection. Mirror tile covers a surface in small reflective panels that bounce light around a space, making it feel larger, brighter, and more open without any structural work. From glamorous accent walls to space-stretching backsplashes, these tiles deliver a high-impact look that has cycled in and out of style for decades and is enjoying a strong comeback. Here is what you need to know before installing them.
Part of our Tile & Grout guide — explore the full guide →
How Mirror Tiles Work Their Magic
The principle is simple physics. Reflective surfaces redirect both natural and artificial light deeper into a room, eliminating the shadowed corners that make spaces feel boxed in. A wall of reflective tile effectively visually duplicates whatever sits in front of it, so a small dining nook or powder room suddenly reads as twice its actual footprint.
Because the tiles are divided into small sections rather than one large mirror, they break up reflections into a softer, more textured effect. This grid pattern feels more like a design feature and less like a literal mirror, which is exactly why designers reach for them on feature walls.
Clear vs. Antique Finishes
The finish you choose sets the entire tone of the installation.
- Clear mirror: A true, bright reflection that maximizes light and reads as modern and glamorous. Best when you want maximum brightness and a crisp, contemporary look.
- Antique or smoked mirror: Deliberately aged with mottled, foggy, or speckled patches that soften the reflection. This finish hides fingerprints, adds vintage character, and feels warmer and more forgiving.
- Tinted mirror: Bronze, gray, or gold tones that lend a moody, sophisticated edge while still reflecting light.
For high-traffic areas where smudges show, antique finishes are the practical winner. For a clean, light-amplifying wall, clear mirror does the most work.
Common Shapes and Layouts
Reflective tiles come in nearly every format that standard tile does. Square tiles in 12-inch or smaller sizes create a classic grid. Beveled-edge tiles add a subtle prismatic sparkle where the edges catch light. Subway shapes laid in a brick or herringbone pattern feel current and architectural, while hexagons and diamonds bring geometric drama. The smaller the tile, the busier and more textured the reflection; the larger the tile, the closer it gets to a continuous mirror surface.
Where to Use Reflective Tile
Placement makes or breaks the effect. These tiles shine in spots where light and the sense of space matter most.
- Small bathrooms and powder rooms: Instantly opens up tight, windowless spaces
- Dining room accent walls: Reflects chandelier light for an elegant, glittering effect
- Behind bars and buffets: A glamorous backdrop that multiplies glassware and bottles
- Narrow hallways: Visually widens a corridor that would otherwise feel like a tunnel
- Closets and dressing areas: Adds function and light at once
One caution: avoid reflective tile directly behind a cooktop, where grease, heat, and constant cleaning will quickly dull the finish.
Installation Considerations
Installing reflective tile differs from setting ceramic in a few key ways. Standard thinset mortar can react with and corrode the silvered backing of a mirror, causing dark spots and clouding over time. For that reason, use a mirror-safe mastic or a neutral-cure silicone adhesive specifically rated for mirrors, never an acidic or general-purpose thinset.
- Start with a flat, clean, fully dry wall. Reflective tiles magnify any bumps or unevenness in the surface behind them.
- Apply a mirror-rated adhesive following the manufacturer’s coverage instructions.
- Use spacers if the tiles are not designed to butt edge to edge, and keep the grid perfectly level since reflections exaggerate any tilt.
- Cut tiles carefully with a glass scoring tool or a wet saw fitted with a glass blade, wearing eye protection.
- If grouting, use a non-sanded grout to avoid scratching the reflective surface.
Cleaning and Maintenance
Keeping mirrored surfaces looking sharp is the main ongoing chore, since every fingerprint and water spot shows. The good news is that cleaning is quick.
- Wipe with a microfiber cloth and a streak-free glass cleaner, or a mix of water and a little dish soap
- Avoid ammonia-heavy cleaners on antique or coated tiles, which can damage the finish
- Never let cleaner pool at the tile edges, where it can seep behind and damage the silvering
- Dust regularly so grit does not scratch the surface during wiping
Design Tips to Avoid Overdoing It
Reflective surfaces are powerful, which means a little goes a long way. A single accent wall almost always looks more intentional than mirroring an entire room, which can feel disorienting and cold. Pair the tiles with warm textures like wood, soft textiles, and matte finishes to balance the glossy sparkle. And consider what the tiles will reflect, since they will faithfully double clutter, exposed cords, and unflattering angles right along with the light.
Safety and Glass Quality
Not all reflective tiles are made equal, and quality affects both safety and appearance. Look for tiles made from genuine silvered glass with a protective backing coat, which resists the black-spot corrosion that cheaper mirrors develop over time, especially in humid bathrooms. Tempered or thicker glass is more impact-resistant and safer in busy areas. For installations within reach of children, or in spaces where breakage is a concern, ask about safety-backed tiles that hold together if cracked rather than shattering into shards.
Edge finishing matters too. Polished or beveled edges are smoother and safer to handle than raw-cut glass, and they look more finished where tiles meet outlets, trim, or the end of a run.
Acrylic Mirror Tiles as an Alternative
If weight, safety, or budget is a concern, acrylic mirror tiles offer a lighter, shatter-resistant alternative to glass. They weigh a fraction of real glass, often come with peel-and-stick backing for easy DIY installation, and will not break into dangerous pieces. The tradeoff is that acrylic scratches more easily and can warp or show slight distortion, so the reflection is rarely as crisp as true glass. For a low-stakes accent wall, a rental, or a kids’ space, acrylic is a practical choice. For a permanent, high-end installation where reflection quality matters, genuine silvered glass remains the better option.
Is Mirror Tile Right for You?
If you have a small, dim, or narrow room begging for light and the illusion of space, reflective tile is one of the most effective tools available. It transforms cramped quarters, adds glamour to dining and entry areas, and installs over an afternoon on a flat wall. Keep the application focused to a feature area, use the right mirror-safe adhesive, and stay on top of smudges, and these tiles will make your home feel noticeably brighter and bigger than its square footage suggests.
Prefer to explore on your own?
See how new flooring looks in your actual room in seconds — free, no signup.
Try the free Floor Studio →