
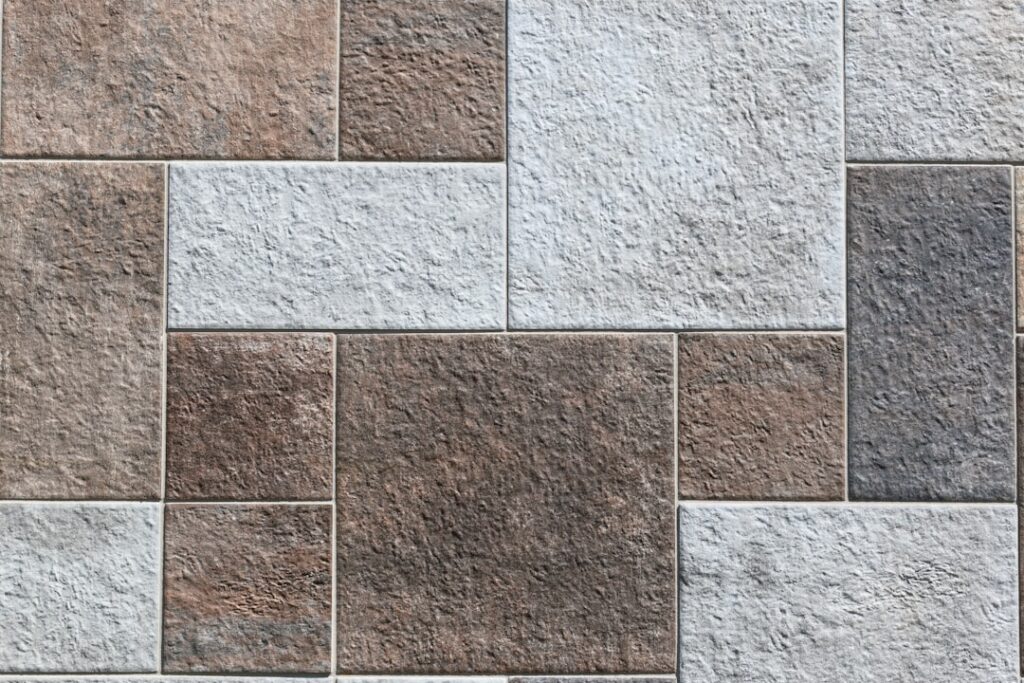
Walk across a floor of quarried stone and you feel something a printed porcelain can only imitate: no two pieces are alike, and the material carries millions of years of geology in its veining and color. Natural tile means tile cut from real stone rather than manufactured from clay or resin, and it includes marble, travertine, slate, limestone, granite, and sandstone. Each behaves differently underfoot and in the bucket of sealer, so choosing well means understanding not just the look you want but the maintenance you’re signing up for. Real stone is a lifetime material when treated right, and a frustrating one when the wrong type lands in the wrong room.
Part of our Tile & Grout guide — explore the full guide →
The Main Types of Natural Stone Tile
Not all stone is equal in hardness or porosity. Here’s how the common options stack up:
- Slate: dense, slip-resistant, and forgiving. Its cleft surface hides wear, making it a favorite for entries and mudrooms.
- Travertine: a warm, earthy limestone full of natural pits. Soft and porous, best sealed and often filled.
- Marble: the luxury standard, prized for veining. Soft, acid-sensitive, and prone to etching in kitchens.
- Limestone: subtle and uniform, but soft and easily scratched or stained.
- Granite: the hardest and most stain-resistant of the group, excellent for high-traffic and wet areas.
One quick way to gauge durability is the Mohs hardness scale. Marble and limestone sit around 3 to 4, travertine similar, slate around 5 to 6, and granite a hard 6 to 7. The difference is not academic: a dropped cast-iron skillet that leaves only a scuff on granite can chip a visible divot out of a soft limestone tile.
Finishes Change Everything
The same stone can look and perform in wildly different ways depending on its finish. A polished marble gleams but shows every scratch and gets slick when wet. A honed finish trades shine for a matte, more forgiving surface with better traction. Tumbled stone, common in travertine, has soft rounded edges and an antiqued look ideal for old-world designs. Flamed and brushed finishes add texture and grip, which is why they show up on outdoor pavers and pool decks. Match the finish to the room: honed or tumbled for floors, polished only where slips and etching won’t be a problem.
Sealing and Ongoing Care
This is the trade-off with real stone. Because most natural tile is porous, it needs sealing, usually a penetrating impregnator applied before grouting and again every one to three years. Test whether yours needs resealing by dripping water on it; if the water darkens the stone within a few minutes, it’s time.
Cleaning rules are strict. Acidic products, vinegar, lemon, and many bathroom cleaners, etch calcite-based stones like marble, travertine, and limestone, leaving dull spots that no amount of scrubbing removes. Stick to pH-neutral stone cleaners. Wipe spills fast, especially wine, coffee, and citrus, and use mats at entries to catch grit that would otherwise sand the finish.
Quality impregnating sealers such as Miracle 511, Aqua Mix Sealer’s Choice Gold, or DryTreat run roughly $30 to $60 a quart, and a quart covers 100 to 500 square feet depending on how thirsty the stone is. Dense granite might soak up almost nothing; raw travertine can drink two full coats before it stops absorbing. Plan to apply, wait 5 to 10 minutes, wipe the excess before it dries to a haze, and let it cure 24 to 48 hours before exposing the floor to water.
Where Each Stone Belongs
Room selection saves headaches. In a busy kitchen, granite or dense slate handles spills and dropped pans without drama. A marble floor in a low-traffic powder room or a formal entry can look spectacular for decades because it isn’t taking the abuse a kitchen dishes out. Travertine suits sunrooms, patios, and bathrooms where its warmth and traction shine. Limestone is best kept to walls and light-use areas. The mistake I see most often is a homeowner falling in love with polished marble and installing it in the one room, the kitchen, guaranteed to etch it within a month.
Cost Per Square Foot
Natural tile spans a wide range. Basic travertine and slate start around $5 to $10 per square foot for material, mid-grade marble and limestone run $10 to $20, and premium marbles or exotic stones can exceed $40. Installation adds another $8 to $18 per square foot because stone is heavier, less uniform, and slower to set than porcelain. Expect the sealing supplies and periodic resealing to add a modest but recurring cost over the years. All in, a stone floor typically lands between $15 and $50 per square foot installed.
Don’t forget the ancillary costs that catch buyers off guard. Natural stone routinely arrives with 5% to 10% breakage and unusable pieces, so order at least 15% overage instead of the 10% you’d budget for porcelain. Diamond blades wear faster cutting stone, professional periodic honing or polishing of a marble floor can run $2 to $5 per square foot every several years, and a heavy stone floor on an upper story may need a structural check to confirm the joists can carry the added dead load.
Installation Considerations
Real stone is heavier and more variable than manufactured tile, so the substrate must be solid and dead flat. Many stones are also translucent enough that a standard gray thinset will show through and cloud the color, so light or natural stone calls for white thinset. Because tiles vary in thickness, back-buttering is standard practice to keep the surface level. And that porosity means you should seal light-colored stone before grouting to keep pigment from staining the face. None of this is beyond a careful DIYer, but it’s slower and less forgiving than clicking together a floating floor.
Flatness tolerance tightens with tile size. For large-format stone over 15 inches, the substrate should be flat within 1/8 inch over 10 feet, which usually means self-leveling underlayment on wood subfloors. Use a large-and-heavy-tile (LHT) medium-bed mortar rather than standard thinset under thick or oversized stone so the mortar can support the weight without slumping, and keep grout joints to at least 1/16 to 1/8 inch even on rectified stone to absorb the natural size variation. Choose an unsanded grout for polished marble and other soft, scratch-prone stones, since the silica in sanded grout can scuff the finish as you work it into the joints; reserve sanded grout for slate, granite, and any joint wider than 1/8 inch where it resists shrinkage cracking.
Is Natural Tile Worth It?
If you want authenticity, longevity, and a surface that adds real resale appeal, natural tile delivers in a way engineered products can’t. The catch is maintenance: sealing, careful cleaning, and matching the stone to the room. Homeowners who want the look with none of the upkeep increasingly choose stone-look porcelain, which mimics travertine or marble convincingly and shrugs off acids and stains. But for those who value the genuine article, and are willing to treat it with a little respect, natural stone rewards you with a floor that only grows more characterful with age.
Prefer to explore on your own?
See how new flooring looks in your actual room in seconds — free, no signup.
Try the free Floor Studio →

