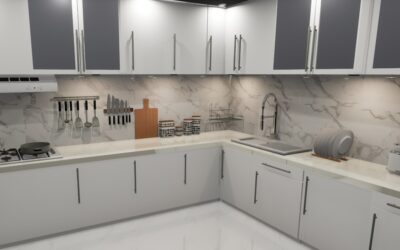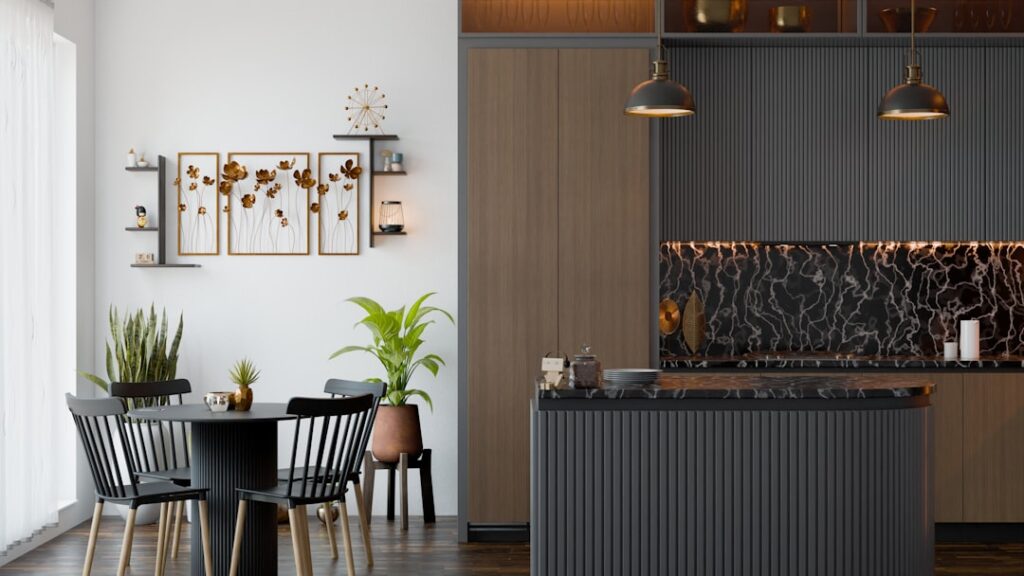
An open concept large kitchen island is the anchor of a modern home, pulling cooking, dining, homework, and entertaining into one shared zone. When a kitchen opens directly onto a living or dining space, the island stops being a simple prep counter and becomes the visual and social center of the whole floor plan.
Part of our Kitchen Remodeling guide — explore the full guide →
Getting the size, clearances, and features right is what separates an island that feels generous from one that feels crowded. This guide walks through the dimensions, layout logic, and cost realities so you can plan an island that works for real daily life.
- What Counts as a Large Island?
- Sizing and Clearance Rules
- Seating: How Many Stools Fit?
- Layout and Feature Options
- Choosing Countertop and Base Materials
- Lighting and Electrical
- Cost Expectations
- Common Mistakes to Avoid
- Maximizing Storage in a Large Island
- Styling the Island as a Focal Point
- Common Questions About Large Islands
What Counts as a Large Island?
In an open concept space, a large island generally starts around 7 feet (84 inches) long and 40 to 48 inches deep. Anything approaching 10 to 12 feet long with a depth of 48 inches or more reads as a true statement piece. For reference, a standard island is closer to 3 to 4 feet long, so a large island roughly doubles or triples that footprint.
The reason bigger works in open layouts is proportion. A small island stranded in the middle of a wide-open room looks lost. A generously sized open concept large kitchen island fills the space with intent and gives the surrounding room a sense of scale.
Sizing and Clearance Rules
Before you fall in love with a slab of quartz, confirm you have the floor space. The kitchen only functions if people can move freely around the island.
- Walkway clearance: Leave at least 42 inches of clear floor space around the island. In a one-cook kitchen 36 inches is the absolute minimum, but 48 inches is ideal on the working side.
- Two-cook zones: If two people cook at once, aim for 48 inches between the island and the main run of cabinets.
- Seating overhang: Plan 12 inches of counter overhang for comfortable knee room at a standard 36-inch counter height, and 15 inches at a 42-inch bar height.
- Traffic paths: Keep the route from refrigerator to sink to range unobstructed by island seating.
A helpful test is to tape the island outline on the floor and live with it for a few days. You will quickly learn whether the walkways feel tight.
Seating: How Many Stools Fit?
Seating is one of the biggest draws of a large island. Plan on 24 inches of linear counter width per stool so elbows do not collide. A 7-foot island comfortably seats three, while a 10-foot island can seat four to five along one side, or six if you wrap seating around a corner.
Decide early whether you want counter-height seating (36 inches, using standard counter stools) or a raised bar (42 inches). Counter-height keeps the surface continuous and is easier for older family members and kids. A raised bar hides prep clutter from view in an open room, which is a real advantage when guests are seated in the adjacent living area.
Layout and Feature Options
A large island can absorb far more than seating. Because the footprint is big, you can build in features that would crowd a smaller counter.
- Prep sink or main sink: Placing the sink in the island lets the cook face the room and interact with guests.
- Cooktop with downdraft: Possible, but budget for ventilation and check code for clearances behind seating.
- Dishwasher and trash pull-outs: Keep the cleanup zone near the sink.
- Deep drawers and open shelving: Use the back side facing the living room for cookbooks, baskets, or display.
- Microwave drawer and wine fridge: Popular add-ons that free up perimeter cabinets.
- A second material or tier: Butcher block for prep alongside quartz for dining adds warmth and function.
Single-Level vs. Two-Tier
A single-level island looks sleek and maximizes usable surface, ideal for baking or laying out a buffet. A two-tier design separates messy prep from the dining ledge. In truly open floor plans, many designers now favor a single flush level because it photographs cleaner and feels more contemporary.
Choosing Countertop and Base Materials
Because the island is the focal point, material choice matters more here than anywhere else in the kitchen. Quartz remains the most popular choice for its durability and consistent look. Natural stone like quartzite or marble delivers drama but demands more care. Butcher block adds warmth as an accent.
For a large slab, watch for seams. Islands over about 10 feet may require a seam unless you use an oversized slab, so discuss seam placement with your fabricator before ordering. A waterfall edge, where the countertop material runs down the sides to the floor, is a signature look for an open concept large kitchen island and reinforces its role as a piece of furniture.
The base cabinetry can match the perimeter or contrast with it. A contrasting island color, such as a deep navy or forest green base against white perimeter cabinets, is one of the most reliable ways to make the island pop in an open room.
Lighting and Electrical
Lighting defines the island as its own zone within the open space. Two or three pendant lights are standard for a large island; hang them 30 to 36 inches above the countertop and space them evenly along the length. For a 10-foot island, three pendants usually look balanced.
Plan electrical early. Building codes typically require receptacles for island counters, and you will want outlets for small appliances and phone charging. Pop-up or under-lip outlets keep the clean lines of a waterfall edge intact.
Cost Expectations
A large custom island is a significant investment. Cabinetry and countertop for a sizable island commonly run between $4,000 and $12,000, and adding plumbing, electrical, or a cooktop pushes the total higher.
- Cabinetry base: $2,000 to $6,000 depending on custom vs. stock and material quality.
- Countertop: $2,000 to $5,000 for quartz or stone on a large surface, more with a waterfall edge.
- Plumbing rough-in: $500 to $2,000 to run water and drain lines to the island.
- Electrical: $300 to $1,000 for outlets and pendant wiring.
- Installation and labor: Varies widely by region and complexity.
Common Mistakes to Avoid
The most frequent error is oversizing the island so much that walkways choke. Bigger is only better up to the point where circulation suffers. A second common misstep is cramming too many functions, a sink, cooktop, and seating, onto one island, leaving no clear prep space.
Finally, do not forget the reach factor. An island deeper than 48 inches can leave the center impossible to clean or reach from either side. If you want extra depth, plan access from both sides or use the far half for a lower display shelf.
Maximizing Storage in a Large Island
A big island is a storage powerhouse if you plan it well. The base can hold far more than a run of standard cabinets, so use the depth and length to consolidate items that would otherwise clutter perimeter cabinets.
- Deep drawers: Full-extension drawers for pots, pans, and mixing bowls are more accessible than low cabinets.
- Pull-out trash and recycling: Keep waste hidden and near the prep zone.
- Vertical dividers: Store baking sheets, cutting boards, and trays upright.
- Appliance garage or drawer: Tuck a mixer or toaster out of sight.
- Open shelving on the seating side: Display cookbooks, baskets, or decorative pieces facing the living area.
- Toe-kick drawers: Reclaim the base for flat items like platters.
Styling the Island as a Focal Point
Because it anchors an open room, the island doubles as a piece of furniture that the whole space sees. Small styling choices amplify its impact. A contrasting base color, distinctive pendant lights, and considered hardware turn a functional counter into a design centerpiece.
Keep the surface mostly clear so the material and any waterfall edge can shine; a single bowl of fruit, a cutting board, or a small arrangement reads as intentional, while clutter undermines the effect. Coordinate the island’s metals, whether the faucet, pendants, and stool frames, so the piece feels cohesive from across the room.
Common Questions About Large Islands
Homeowners planning a big island often circle back to a few practical points. Can the floor support it? A large island with a stone top is heavy, so confirm the subfloor and joists can carry the load, especially in older homes or over crawl spaces. Do you need a professional? Design and layout benefit from a kitchen designer’s eye, and any plumbing or electrical work should follow code and often requires a licensed trade.
How far in advance should you order the countertop? Large slabs, particularly for a waterfall edge, can have lead times of several weeks, so template and order early to avoid holding up the project.
A well-planned open concept large kitchen island ties the whole floor plan together, giving you room to cook, gather, and entertain in one seamless space. Nail the clearances and proportions first, and the finishes will follow.