Most people assume you never need ventilation outdoors, and for a grill sitting in the open air, that is true. But the moment you tuck that grill under a roof, pergola, pavilion, or covered patio, the physics change completely. An outdoor kitchen vent hood becomes essential to pull smoke, grease-laden air, and intense heat away from the covered space before it stains the ceiling, sets off problems, or simply drives your guests away. Getting the sizing and placement right is the difference between a comfortable covered kitchen and a smoke-filled one.
Part of our Kitchen Remodeling guide — explore the full guide →
- Do You Actually Need an Outdoor Vent Hood?
- Sizing the Hood: CFM Matters Most
- Hood Width and Mounting Height
- Ducted vs. the Reality of Outdoor Venting
- Materials Built for the Elements
- Grease Management and Maintenance
- Electrical and Installation Considerations
- Lighting, Controls, and Nice-to-Haves
- Budgeting for the Project
- Wall-Mount vs. Island-Mount Configurations
Do You Actually Need an Outdoor Vent Hood?
The rule of thumb is straightforward: if your grill is under any solid overhead structure, you need a vent hood. If it sits fully in the open sky, you generally do not. Smoke and combustion byproducts naturally rise and dissipate outdoors, but a roof traps them, and they have nowhere to go but back down onto your cooking area and up into the ceiling material.
Beyond comfort, there are real consequences to skipping ventilation under cover. Grease and smoke discolor and coat the underside of a roof, heat can damage ceiling finishes and mounted fixtures, and a buildup of combustion gases in an enclosed area is a genuine safety concern. Many building codes and manufacturers explicitly require ventilation for grills installed under a roof, so check local requirements before you build.
Sizing the Hood: CFM Matters Most
The single most important spec is airflow, measured in cubic feet per minute (CFM). An underpowered hood is nearly useless; it looks the part but cannot move enough air to clear the smoke. Outdoor grills produce far more heat and smoke than an indoor range, so outdoor hoods need substantially higher CFM.
A common guideline is roughly 100 CFM per linear foot of grill for indoor use, but outdoor cooking demands more, often calculated on the grill’s total BTU output. A frequently cited method divides the grill’s maximum BTU by 100 to estimate required CFM. A 60,000 BTU grill, by that method, points toward a hood in the neighborhood of 600 CFM, and many outdoor hoods for serious grills range from 1,000 to 1,500 CFM or higher.
- Calculate from BTU: Higher-output grills and side burners need more airflow.
- Account for hood size: The hood should be as wide as the grill, ideally a few inches wider on each side.
- Consider duct length: Long or bendy duct runs reduce effective airflow, so size up if the run is long.
Hood Width and Mounting Height
Coverage is as important as power. The hood should extend at least three inches beyond each side of the cooking surface, and more overhang improves capture. A hood narrower than the grill will let smoke escape from the edges no matter how high its CFM rating.
Mounting height is a balancing act. Too high and the hood loses its capture ability; too low and it interferes with cooking and risks heat damage. Outdoor hoods are typically mounted higher than indoor ones to accommodate an open grill lid and the greater heat, often around 36 to 42 inches above the cooking surface, but always follow the manufacturer’s specification for your model. A taller mount generally requires a larger, more powerful hood to compensate.
Ducted vs. the Reality of Outdoor Venting
Outdoor kitchen hoods are ducted, not recirculating. The whole point is to expel smoke and heat away from the covered area, so the duct must terminate at a proper exit, typically up through the roof of the structure or out through a wall. Recirculating (ductless) hoods, which filter and return air indoors, have no place in an outdoor kitchen because they cannot remove the heat and only partially clean the air.
Keep the duct run as short and straight as possible. Every elbow and every extra foot of duct reduces airflow, so plan the hood’s location where a clean vertical run to the roof is feasible. Use the duct diameter the manufacturer specifies; reducing it chokes performance.
Materials Built for the Elements
An outdoor hood lives in the weather, so material quality is not negotiable. Marine-grade or high-grade stainless steel, commonly 304 stainless, resists corrosion from rain, humidity, and coastal salt air. In salt-heavy coastal environments, look for 316 stainless, which offers even better corrosion resistance.
Lower grades of stainless or standard indoor hoods will rust and stain outdoors within a season or two. Also confirm the internal components, blower, wiring, and switches, are rated for outdoor use and protected from moisture. A hood that looks identical to an indoor model may lack the weatherproofing that outdoor duty demands.
Grease Management and Maintenance
Grilling produces a lot of grease, and a good outdoor hood manages it. Look for baffle filters, which are more effective and durable than mesh filters for capturing grease, and a grease cup or tray that collects drippings for easy disposal. Baffle filters are also dishwasher-safe on many models, which makes upkeep simple.
Clean the filters regularly during grilling season, since a grease-clogged filter both reduces airflow and becomes a fire risk. Wipe down the stainless surfaces to prevent grease and weather from etching the finish, and periodically check that the blower and any external vent cap are clear of debris and nesting insects.
Electrical and Installation Considerations
An outdoor vent hood needs power, so the installation involves electrical work best handled by a professional in most cases. The circuit must be outdoor-rated with proper GFCI protection, and the wiring must be run and sealed to keep moisture out. Many homeowners install the hood structure themselves but hire an electrician for the connection and a contractor for the roof or wall penetration and flashing, which must be watertight.
Plan the hood into the covered structure from the start if you can. Retrofitting a duct through a finished roof or ceiling is far more disruptive and expensive than roughing it in during construction. If you are still building the pavilion or pergola cover, coordinate the hood location, duct path, and electrical run before the ceiling goes up.
Lighting, Controls, and Nice-to-Haves
Beyond the core function, useful features improve the experience. Built-in task lighting illuminates the grill for evening cooking. Multiple fan speeds let you match airflow to the cooking task, from a low simmer to a hard sear. Heat sensors on higher-end models can automatically ramp the fan when the grill gets hot. Weatherproof controls and a durable finish round out a hood built to last through many seasons outdoors.
Budgeting for the Project
Outdoor vent hoods themselves typically range from about $800 for a modest unit to $3,000 or more for a large, high-CFM, marine-grade hood. Add ductwork, the roof or wall penetration, electrical, and labor, and a complete installed system commonly lands between $1,500 and $5,000 depending on complexity and how much of the structure already exists.
Wall-Mount vs. Island-Mount Configurations
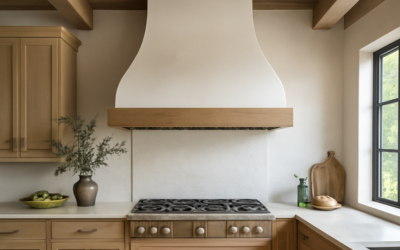
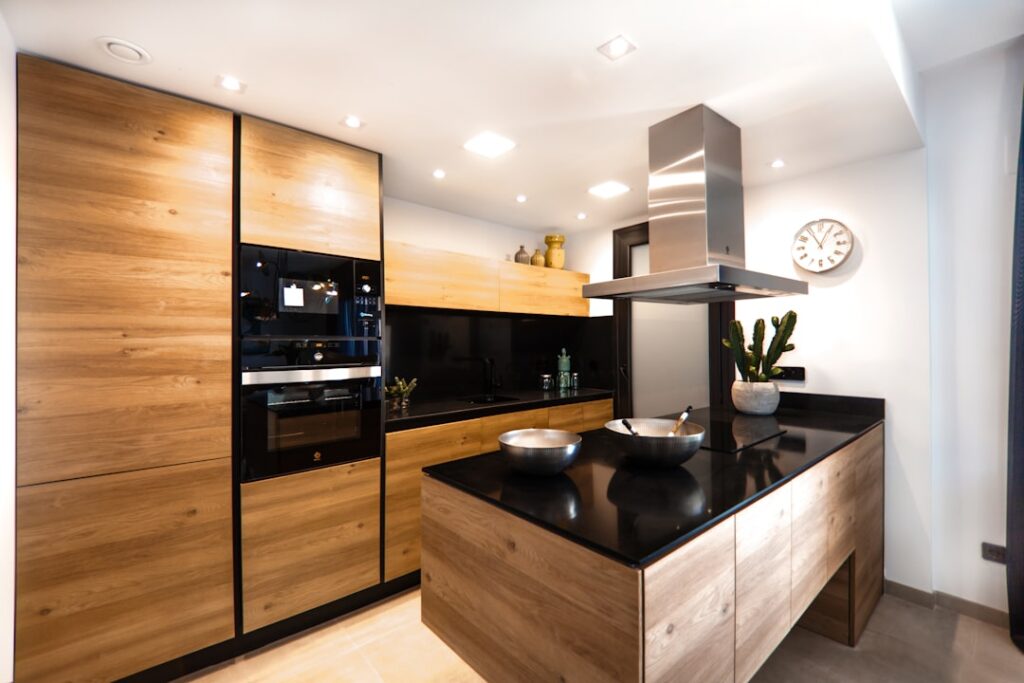
Like indoor hoods, outdoor units come in configurations to match your layout. A wall-mount hood attaches to a vertical surface behind the grill and vents up and out through that wall or the structure above, the most common and generally simplest setup when the grill backs up to a wall of the pavilion. An island-mount hood hangs from the ceiling over a freestanding grill island, venting straight up through the roof, and it must capture smoke from a cooktop with no wall to help contain it, so it typically needs to be larger and more powerful.
Choose the configuration that matches where your grill sits before you buy, since the mounting hardware and duct path differ. If your grill is against a wall of the covered structure, a wall-mount hood is efficient and economical. If it occupies a central island under an open pavilion, budget for a larger island-mount hood with higher CFM to compensate for the lack of surrounding surfaces to trap smoke.
An outdoor kitchen vent hood is one of those components people are tempted to skip to save money, only to regret it the first time the covered patio fills with smoke. If your grill lives under a roof, treat proper ventilation as a core part of the build. Size the hood generously from your grill’s BTU, cover the full cooking width, use weather-grade stainless, and keep the duct run short and straight to the outside. Do that, and your covered kitchen stays clear, comfortable, and safe every time you fire up the grill.