Skipping primer is the shortcut that shows up six months later as peeling paint, bleeding knots, and blotchy sheen. The right paint primer for wood does three jobs a topcoat cannot: it grips the surface so paint sticks, it seals porous grain so the finish is uniform, and it blocks tannins and stains from bleeding through. Get the primer right and the paint is the easy part.
- Why Wood Specifically Needs Primer
- The Three Types of Wood Primer
- Which Primer for Which Job
- Coverage and How Much to Buy
- Surface Prep Before Priming
- How to Apply Wood Primer
- Interior vs. Exterior Wood Primer
- How Long Primer Can Sit Before Topcoat
- How Many Coats You Actually Need
- Common Mistakes
- The Bottom Line
This guide covers the three types of paint primer for wood, when to use each, coverage and cost, and how to apply it so your finish lasts.
Why Wood Specifically Needs Primer
Wood is not a neutral surface. It is porous, it releases tannins (especially cedar, redwood, mahogany, and pine knots), and bare or previously stained wood does not give paint much to grip. Without primer:
- Tannins bleed through light paint as brown or yellow stains, worst around knots.
- Grain telegraphs unevenly because porous areas soak up paint differently than dense areas.
- Adhesion fails on glossy, oily, or previously finished wood, and the paint peels.
- You waste topcoat — thirsty bare wood drinks expensive paint that primer would have sealed off cheaply.
Primer is cheaper than paint and formulated for exactly these problems, so it is false economy to skip it.
The Three Types of Wood Primer
Oil-Based Primer
The traditional workhorse. Oil primer penetrates deep, seals grain beautifully, blocks most tannin bleed, and grips glossy and weathered surfaces. It is the go-to for exterior wood, cedar and redwood siding, and previously oil-painted trim. Downsides: strong fumes, longer dry time (often 8 to 24 hours to recoat), cleanup with mineral spirits, and it can yellow over time under white paint. Cost runs roughly $25 to $40 a gallon. Brands: Zinsser Cover Stain, KILZ Original (oil).
Shellac-Based Primer
The heavyweight stain blocker. Shellac primer (Zinsser B-I-N is the classic) seals the most stubborn tannin bleed, knots, water stains, smoke, and odors better than anything else, and it dries in about 45 minutes. It grips almost any surface. Downsides: alcohol cleanup, strong smell, and it is the most expensive at around $40 to $55 a gallon. Use it spot-priming knots even under a latex primer, or as the full primer on stain-prone wood and problem surfaces.
Latex (Water-Based) Primer
The convenient modern choice. Latex primer is low-odor, dries fast (recoat in 1 to 3 hours), cleans up with water, stays flexible, and does not yellow. It is excellent for new drywall and paint-grade wood that is not heavily tannin-prone. Its weakness is stain blocking — standard latex primer will let cedar and knot tannins bleed through, though “stain-blocking” acrylic formulas have improved. Cost is about $20 to $35 a gallon. Brands: KILZ 2, Zinsser Bulls Eye 1-2-3.
Which Primer for Which Job
- Bare pine trim indoors: latex stain-blocking primer, with shellac spot-priming over knots.
- Cedar or redwood siding: oil-based (or a quality stain-blocking primer) to stop tannin bleed.
- Knots, water stains, smoke, odor: shellac-based, full coat or spot.
- Previously glossy or oil-painted wood: oil or shellac for adhesion (after sanding/deglossing).
- Paint-grade MDF and new smooth wood: latex primer is fine.
- Exterior weathered wood: oil-based for penetration.
Coverage and How Much to Buy
Most wood primers cover roughly 300 to 400 square feet per gallon on smooth wood, less on rough or thirsty surfaces where bare grain drinks it in. Bare and porous wood usually wants one solid coat; stain-prone or previously dark surfaces may need two. As a rule, buy a gallon per 300 to 350 square feet you intend to prime, and round up — running out mid-project and switching cans mid-wall causes lap and sheen issues.
Surface Prep Before Priming
Primer bonds to what is under it, so prep matters:
- Clean: remove dust, grease, and mildew. Degrease kitchen and bath wood; wash and let dry exterior wood.
- Sand: scuff glossy surfaces with 150 to 220 grit so the primer can grip. Smooth any raised grain or rough spots.
- Repair: fill nail holes and gaps with wood filler or caulk after priming bare wood, or before — filler grips better over primer in many cases, so a light prime-fill-prime sequence works well on trim.
- Dust off: wipe with a tack cloth. Any dust left behind ends up under your finish.
How to Apply Wood Primer
- Stir thoroughly — do not shake shellac or oil (bubbles). Work in a ventilated space, especially with oil and shellac.
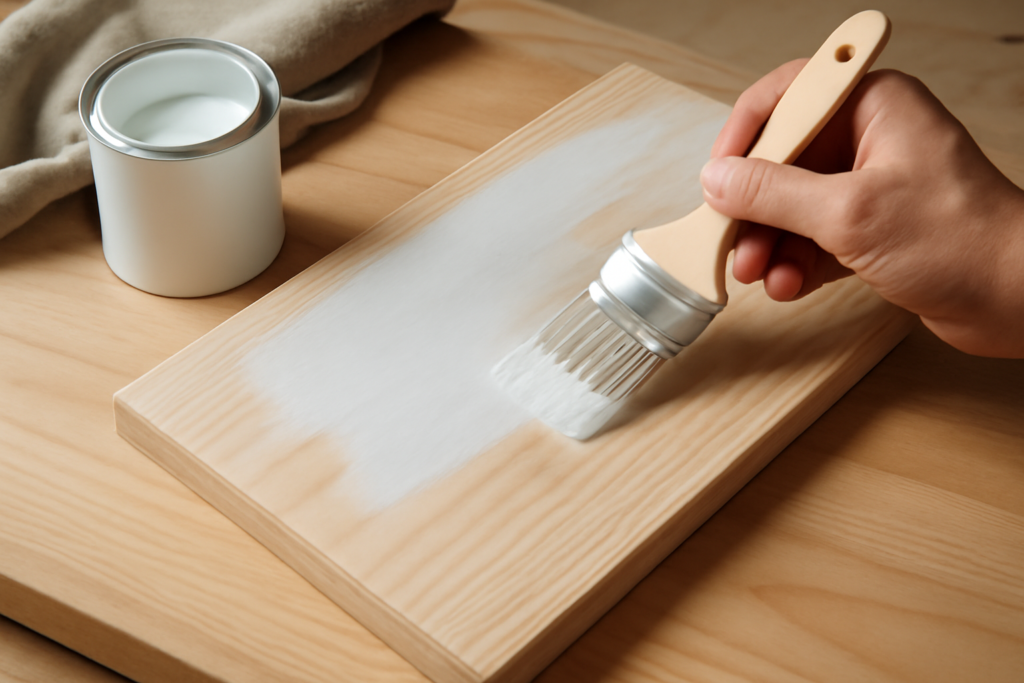
- Cut in edges with a brush, then roll or brush the field. On smooth trim, a quality synthetic brush for latex or a natural-bristle brush for oil gives the cleanest lay-down.
- Apply a thin, even coat — primer is meant to seal, not build. Heavy coats drip and dry unevenly.
- Respect the recoat window: latex 1 to 3 hours, oil often overnight, shellac about 45 minutes.
- Sand the primer lightly with 220 grit once dry. This is the step people skip and it is what separates a smooth topcoat from a rough one — knock down raised grain and brush marks before painting.
- Wipe the dust, then apply your topcoat.
Interior vs. Exterior Wood Primer
The demands on the two are different, and using an interior primer outside is a fast route to failure. Exterior wood primer must flex through seasonal expansion and contraction, resist UV and moisture, and grip weathered wood — which is why oil-based and quality exterior acrylic primers dominate outdoor work, especially on cedar, redwood, and any wood facing weather. Interior primer can prioritize low odor, fast dry, and a smooth sandable surface since it never sees rain or sun. If you are priming a front door, exterior trim, siding, or a deck rail, buy a primer rated for exterior use. For inside trim, doors, cabinets, and built-ins, an interior-rated primer is correct and usually more pleasant to work with. Never assume one product does both jobs unless the label specifically says interior/exterior.
How Long Primer Can Sit Before Topcoat
Primer is not a finish, and most primers have a window in which they must be topcoated. Many latex and oil primers should be painted within about 30 days; leave bare primer exposed much longer — especially outdoors — and it degrades, chalks, and loses the bond you are counting on. Shellac primer can wait longer indoors but still should not be left as a final coat. Read the product’s recoat and topcoat-window guidance, and plan your project so priming and painting happen within a reasonable span. If a primed surface has sat for weeks, a light scuff-sand and a fresh coat of primer restores the bond before you paint.
How Many Coats You Actually Need
One well-applied coat of the right primer is enough for most bare, paint-grade wood. Go to two coats when you are covering a dark or strongly colored surface, when the wood is very porous and drinks the first coat, or when you are fighting stubborn tannin bleed — in which case a second coat of shellac over the problem areas is more effective than a general second coat. More primer is not always better; two thin sealed coats beat one heavy gummy one. The goal is a uniform, sealed, lightly sanded surface, not maximum film thickness. Once the surface looks and feels evenly sealed with no bleed-through and no bare patches, you are ready for paint.
Common Mistakes
- Using latex over knots and cedar and getting brown bleed-through — spot-prime with shellac.
- Not sanding the primer, leaving a gritty finish.
- Priming over grease or gloss without cleaning and deglossing — guaranteed peeling.
- Applying too thick, which cures soft and gummy.
- Skipping primer entirely on bare wood to “save a step,” then repainting when it fails.
The Bottom Line
Match the primer to the problem: latex for easy paint-grade jobs, oil for exterior and adhesion, shellac for the worst stains and knots. Prep the surface, apply one thin sealed coat, sand it smooth, and your topcoat will lay down evenly and stay put for years. A good paint primer for wood is the cheapest insurance in the whole project — a $30 gallon that keeps a $60 gallon of finish from peeling is money well spent.