A typical 1,500-square-foot attic with original 1980s R-19 batt insulation loses roughly $340 to $720 per year in heating and cooling costs that proper R-49 to R-60 attic insulation would capture. Blowing insulation into an attic is the single highest ROI home-energy project most homeowners can complete in a single weekend, with payback periods averaging 2.5 to 6 years and material costs running $0.65 to $1.85 per square foot for the depth required to hit current IECC R-49 minimums in zones 4 through 7. Rent a blower for free with bulk bag purchase at Home Depot or Lowe’s and the DIY cost drops to roughly half what a contractor charges.
Choosing Cellulose vs Fiberglass vs Mineral Wool
Cellulose insulation from Greenfiber, Applegate, or US GreenFiber runs $0.55 to $0.85 per square foot for R-49 coverage and delivers slightly better air-sealing performance because the dense fibers settle into gaps. It’s made from recycled newsprint treated with borate for fire and pest resistance per ASTM C739.
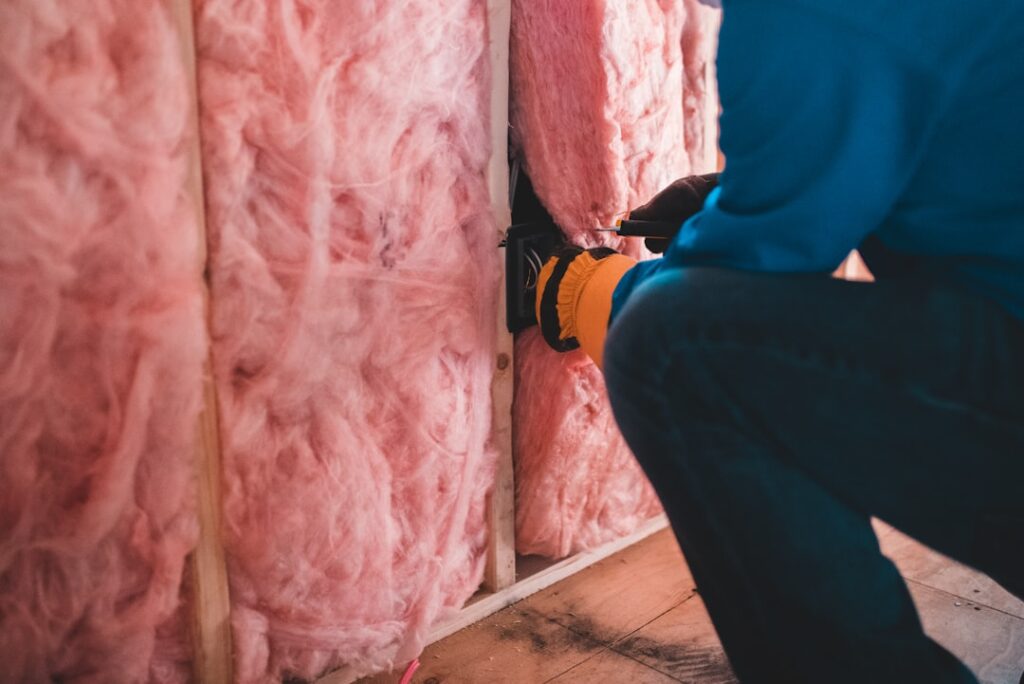
Loose-fill fiberglass from Owens Corning ProPink AttiCat or Johns Manville Climate Pro runs $0.45 to $0.75 per square foot for the same R-value. It weighs less than cellulose (important on older ceiling joists rated for limited dead load) and doesn’t absorb moisture in the event of a roof leak. Mineral wool from Rockwool runs $1.20 to $1.85 per square foot but offers superior fire resistance and acoustic performance.
Calculating R-Value and Depth
The 2021 IECC requires R-49 attic insulation in climate zones 4 through 8 (most of the northern US), R-38 in zones 2 and 3, and R-30 in zone 1. For loose-fill cellulose, R-49 requires roughly 13.5 inches of settled depth. For loose-fill fiberglass, R-49 requires 16 to 17 inches because fiberglass has a slightly lower R-value per inch.
Measure existing insulation depth at six points across the attic. If current depth is under 6 inches, plan to add the full target depth on top. Most bag labels print a coverage chart showing how many square feet one bag covers at a given R-value; multiply your square footage and round up by 10 percent for waste.
Prep Work Before You Blow
Air sealing before insulating is non-negotiable. Up to 40 percent of the energy benefit of new insulation comes from sealing penetrations that bypass it. Seal top plates, recessed light cans, plumbing chases, and around bathroom fan housings with low-expansion foam (Great Stuff Pro Gaps & Cracks at $9 per can) or fire-block sealant (3M FB-3000WT at $18 per tube) for openings adjacent to chimneys or flue pipes per IRC R302.11.
Install soffit baffles at every rafter bay to maintain the soffit-to-ridge ventilation pathway. Owens Corning Raft-R-Mate baffles at $1.85 each prevent loose-fill from blocking soffit vents and causing ice damming. Build dam walls of rigid foam around attic accesses and recessed fixtures to keep blown insulation contained.
Machine Rental and Setup
Big-box retailers loan a Krendl or Cool Machine blower free with the purchase of 10 to 20 bags. The machine plugs into a standard 15-amp 120V outlet, weighs around 175 pounds, and ships with a 100-foot hose. You’ll need one helper at the machine feeding bags and one in the attic directing the hose.
Place the machine outdoors or in the garage; the dust output is significant. Run the hose through an attic access vent or a gable-end window. Communicate with two-way radios or cell phones because attic noise plus machine noise makes shouting impossible.
Safe Working Conditions
Pick a cool day; attic temperatures climb to 130°F by mid-morning in summer. Wear an N95 respirator minimum (P100 for cellulose), Tyvek coveralls, safety glasses, and gloves. The borate in cellulose isn’t acutely toxic but irritates eyes and skin. Fiberglass particles cause persistent skin irritation.
Walk only on ceiling joists or temporary 2×10 catwalks. Drywall ceilings will not support body weight between joists. Keep a flashlight, water bottle, and phone in your pocket. Work in 45-minute sessions with cool-down breaks; heat exhaustion in an attic happens faster than people expect.
Blowing Technique
Start at the far corner of the attic farthest from the access, working backward toward the exit so you don’t trample finished insulation. Hold the hose 2 to 3 feet above the joists and move steadily side to side. Use the depth markers (every reputable manufacturer ships rulers stapled to roof framing) to maintain consistent target depth.
Fill bays evenly rather than mounding in some spots. Convective loops form when insulation depth varies more than 20 percent across the attic, degrading effective R-value. Plan to overshoot the depth target by 1 inch to account for settling over the first 12 months.
Wall and Rim Joist Applications
Dense-pack cellulose in existing walls runs $1.40 to $2.85 per square foot for contractor installation and requires drilling 2-inch access holes between every stud bay. DIY is possible but requires careful technique to hit the 3.5-pound-per-cubic-foot density that prevents settling. Most homeowners hire this out.
Rim joists in basements benefit from 2 inches of closed-cell spray foam ($1.85 per board foot from Touch ‘n Foam Pro 200) followed by R-19 batt insulation. Loose-fill is not appropriate for rim joists because gravity pulls it down over time.
Cost Comparison and ROI
A 1,500-square-foot attic insulated DIY from R-19 to R-49 using cellulose runs $850 to $1,400 in materials with a free blower rental. Contractor installation of the same scope runs $2,200 to $4,500. Federal tax credits under the Inflation Reduction Act cover 30 percent of materials up to $1,200 per year through 2032, dropping the effective DIY cost to roughly $600 to $1,000 for a project that saves $340 to $720 annually.
Verifying Coverage After the Job
Document final depth at the corners and center of the attic with photos and a ruler. Most utility rebate programs (Mass Save, ConEd Energy Efficiency, ComEd, Xcel) require photo documentation showing rulers in place at 5 to 10 locations to qualify for $200 to $1,200 in rebates. Save bag receipts; some programs require proof of coverage area calculated against bag count. Inspect the attic 12 months after installation to verify settled depth still meets the target and that no critter has tunneled through. Top-off bags ($25 each) are usually all that’s needed if settling exceeds expectations.