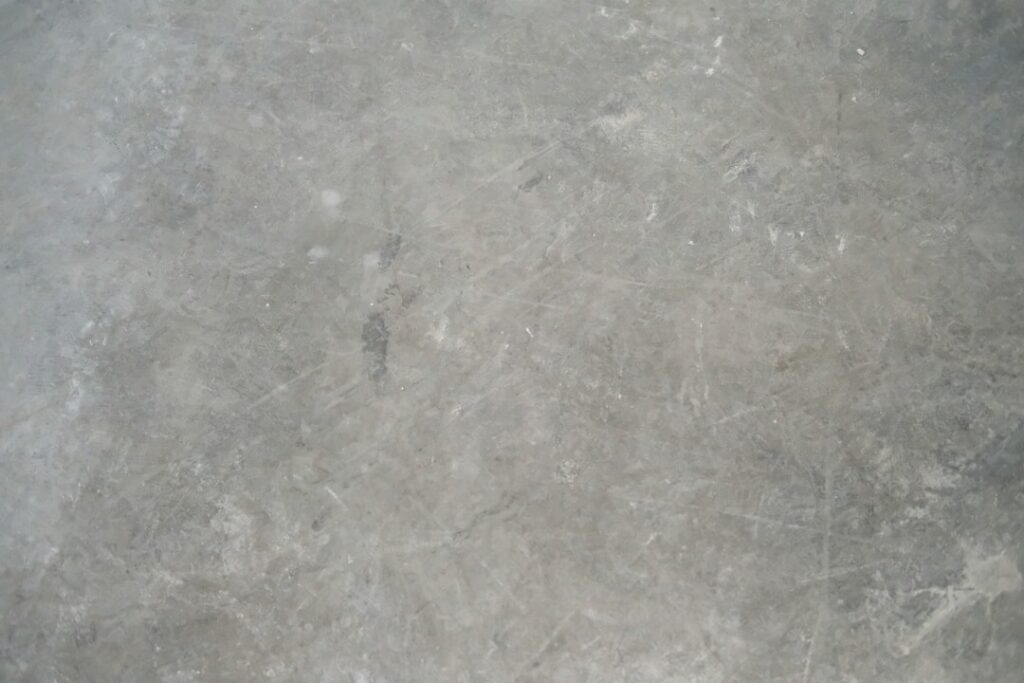
Concrete looks indestructible until the day it isn’t. Cracks, spalling, pitted spots, and uneven patches show up in basements, garages, and slab foundations everywhere, and left alone they only spread. Patching a concrete floor is one of the most common and most rewarding DIY repairs a homeowner can take on, restoring a smooth, sound surface for a fraction of the cost of replacement. The trick is choosing the right product for the damage and prepping the surface properly, because patch material only sticks when the prep is done right.
Part of our Epoxy, Concrete & Garage Floors guide — explore the full guide →
When a Concrete Floor Needs Patching
Not every mark in concrete demands repair, but several conditions do. Hairline surface cracks are cosmetic, but cracks wider than 1/8 inch let in moisture and grow. Spalling, where the top layer flakes away, exposes weaker concrete underneath. Pits, divots, and chipped edges create trip hazards and stop new flooring from sitting flat.
If you plan to install tile, vinyl plank, or epoxy over the slab, even minor unevenness has to be patched first, because the finish floor telegraphs every flaw beneath it.
Types of Concrete Patch Products
Matching the product to the job is the most important decision you’ll make.
- Vinyl concrete patcher: A thin, strong, polymer-modified mix for shallow holes, chips, and feather-edge repairs as thin as 1/8 inch.
- Concrete resurfacer: A pourable overlay for refreshing a worn or spalled surface across a large area.
- Hydraulic cement: Expands as it sets and cures fast, ideal for cracks where active water is seeping in.
- Epoxy and polyurea fillers: Two-part repair compounds for structural cracks and high-strength bonds.
- Self-leveling underlayment: A flowable cement for leveling large uneven areas before new flooring.
Pros and Cons of Patching
Patching is almost always the smart first move, but it has limits worth knowing.
Pros: It’s inexpensive, with most products costing $10 to $40 per bag or container. It’s fast, with many repairs walkable in a few hours. It extends the life of the slab and creates a sound base for new flooring. And most repairs are well within DIY reach.
Cons: Patches can be visible, so a repaired garage floor rarely looks seamless unless you coat the whole surface afterward. Patching also won’t fix a slab with serious structural movement, settling, or heaving; those need professional evaluation. And a poorly prepped patch will pop loose, wasting your effort.
Step-by-Step Patching Process
The repair itself is straightforward once you respect the prep work.
- Clean the area thoroughly, removing all loose debris, dust, oil, and crumbling concrete. A wire brush and shop vacuum are essential.
- Widen and undercut cracks slightly with a chisel so the patch keys into the slab rather than sitting on top.
- Dampen the area for cement-based patches (but not epoxy), since dry concrete pulls water out of the mix and weakens the bond.
- Mix the product to the manufacturer’s consistency; too wet and it shrinks and cracks.
- Trowel the patch firmly into the void, pressing to eliminate air pockets, then smooth flush with the surface.
- Let it cure fully before sanding, painting, or installing flooring, typically 24 hours for light use and longer for full strength.
Prep Is Everything
The single biggest reason patches fail is poor surface preparation. Patch material bonds to clean, sound, slightly profiled concrete, not to dust, grease, or loose flakes. Always vacuum after brushing, and consider a concrete bonding adhesive or primer for larger repairs to dramatically improve adhesion. On oily garage floors, degrease the area first; oil is the enemy of every cement patch.
Leveling Large or Uneven Areas
For widespread unevenness rather than isolated holes, self-leveling underlayment is the right tool. You prime the slab, mix the underlayment to a pourable consistency, and pour it across the floor where it flows out to a flat plane on its own. It’s the standard prep before tile or luxury vinyl over a wavy slab. Plan carefully, because these products set fast and you can’t rework them once they start to skin over.
Cost Expectations
DIY patching is cheap, often $20 to $60 in materials for a typical repair plus a few basic tools. A bag of self-leveler runs $30 to $50 and covers a modest area at a 1/4 inch depth. Professional concrete repair starts higher, typically $300 to $1,500 depending on the scope, but is worth it for structural cracks or large slabs. For most cosmetic and prep-level repairs, the DIY route saves real money.
Identifying the Cause Before You Patch
A patch that ignores the underlying cause is a temporary fix. Before you trowel anything, figure out why the concrete failed. Surface spalling often comes from de-icing salts, freeze-thaw cycling, or a slab that was finished poorly. Random cracking can be normal shrinkage, but cracks that keep widening, run on a diagonal, or show one side higher than the other may signal foundation movement.
Moisture is the most common hidden culprit. Water seeping up through a slab pushes patches loose, fuels efflorescence (the white powdery residue you see on basement floors), and ruins any flooring installed over it. If a slab is consistently damp, tape a square of plastic sheeting to it for 24 hours; condensation underneath confirms a moisture problem that needs addressing before patching or finishing. Treating the cause first means your repair actually lasts.
Patching Before New Flooring
If your goal is to install tile, vinyl plank, laminate, or epoxy over the slab, the patching standard is higher than for a bare garage floor. The finished surface telegraphs every bump, ridge, and divot beneath it, so the substrate must be smooth and flat. Run a straightedge across the floor to find high and low spots; low areas get filled with patch or self-leveler, and high ridges get ground down.
For large areas of unevenness, self-leveling underlayment is faster and flatter than hand-troweling dozens of spots. For tile specifically, a few high spots cause lippage, while low spots create hollow tiles that crack underfoot. Spend the extra time getting the slab flat and dust-free, prime it if the product calls for it, and the finished floor goes down faster and lasts longer. Rushing this prep is the most common reason new floors fail early.
Finishing the Repair
Once cured, a patched floor can be sealed, painted with concrete floor paint, or coated with epoxy to unify the appearance and hide repairs. Sealing also protects against future moisture and staining. If the floor will get a new covering, simply confirm the patch is flat, fully cured, and dust-free before laying anything over it.
Final Thoughts
Patching a concrete floor is one of the highest-value repairs a homeowner can do, restoring a sound surface for very little money. Choose the right product for the damage, take the prep seriously, and let the patch cure fully before stressing it. Tackle cosmetic and surface issues yourself, but call a pro for structural cracks or significant slab movement. Done correctly, a good patch outlasts the floor around it.
Prefer to explore on your own?
See how new flooring looks in your actual room in seconds — free, no signup.
Try the free Floor Studio →