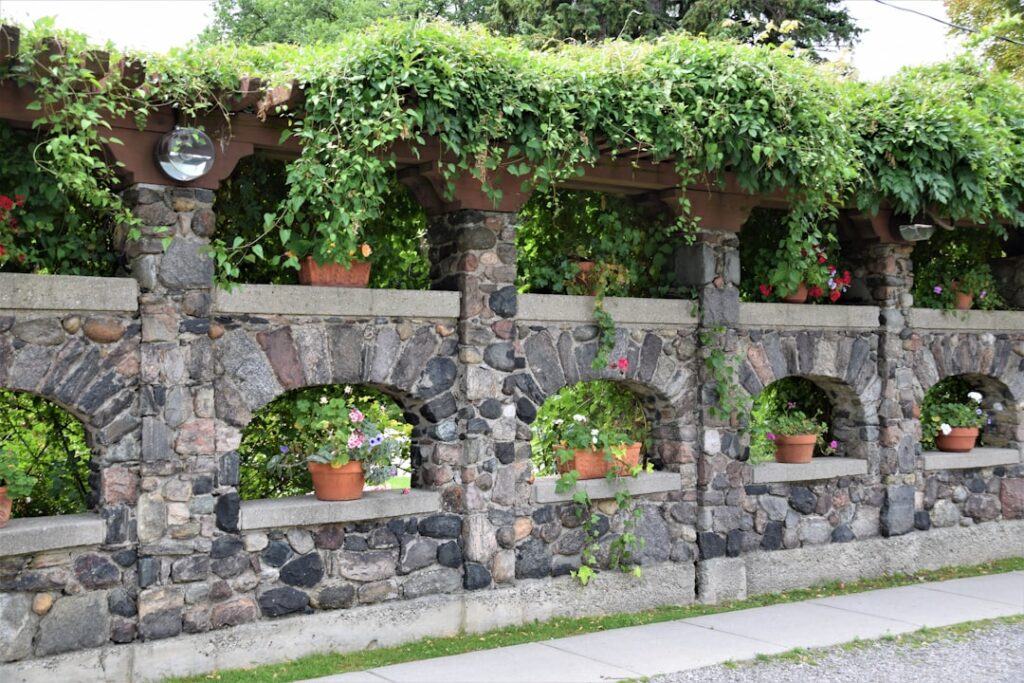
An open pergola frames a space; a wall makes it a room. Adding one or two solid sides to a pergola with privacy wall panels transforms a see-through frame into a sheltered outdoor lounge that blocks the neighbor’s sightline, cuts the prevailing wind, and gives you a surface for lighting, planters, or a TV. It also changes the structure’s engineering in ways most DIY plans ignore — a wall turns your airy frame into a sail, and the footings that held a breezy pergola will not hold a walled one in a 40 mph gust. Here is how to design the wall, size the structure behind it, and retrofit privacy onto a pergola you already own.
One Side or Two: Placing the Privacy
Start with the sightline you are actually blocking, not symmetry. Stand where you will sit — chair height, drink in hand — and note where the exposure comes from: the neighbor’s second-story deck, the street, the kitchen window next door. One wall on that axis solves 80 percent of most privacy problems. Two walls in an L-configuration create a cornered, sheltered feel and handle wind from two quadrants, which suits corner-lot and open-yard installations. Three or more solid sides stops being a pergola and starts being a pavilion, with roofing and drainage questions this article will not drag you into.
Wind is the co-designer here. A wall on the windward side makes the pergola dramatically more usable in spring and fall, but it also takes the full load. If your prevailing wind and your privacy problem come from different directions, consider a solid wall for privacy and a 50-percent-open slat screen on the wind side — partially open screens actually shelter better than solid walls, which spill turbulent air right into the seating zone about one wall-height downwind.
Wall Styles: Slats, Lattice, Louvers, and Curtains
- Horizontal slats are the modern default: 1×4 or 1×6 boards (cedar, thermally modified ash, or aluminum) with 1/2- to 1-inch gaps. At a 3/4-inch gap on 1x6s you get roughly 85 percent visual block from any oblique angle while keeping airflow. Material cost runs $12 to $30 per square foot depending on species.
- Lattice is the budget classic — $3 to $8 per square foot for vinyl or cedar panels — but standard 2-3/4-inch diagonal lattice only reads “private” once a vine fills it. Plant a fast climber (clematis, star jasmine, or crossvine) the same week you build.
- Fixed louvers, angled 30 to 45 degrees, are the privacy sweet spot: full block from the neighbor’s elevation, preserved breeze, and a high-end look. Buy extruded-aluminum louver panels ($25 to $45 per square foot) or rip your own from 1x4s on a jig.
- Curtain tracks add adjustable privacy for $150 to $400 per side — marine-grade track (or simple galvanized pipe) with grommeted Sunbrella or olefin panels. Curtains flog themselves to death if left drawn in wind, so pair them with tie-backs and treat them as calm-evening equipment.
Match the wall material to the pergola rather than introducing a third finish: cedar structure gets cedar or black-aluminum slats; a white vinyl kit gets white vinyl lattice or fabric. A privacy wall is the biggest visual surface in the yard once built — sample the stain on a full board, not a chip.
Privacy Height Math: Seated vs Standing Sightlines
Height should come from geometry, not guesswork. Seated eye level is about 44 to 48 inches; standing eye level is 60 to 66 inches. A 6-foot wall blocks a standing neighbor at grade — but most privacy problems are elevated: a deck 3 feet up, a window 12 feet up. Run the sightline: from the intruding eye position, draw a straight line to your seated head position; the wall must intersect that line. A neighbor’s deck 30 feet away and 5 feet above your patio needs roughly a 7-foot wall placed near your seating, or a shorter wall placed closer to them — screening close to the viewer needs less height than screening close to you, which is why a wall at the pergola beats a fence at the property line for elevated sightlines. For second-story windows, no reasonable wall wins; that job belongs to the pergola’s canopy or a louvered roof section. Check local code before finalizing: many municipalities cap accessory structure walls or treat a walled pergola differently than an open one, and 6 feet 8 inches is a common trigger height.
The Engineering Nobody Mentions: Wind Load and Footings
Here is the number that should change your footing plan: a 10-by-8-foot solid wall in a 40 mph wind carries roughly 320 pounds of lateral force, and gusts in most of the country design to 90 to 115 mph exposure — several times that load, applied cyclically, with leverage multiplied by post height. Open pergolas survive on 12-inch-diameter, 24-inch-deep footings because wind passes through them. Walled pergolas need:
- Bigger, deeper footings on the walled side — 16- to 18-inch diameter, below frost depth, minimum 36 inches in most of the country, with the post anchored on a 1-inch standoff base (Simpson ABU66Z or CBSQ) into the concrete, never just buried.
- 6×6 posts minimum on any wall-bearing corner; 4x4s rack and snap at the notch.
- Knee braces or a continuous top connection tying the wall frame into the pergola beams so the wall and roof structure share load instead of prying apart.
- On concrete patios: expansion-anchor post bases into a slab at least 4 inches thick are acceptable for slat walls with 40 percent-plus open area; solid walls on a floating slab deserve either core-drilled footings through the slab or an engineer’s sign-off.
The cheap insurance version: build the wall as 50 percent open slats instead of solid. You keep most of the privacy, halve the wind load, and standard beefy footings suffice.
Kits With Walls, and Retrofitting One Onto Your Pergola
Several manufacturers now sell the walled look off the shelf. Toja Grid’s modular 4×4 bracket system takes slat-wall kits (about $400 to $700 per wall section) that bolt between posts; Backyard Discovery and Yardistry sell cedar pergolas with integrated privacy panels in the $1,800 to $3,500 range; and aluminum louvered-roof brands (Struxure, Renson, and the mid-market Costco Suncoast units) offer matching louver or screen walls as factory add-ons. Kits solve the connection details but rarely upgrade the footing spec — pour deeper anchors than the manual’s minimum if you add wall sections.
Retrofitting a wall onto an existing pergola is a solid weekend project when done in the right order. First verify the posts: 6x6s on real footings can take a slat wall; 4x4s on deck blocks cannot, full stop. Frame a 2×4 perimeter ladder between the posts with structural screws (GRK RSS or Simpson SDWS, not deck screws), face it with your slats using 2-1/2-inch stainless trim screws and a 3/4-inch spacer block, then add a knee brace from each post to the beam above. Budget $250 to $600 in materials for a typical 8-by-6-foot cedar slat wall. If the pergola sways when you shake a post before you start, fix that first — a wall amplifies existing wobble; it never cures it.
HOA and Neighbor Notes
A pergola with walls sits in HOA gray territory: many covenants approve “open-air pergolas” specifically, and adding solid sides can reclassify the structure as an enclosed accessory building requiring separate approval and setbacks. Submit a simple elevation drawing before you build — approval after the fact is a much worse conversation. Where the wall faces a neighbor directly, put the finished side toward them, keep it off the property-line setback (commonly 5 to 10 feet for structures), and mention it over the fence before the lumber arrives. A privacy wall reads very differently as a courtesy heads-up than as a surprise, and the goodwill costs nothing.