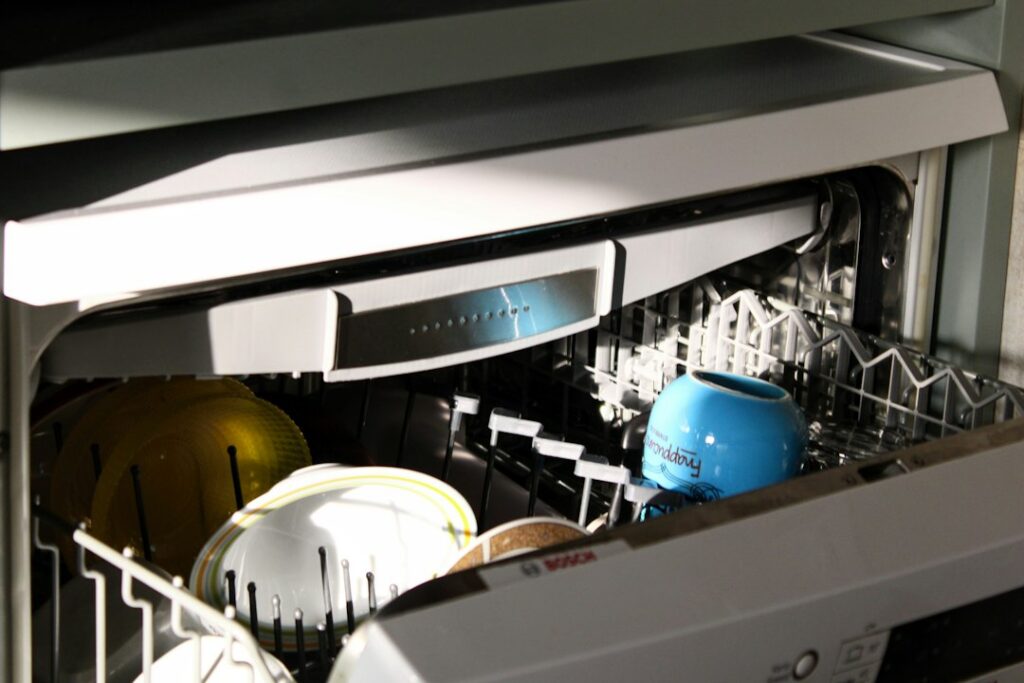
Most problems with rolling and countertop dishwashers start at the sink, not inside the machine. That makes portable dishwasher repair easier than most homeowners expect, because the weak points are the faucet adapter, the quick-connect coupling, and the hoses that get bent, stepped on, and reattached every day. A worn O-ring or a kinked drain hose causes far more service calls than a failed pump.
If your portable unit is leaking at the faucet, check the aerator adapter and its rubber washer first. If it will not fill, confirm the faucet is running hot water at full flow and that the hose has no kinks. If it leaves standing water, clean the filter and straighten the drain hose, which must empty freely into the sink. Those three checks solve the majority of issues in under half an hour, often for the price of a new washer or adapter.
- How Portable Dishwasher Repair Differs From Built-In Units
- Safety First: Disconnect Before You Open Anything
- Tools and Parts You May Need
- Fixing Faucet Adapter Leaks
- Solving Hose Kinks and Leaks
- Drain Problems: Standing Water and Slow Draining
- Fill Problems: Not Filling or Filling Slowly
- Troubleshooting Quick Reference
- Repair or Replace: Typical Cost Ranges
- When to Call a Pro
- Frequently Asked Questions
- Why is my portable dishwasher leaking at the faucet?
- Can I use a portable dishwasher with a pull-down faucet?
- Why won't my portable dishwasher drain?
- Is portable dishwasher repair worth it?
- How often should I replace the faucet adapter washer?
- Do I need to unplug the dishwasher before troubleshooting?
When the problem is inside the tub, such as a dead drain pump, a faulty inlet valve, or a control board error, the repair-versus-replace math changes quickly because these units cost less than built-ins. The guide below covers each fault in order, from the easiest fix to the point where replacement makes more sense.
How Portable Dishwasher Repair Differs From Built-In Units
A built-in dishwasher is plumbed to a dedicated supply line and a drain connection under the sink. A portable model instead connects to your kitchen faucet through a coupling system, often called a unicouple, that carries clean water in and drain water out through a single dual hose. Countertop units work similarly, though some have a built-in water reservoir you fill by hand.
Because every wash starts with you snapping the coupling onto the faucet, the connection hardware wears out faster than anything else. The hoses also flex and coil constantly. Knowing that, you can troubleshoot efficiently: start at the faucet, move to the hoses, then open the machine only if those check out.
Safety First: Disconnect Before You Open Anything
Before removing any panel, kick plate, or inner cover, unplug the dishwasher from the wall outlet. If it is a hardwired model, which is uncommon but possible, switch off the circuit breaker. Then disconnect the unicouple from the faucet and let the hoses drain into the sink or a bucket. Water and electricity share tight spaces inside these machines, and some components can still hold hot water after a cycle, so allow the unit to cool for at least 20 minutes.
Never run the dishwasher with the lower access panel removed, and keep the plug away from any water that spills during troubleshooting. Wipe up spills before plugging back in.
Tools and Parts You May Need
- Adjustable wrench and slip-joint pliers
- Phillips and flathead screwdrivers, plus a Torx driver set (many units use T15 or T20 screws)
- Towels and a shallow pan or bucket
- Replacement rubber washers and O-rings for the coupling
- A new portable dishwasher faucet adapter matched to your faucet’s aerator thread
- Soft brush and white vinegar for cleaning filters and screens
- Multimeter for continuity checks on parts that are fully disconnected from power
Fixing Faucet Adapter Leaks
Water spraying from the top of the coupling is the single most common complaint. The adapter screws into the faucet spout where the aerator normally sits, and the unicouple snaps onto it. Leaks usually come from one of three places.
- Worn adapter washer. Unscrew the adapter from the faucet and inspect the flat rubber washer inside. If it is flattened, cracked, or missing, replace it. Hand-tighten the adapter, then give it about a quarter turn with pliers wrapped in a cloth.
- Wrong thread size. Faucet aerators come in male and female threads and in standard and small sizes. If the adapter only threads partway, it will leak. Take the old aerator to the hardware store to match the thread before buying a new adapter.
- Damaged coupling O-rings. The unicouple head has internal O-rings that seal against the adapter. If they are nicked or dry, water sprays out the sides during filling. Many coupling heads accept replacement O-rings; otherwise, replace the whole coupling.
A pull-down or pull-out sprayer faucet often cannot accept an adapter at all. In that case, some owners install a dedicated adapter-compatible faucet or switch to a countertop model with a fill reservoir.
Solving Hose Kinks and Leaks
Dual hoses are designed to coil, but repeated tight bends create weak spots. Unroll the hose fully and look for flattened sections, cracks near the coupling, or wetness along the length. A kink in the fill side slows or stops filling; a kink in the drain side causes backed-up water and error codes.
- Store the hose loosely coiled in its compartment rather than folded.
- Keep the drain end at least a few inches above the sink bottom so it empties freely.
- Replace any hose with visible cracks. Taping a cracked hose is a short-term fix at best.
If water drips from the back or bottom of the cabinet, trace it with dry paper towels after unplugging. Hose clamps inside the base can loosen, and tightening them often ends the leak.
Drain Problems: Standing Water and Slow Draining
- Clean the filter. Remove the bottom rack, twist out the cylindrical filter, and rinse it under warm water with a soft brush. Food debris here causes most drainage complaints.
- Check the drain hose route. A drooping or kinked drain line, or a coupling that is not fully seated, can block flow.
- Clear the sump. With the unit unplugged, look under the filter for glass shards, bones, or labels jamming the pump inlet. Use gloves.
- Listen to the pump. If you hear a hum but no water moves, the impeller may be jammed. Silence during the drain portion can mean a failed pump or a control fault.
- Test the pump with power off. Once the unit is unplugged and the pump’s wires are disconnected, a multimeter can check the motor winding for continuity. Compare with the resistance listed in the service manual.
Fill Problems: Not Filling or Filling Slowly
Start simple. Portable units need the faucet running at full flow, usually on hot, before and during the cycle. Many models require at least about 20 psi of water pressure. A clogged faucet aerator screen or adapter screen restricts flow, so clean or replace it.
If the faucet side checks out, the problem may be the inlet valve, which opens on a signal from the control to let water in. Its small screen can clog with mineral deposits. With the unit unplugged, remove the lower panel, disconnect the valve, and inspect the screen. A continuity check of the valve solenoid, done only with power disconnected, tells you whether the coil has failed. A float switch stuck in the raised position can also stop filling; lift and release it to make sure it moves freely.
Troubleshooting Quick Reference
| Symptom | Likely cause | First fix |
|---|---|---|
| Spray at faucet | Worn washer or O-ring | Replace washer; check thread size |
| Will not fill | Faucet off, kinked hose, clogged screen | Full-flow hot water; straighten hose |
| Water left in tub | Dirty filter, drain kink | Clean filter; reroute drain hose |
| Leak under unit | Loose clamp, cracked hose | Tighten clamp; replace hose |
| Dishes still dirty | Low water temperature, clogged spray arm | Run hot tap first; clean spray arm holes |
Repair or Replace: Typical Cost Ranges
Faucet adapters, washers, and O-ring kits usually cost a few dollars to around $20. Replacement dual hoses and coupling heads commonly fall in the $20 to $60 range. Internal parts cost more: inlet valves and drain pumps often run from roughly $30 to over $100, and control boards can be a large share of the machine’s value.
A professional service call typically includes a trip fee plus labor. Because many portable and countertop dishwashers sell in the few-hundred-dollar range, a common rule of thumb is to replace the unit if a repair would cost more than about half the price of a comparable new model, or if the machine is more than eight to ten years old and needs a pump or board.
When to Call a Pro
Call an appliance technician when you see burning smells, scorched wiring, repeated breaker trips, error codes that persist after resetting, or water leaking from inside the control area. Also hire help if the fix requires removing the tub or working on the control board, where a mistake can damage an expensive part. A good tech can tell you quickly whether portable dishwasher repair is worthwhile or whether replacing the unit makes more financial sense.
Frequently Asked Questions
Why is my portable dishwasher leaking at the faucet?
The most common causes are a worn washer in the faucet adapter, damaged O-rings in the coupling head, or an adapter with the wrong thread size for your faucet.
Can I use a portable dishwasher with a pull-down faucet?
Usually not directly, since most pull-down sprayers do not accept a standard aerator adapter. Many owners install a compatible faucet or choose a countertop model with a fill tank.
Why won’t my portable dishwasher drain?
Check for a clogged filter, a kinked drain hose, or debris jamming the pump. If those are clear and you hear no pump activity, the drain pump or control may have failed.
Is portable dishwasher repair worth it?
For adapters, hoses, and filters, almost always. For a pump or control board on an older unit, replacement is often more cost-effective.
How often should I replace the faucet adapter washer?
Inspect it every few months and replace it whenever it looks flattened or cracked, or as soon as you notice spraying during filling.
Do I need to unplug the dishwasher before troubleshooting?
Yes. Always unplug the unit, or turn off the breaker for a hardwired model, before removing panels or touching internal parts.