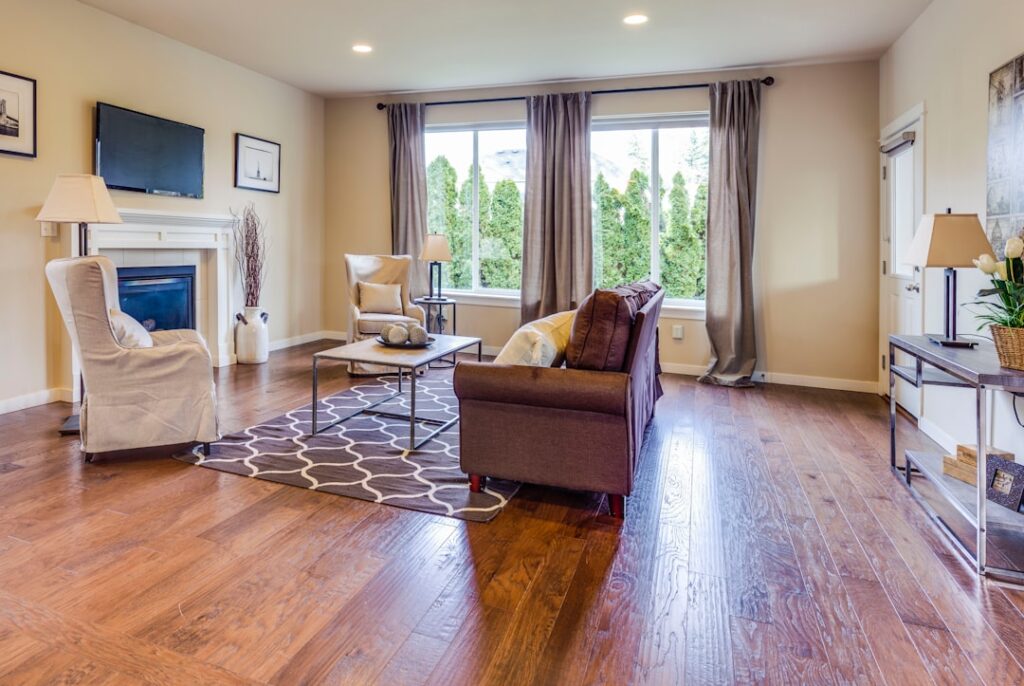
Hardwood is the only flooring you can repeatedly bring back from the dead. Tile cracks, vinyl wears through, carpet stains — but solid hardwood that looks finished can be sanded down to fresh wood and restained six to ten times across its lifetime. The choice to refinish floors versus replace them comes down to wear depth, species, and budget. After running this work for two decades on Victorians, mid-century ranches, and modern open-plans, here’s the playbook that keeps you out of trouble.
- When to Refinish vs Replace
- The DIY Cost vs Pro Cost Reality
- Sanding: The Step That Separates Pros From Disasters
- Filling Gaps and Nail Holes
- Staining: Test Before Committing
- Choosing the Finish: Oil vs Water-Based
- Application Technique That Hides Mistakes
- Curing and Re-Use Timeline
- When to Skip Sanding and Just Recoat
When to Refinish vs Replace
Refinishing makes sense when the wear layer is thick enough to take another sanding. Solid 3/4-inch hardwood has roughly 1/4 inch of wear surface above the tongue and groove. Each refinish removes 1/32 to 1/16 of an inch. That’s 4 to 8 cycles of refinishing across an 80-year lifespan.
Engineered hardwood is different. Most engineered products have 2mm to 4mm wear layers — only thick European-style 6mm wear layers can be sanded more than once. Click-lock laminate and LVP cannot be sanded at all. If your floor is engineered, get the wear-layer spec from the manufacturer before booking the sander rental.
The DIY Cost vs Pro Cost Reality
Refinishing 1,000 square feet of hardwood with a hired pro runs $3 to $8 per square foot — typically $4,500 to $7,500 total for materials, labor, and dust containment. The work takes 3 to 5 days with the floors unusable during cure.
DIY ranges from $500 to $1,200 in materials and tool rental for the same area. The big costs are sander rental ($75 to $150 per day for a drum sander, $50 for an edger), abrasives ($150 to $300), stain ($60 to $200), and finish ($150 to $400 depending on water-based vs oil). Plan four to six full days of work and accept that drum-sander operation is a learnable but unforgiving skill.
Sanding: The Step That Separates Pros From Disasters
Drum sanders are aggressive. A drum running 60-grit removes wood at roughly 1/32 inch per pass. Park the running drum in one spot for 5 seconds and you’ll cut a half-inch dish into the floor that no amount of finer-grit sanding fixes. The rule is to keep moving — start the drum descending onto the floor, walk forward immediately, and lift the drum at the end of each pass.
Sand in three stages. Start at 36 or 40 grit to flatten and remove old finish. Move to 60 or 80 grit to erase the scratches from the first pass. Finish with 100 or 120 grit for the surface that takes stain evenly. Each grit pass goes the full length of every board, with the drum sander handling the field and the edger handling within 4 inches of walls. A buffer with screen abrasives smooths the transition lines between drum and edger work.
Filling Gaps and Nail Holes
Between sanding stages, fill any open knot holes, large nail holes, or seam gaps wider than 1/16 inch. Use a wood filler that matches your stain color — DAP Plastic Wood, Timbermate, or Bona Pacific Filler all work. For wide gaps, mix a paste of fine sawdust from your current sanding plus white wood glue, press into the gap, and resand once cured.
For massive gaps in old plank floors (anything over 1/4 inch), consider whether you actually want them filled. Many century-old plank floors look correct with the gaps preserved. Filling them creates a uniform modern look that often clashes with the home’s character.
Staining: Test Before Committing
Always test stain on a closet or under-furniture area before staining the main floor. Different oak boards within the same floor accept stain differently — what looks medium walnut on a quartersawn board looks dramatically darker on flat-sawn. Apply your candidate stain to a 12-inch test patch, let dry 24 hours, and topcoat it with a quick brush of finish. The dry stained-and-sealed sample tells you the truth.
Minwax oil stains run $20 per quart and cover 200 to 400 square feet. Bona DriFast water-based stains dry faster and offer cleaner color but require careful conditioning of the wood first. Apply stain with a foam pad or T-bar, working with the grain in 4-foot-wide sections, then wipe off the excess after 5 to 15 minutes per the can’s instructions.
Choosing the Finish: Oil vs Water-Based
Oil-modified polyurethane (Minwax Super Fast-Drying, DuraSeal) is the traditional finish. It cures hard, ambers slightly with age, and takes 24 hours between coats. Three coats build the right protection for residential use. The downside is strong solvent odor for several days and a 7- to 14-day full cure before furniture returns.
Water-based finishes (Bona Traffic HD, Loba 2K Supra) cure faster (3 to 4 hours between coats), have minimal odor, and stay water-clear over time. They’re the right choice for whitewashed, gray, or natural-color floors where ambering would shift the tone wrong. Cost is higher — Bona Traffic HD runs $90 per gallon vs $35 for oil-modified.
Application Technique That Hides Mistakes
Apply finish with a synthetic-bristle brush at the perimeter and a T-bar or applicator pad in the field. Work in 4-foot sections parallel to the boards, maintaining a wet edge. Stopping mid-floor leaves a lap mark that shows from across the room. Plan your exit before starting — finish toward the door of the room.
Buff lightly between coats with 220-grit screen on a buffer or by hand with 220-grit sanding sponges. Never sand through the previous coat. The buffer pass is just to abrade the surface for adhesion of the next coat. Vacuum thoroughly and tack-cloth before each coat.
Curing and Re-Use Timeline
You can walk on water-based finishes in socks after 24 hours, return rugs after 7 days, and consider full cure at 14 days. Oil-based needs 24 hours for foot traffic, 14 days for rugs, and 30 days for full chemical cure. Don’t drag heavy furniture during the cure period — lift it onto felt pads instead. Don’t put pet bowls back for 7 days.
Wait 30 days to clean with anything but a dry microfiber. Bona Hardwood Cleaner is the standard maintenance product — pH-neutral and safe for both finish types. Avoid Murphy’s Oil Soap on modern polyurethane finishes; it leaves residue that degrades the finish over time.
When to Skip Sanding and Just Recoat
If the existing finish is intact with only surface scratches and no exposed wood, skip the full sand and just recoat. Buff the floor with a 120- or 150-grit screen, vacuum, tack, and apply two new coats of finish over the existing surface. This costs $1 to $2 per square foot DIY and renews the appearance without removing wood.
Recoating only works when the original finish is sound — no peeling, no urine damage darkening the wood, no exposed wood patches. Once you have any of those problems, you’re committed to a full sand-and-refinish.
Choose to refinish floors when wear is shallow, the species suits restained color shifts, and budget allows the dust and downtime. Done well, refinishing takes a 50-year-old hardwood floor and makes it look better than new. Hire it out for a primary residence with finished trim and walls. DIY makes financial sense in vacation homes, basement rooms, or a single bedroom where the learning curve costs less than the labor savings.
Prefer to explore on your own?
See how new flooring looks in your actual room in seconds — free, no signup.
Try the free Floor Studio →