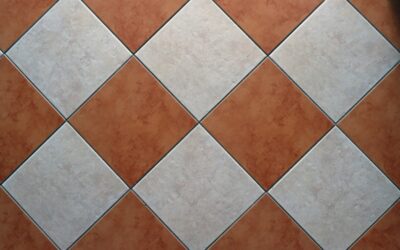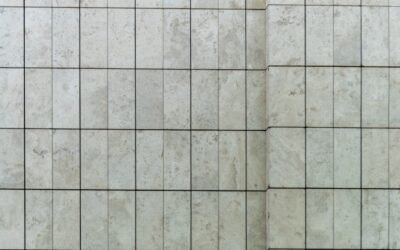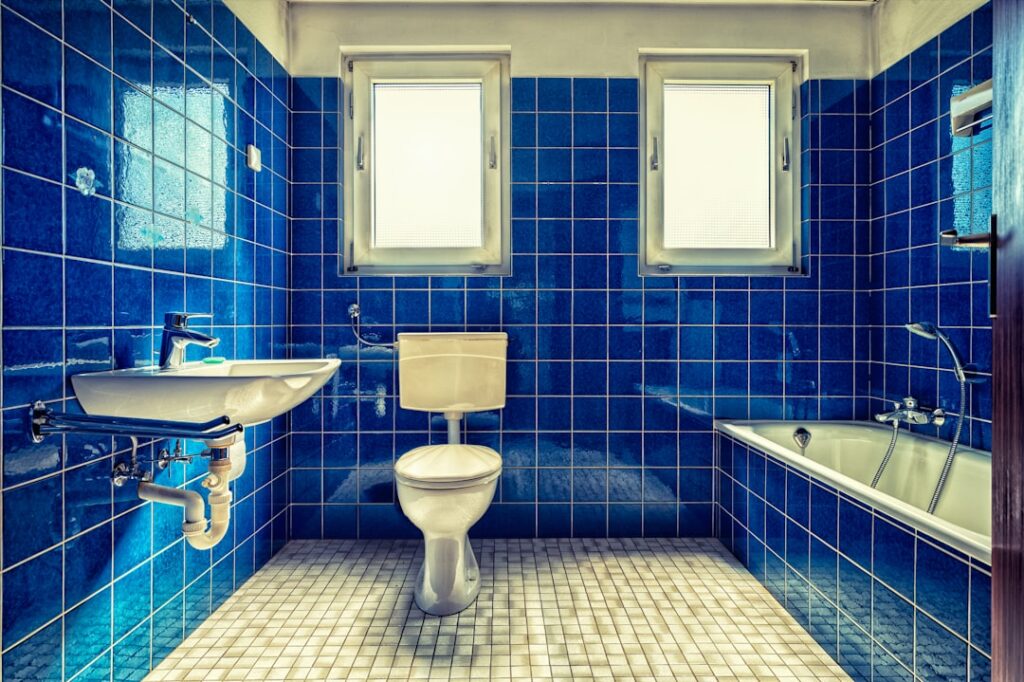
Regrouting is one of the most effective ways to restore the appearance of a tired tile floor, wall, or backsplash without the expense of a full tear-out and retile. Old, cracked, stained, or moldy grout makes even beautiful tile look neglected. Fresh grout lines transform the entire surface and restore the water-tight seal that protects the substrate behind the tile.
Part of our Tile & Grout guide — explore the full guide →
We have regrouted everything from 100-year-old subway tile in historic homes to modern porcelain showers that were poorly grouted the first time around. This guide covers the entire process from start to finish, including when regrouting makes sense, how to remove old grout safely, and the techniques that produce professional results.
When Is It Time to Regrout?
Grout does not last forever. Here are the clear signs that regrouting is due rather than just cleaning.
Cracking and crumbling: When grout develops cracks or pieces start falling out of the joints, the grout has failed structurally. Cleaning will not fix this. The grout needs to be removed and replaced.
Persistent staining: If grout remains discolored after aggressive cleaning with professional-grade products, the stains have penetrated too deeply to remove. Regrouting with fresh material is the only solution.
Mold that keeps returning: Mold growing inside the grout (not just on the surface) indicates the grout is absorbing and retaining moisture. Surface cleaning kills visible mold but does not address what is growing within the porous grout structure. Regrouting followed by proper sealing solves this cycle.
Missing grout: Sections where grout has fallen out completely expose the substrate to water damage. This is especially urgent in showers and wet areas where water can reach the framing behind the tile.
Grout powdering: If you can scrape grout out with your fingernail, it has deteriorated beyond repair. Quality grout should be hard and resistant to scratching.
Age: Cement-based grout in a shower typically needs replacement every 10 to 15 years even with good maintenance. In dry areas like backsplashes and floor tile, grout can last 20 to 30 years before regrouting becomes necessary.
Tools and Materials Needed
Having the right tools makes regrouting manageable. Trying to regrout with inadequate tools leads to frustration and poor results.
For grout removal:
- Oscillating multi-tool with a grout removal blade (our top recommendation)
- Manual grout removal tool (carbide-tipped scraper for detail work)
- Rotary tool (Dremel) with grout removal attachment (for tight spots)
- Shop vacuum for dust and debris
- Safety glasses and dust mask
For regrouting:
- New grout (sanded or unsanded based on joint width)
- Rubber grout float
- Grout mixing bucket and drill with mixing paddle
- Large sponge (grout sponge with rounded edges)
- Two buckets of clean water
- Microfiber cloths for final haze removal
- Grout sealer and applicator
- Painter’s tape (optional, for protecting adjacent surfaces)
How to Remove Old Grout
Grout removal is the most labor-intensive part of regrouting. Take your time here. Rushing grout removal leads to chipped tile edges that are far more expensive to fix than slow, careful work.
Step 1: Choose your removal tool. An oscillating multi-tool with a carbide or diamond grout blade is the best balance of speed and control for most homeowners. It vibrates rather than rotates, which reduces the risk of slipping into the tile face. For small areas or tight corners, use a manual carbide grout scraper.
Step 2: Set the depth. You need to remove grout to a depth of at least 2/3 of the tile thickness. For standard 1/4-inch-thick wall tile, remove at least 3/16 inch of grout. For thicker floor tile, go deeper. You do not need to reach all the way to the substrate, but the deeper you go, the better the new grout will bond.
Step 3: Work along the center of the joint. Keep the tool centered in the grout joint and avoid contacting the tile edges. This is where patience matters most. A slip into the tile creates a chip that is visible forever. Move slowly and let the tool do the work.
Step 4: Remove grout in straight passes. Work in one direction along each joint. Do horizontal joints first, then vertical joints. This systematic approach ensures you do not miss sections.
Step 5: Clean out loose material. After removing the bulk of the grout, vacuum all debris from the joints. Use a damp sponge to wipe the joints clean. Any loose grout or dust left in the joints will prevent the new grout from bonding properly.
Step 6: Check for damage. Inspect the tile edges after grout removal. If any tiles are loose, re-bond them with thinset before regrouting. Look for any substrate damage (soft spots, mold, water staining) that indicates a deeper problem needing attention before the new grout goes in.
Step-by-Step Regrouting Process
With the old grout removed and the joints cleaned, here is how to apply new grout for professional results.
Step 1: Mix the grout. Follow the manufacturer’s mixing ratios precisely. Mix grout in small batches since it has a limited working time (typically 30 to 45 minutes). The consistency should be similar to smooth peanut butter: thick enough to hold its shape on the float but soft enough to press into joints easily. Let the mixed grout slake (rest) for 5 to 10 minutes, then remix briefly before use.
Step 2: Dampen the joints. Lightly mist the grout joints with water from a spray bottle. Damp joints improve grout adhesion. Do not soak the joints; you want them damp, not wet.
Step 3: Apply grout with the float. Scoop grout onto the rubber float and press it into the joints at a 45-degree angle to the joint line. Push firmly to pack the grout deep into the joint, filling it completely. Then drag the float diagonally across the joints to remove excess grout from the tile face. Never drag the float parallel to a joint, as this pulls grout out rather than packing it in.
Step 4: Work in small sections. Apply grout to a 3 to 4 square foot area at a time. This gives you enough time to clean excess grout before it hardens on the tile surface.
Step 5: Initial cleanup (10 to 15 minutes after application). Once the grout starts to firm up (typically 10 to 15 minutes), wipe the tile surface with a damp grout sponge. Use light, diagonal strokes. Rinse the sponge frequently in clean water. The goal is to remove grout haze from the tile face without pulling grout out of the joints.
Step 6: Shape the joints. As you sponge, the grout joints should form a slightly concave, smooth surface. If the joints are too full or uneven, make a light pass with a damp sponge to level them.
Step 7: Final haze removal. After the grout firms up further (30 to 60 minutes), a haze will remain on the tile surface. Buff this off with a dry microfiber cloth using circular motions. If the haze is stubborn, a grout haze remover product works well. Do not wait until the next day, as cured grout haze is much harder to remove.
Step 8: Cure the grout. Keep the grout damp for the first 24 to 48 hours by misting it lightly with water two or three times. Cement-based grout cures through hydration, and keeping it damp during the initial cure produces a harder, more durable result. Avoid foot traffic for 24 hours and heavy traffic for 72 hours.
Sanded vs Unsanded Grout: Which to Use
This choice depends primarily on the width of your grout joints.
Sanded grout contains fine sand aggregate that provides strength and prevents shrinkage in wider joints. Use sanded grout for joints wider than 1/8 inch. The sand adds structural integrity that prevents cracking in wider gaps. Most floor tile and standard wall tile with wider spacing uses sanded grout.
Unsanded grout is a smooth mixture without sand aggregate. Use it for joints 1/8 inch or narrower. Unsanded grout flows into thin joints more easily and does not scratch polished or delicate tile surfaces like marble, glass, or polished porcelain. It is the standard choice for wall tile with tight joints.
Epoxy grout is a third option worth mentioning. Epoxy grout is non-porous, stain-proof, and does not require sealing. It works at any joint width and is ideal for showers, kitchen backsplashes, and anywhere that staining or moisture is a concern. The downside is that epoxy grout is harder to work with, sets up faster, and costs 3 to 4 times more than cement-based grout. For regrouting projects, epoxy grout can be an excellent long-term investment despite the higher upfront cost.
Sealing Your New Grout
Sealing is the final and often forgotten step that determines how long your regrouting work lasts.
Wait for the grout to fully cure before sealing. Most cement-based grouts require 48 to 72 hours of cure time, though some manufacturers recommend waiting a full 28 days for complete curing. Check the grout packaging for specific guidance.
Apply a penetrating grout sealer using a small applicator bottle or brush. Work the sealer into the grout lines and wipe off any excess from the tile surface before it dries. Apply two coats for wet areas like showers, waiting 30 minutes to 2 hours between coats.
Epoxy grout does not need sealing since it is non-porous by nature. Cement-based sanded and unsanded grout both require sealing for stain and moisture protection.
Plan to reseal grout annually in showers and every 2 to 3 years in dry areas. The effort is minimal and prevents the exact problems that led to regrouting in the first place.
DIY Regrouting vs Hiring a Professional
Regrouting is one of the more accessible tile projects for DIYers, but it is not without risk. Here is how to decide.
DIY regrouting makes sense when:
- The area is small to medium (backsplash, single shower, one room)
- Tiles are in good condition with no loose pieces
- You have patience for careful grout removal
- Joints are standard width (not extremely narrow or extremely wide)
- The tile is ceramic rather than delicate materials like natural stone or glass
Hire a professional when:
- Multiple tiles are loose and need rebonding
- You suspect water damage or mold behind the tile
- The area is large (entire bathroom floor, full shower enclosure)
- Tiles are expensive natural stone or glass that chip easily
- The existing grout contains asbestos (pre-1980s construction)
- You need the job done quickly with guaranteed results
The biggest DIY risk is chipping tile edges during grout removal. Take your time, use the right tool, and this risk drops dramatically. The second risk is mixing grout incorrectly or cleaning too aggressively, both of which are easily avoided by following instructions.
Regrouting Cost Breakdown
Regrouting is far more affordable than retiling. Here is what to budget.
DIY regrouting costs:
- Grout (10-lb bag): $10 to $25 (covers approximately 50 to 100 square feet depending on joint width)
- Grout float: $8 to $15
- Grout removal tool or blade: $10 to $30
- Grout sponge and cloths: $5 to $10
- Grout sealer: $15 to $40
- Total DIY cost for an average shower: $50 to $120
Professional regrouting costs:
- Shower regrouting: $300 to $700
- Bathroom floor (50 to 80 sq ft): $200 to $500
- Kitchen backsplash: $150 to $350
- Full bathroom (floor, shower, walls): $500 to $1,200
Compare these costs to a full retile job, which runs $1,500 to $5,000+ for a typical bathroom. Regrouting delivers dramatic visual improvement at a fraction of the replacement cost.
Frequently Asked Questions
Can I regrout over existing grout without removing it?
This is the most common regrouting question, and the answer is generally no. New grout applied over old grout does not bond well and will crack and fall out within months. You must remove the old grout to a depth of at least 2/3 of the tile thickness to give the new grout enough depth to bond and cure properly. The one exception is grout refresh products (grout paint or grout stain), which coat the surface of existing grout. These are cosmetic fixes, not structural regrouting.
How long does regrouting take?
For a standard shower, plan on 4 to 6 hours for grout removal and 2 to 3 hours for applying new grout, plus cure time. A kitchen backsplash takes 2 to 4 hours total. A full bathroom floor takes 4 to 8 hours. Most of the time is spent on grout removal, which is the slow, careful part of the process. The actual grouting goes relatively quickly.
Do I need to regrout the entire area or just the damaged sections?
You can regrout just the damaged sections, but matching the new grout color to the existing grout is extremely difficult. Even the same brand and color of grout looks different when new versus aged. For the best visual result, we recommend regrouting the entire surface so all grout lines match. If you must do a partial regrout, choose a grout color as close as possible to the existing aged grout and accept that some color variation will be visible.
What causes grout to crack and deteriorate?
The most common causes are moisture absorption (unsealed grout in wet areas), structural movement in the building, improper grout mixing during original installation, too-thin grout application, and natural aging. In showers, the combination of constant moisture, heat cycling, and chemical exposure from cleaning products accelerates grout breakdown. Regular sealing is the best preventive measure.
Can I change the grout color when regrouting?
Absolutely. Regrouting is the perfect opportunity to update your grout color. Switching from white to a darker gray can dramatically change the look of a tile surface. Just make sure the new color complements the tile and consider that darker grout hides staining better while lighter grout makes tile patterns more prominent. Test the grout color on a small section first, as wet grout looks different from cured grout.
Prefer to explore on your own?
See how new flooring looks in your actual room in seconds — free, no signup.
Try the free Floor Studio →