If your floors look dull, scuffed, and tired but you are not ready to refinish them, a restorer product can buy you years of renewed shine. Rejuvenate floor shine refers to the popular Rejuvenate brand of floor-care products, best known for its Floor Restorer and shine formulas that fill in fine scratches and lay down a fresh, protective, glossy layer. Used correctly, it can make worn floors look dramatically better in an afternoon. Here is how the products work, how to apply them, and what results to expect.
- What Rejuvenate Floor Products Are
- Which Floors It Works On
- How to Use Rejuvenate Floor Shine Step by Step
- What Results to Expect
- Cost and Value
- Tips and Common Mistakes
- Rejuvenate Products in the Lineup
- When to Restore Versus Refinish
- Maintaining the Restored Finish
- Final Thoughts on Restoring Floor Shine
What Rejuvenate Floor Products Are
Rejuvenate is a floor-care brand that makes a line of restorer and shine products designed to renew the appearance of existing floors without sanding or refinishing. Their signature Floor Restorer is a liquid you apply over clean floors that dries into a durable, high-gloss protective coating. It is formulated to fill in micro-scratches and even out worn spots so the surface reflects light evenly again. The brand also offers no-bucket shine sprays and cleaners meant to be used as part of a routine. The core idea is restoration through a new top layer rather than removing the old finish.
Which Floors It Works On
One reason the products are popular is their versatility across many hard-surface floors. Always confirm on the specific product label, but Rejuvenate restorers are generally formulated for a range of surfaces.
- Hardwood and engineered wood: Renews shine and hides fine surface scratches.
- Laminate: Adds gloss back to a dulled wear layer.
- Tile and stone: Brightens grout-free hard surfaces and adds protection.
- Luxury vinyl and no-wax floors: Restores luster to faded finishes.
It is generally not meant for unsealed wood, waxed floors that have not been stripped, or surfaces where you want a natural matte look, so check compatibility first.
How to Use Rejuvenate Floor Shine Step by Step
The application is refreshingly simple, but preparation is what makes the results look professional.
- Clean thoroughly first: Sweep and mop the floor completely, because any dirt trapped under the coating will show and stay.
- Let it dry fully: The surface must be dry before you apply the restorer.
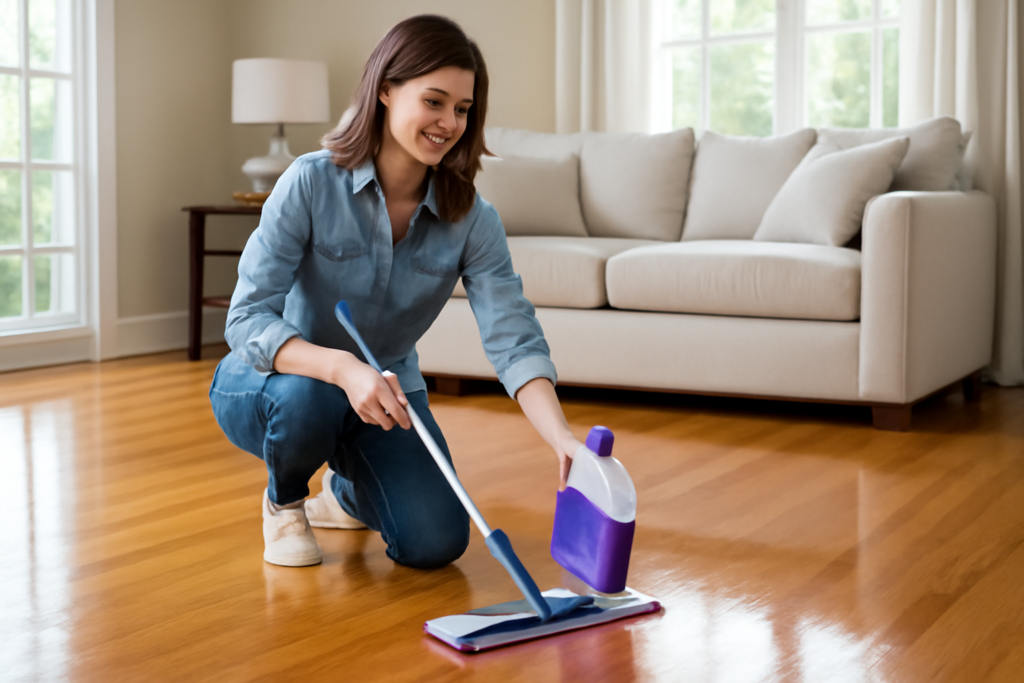
- Apply in sections: Pour or squeeze the product in a thin line and spread it evenly with a flat microfiber applicator, working in manageable areas.
- Keep a wet edge: Overlap each pass slightly to avoid visible lap lines.
- Work toward an exit: Start in a far corner and finish at the doorway so you do not trap yourself.
- Allow proper cure time: Let the first coat dry, apply a second coat if desired for more gloss, and stay off the floor until fully cured.
Thin, even coats look far better than one heavy pass, which can pool and dry cloudy.
What Results to Expect
When applied over a clean floor, the results are often striking. Dull, gray-looking wood regains a warm sheen, fine scratches largely disappear as the coating fills them, and the whole floor takes on a uniform, refreshed gloss. Most users see the biggest transformation on older laminate and worn hardwood that had lost its factory shine. Realistically, this is a cosmetic restoration, not a structural repair: deep gouges and water damage will still show, and the glossy finish is a wear layer that gradually needs reapplication. Expect a renewed look that holds up for a year or more with normal care before it may need a refresh.
Cost and Value
Compared with refinishing, the value is compelling. A bottle of Rejuvenate Floor Restorer typically costs in the range of $15 to $30 and covers a few hundred square feet, so treating a room often costs only a fraction of what sanding and recoating would. For a homeowner facing dull floors and a limited budget, it is an inexpensive way to postpone a full refinishing project by several years while dramatically improving appearance in the meantime.
Tips and Common Mistakes
A few habits separate great results from streaky ones.
- Never apply over a dirty floor; trapped grit ruins the finish and cannot be removed later without stripping.
- Do not walk on the floor before it cures, or you will leave footprints in the coating.
- Avoid over-applying; thin coats dry clearer and harder.
- Keep pets and traffic off until the recommended cure time has passed.
- Test in an inconspicuous area first if you are unsure about your specific floor.
Rejuvenate Products in the Lineup
The Rejuvenate brand offers more than a single bottle, and knowing the lineup helps you pick the right one for your goal. The flagship Floor Restorer is the product most people mean when they talk about restoring shine; it lays down a durable, high-gloss protective coating that fills fine scratches. For lighter, everyday upkeep, the brand’s no-bucket floor shine and cleaner sprays let you refresh gloss quickly without a full restorer application. There are also dedicated cleaners meant to prep the surface before restoring, and specialized formulas aimed at particular surfaces. Reading each label matters, because the restorer builds a coating while the everyday cleaners simply maintain the look. Using them together, cleaner first and restorer second, tends to give the best and longest-lasting results.
When to Restore Versus Refinish
A shine product is a wonderful tool, but it is important to know its limits so you use it for the right job. Restoring is the right call when your floors are structurally sound but look dull, lightly scratched, or worn on the surface, and you want a fast, affordable refresh. Refinishing, which means sanding down to bare wood and applying new finish, becomes necessary when floors have deep gouges, water damage, gray or blackened boards, or a finish that is flaking and failing. A restorer coating cannot repair damage that goes below the surface, and applying it over a deteriorating finish only postpones the inevitable. Think of restoring as cosmetic maintenance that extends the life of a good finish, and refinishing as the full renewal you turn to when the surface itself has given out.
Maintaining the Restored Finish
Once you have laid down a fresh coat and enjoyed the renewed gloss, a gentle maintenance routine keeps it looking its best for as long as possible. Clean with products compatible with the restorer’s coating rather than harsh degreasers or abrasive scrubbers, which can dull or strip the finish prematurely. Sweep or dust-mop regularly to remove grit that would otherwise scratch the glossy surface underfoot. Wipe up spills quickly, and avoid over-wetting the floor, since standing water can work its way into seams over time. Use felt pads under furniture legs and place mats at entrances to catch abrasive dirt before it reaches the coated surface. In high-traffic hallways and doorways, the shine will naturally wear first, so you can spot-refresh those areas or reapply a full coat across the floor when the overall gloss begins to fade. Because the restorer is designed to be reapplied, keeping up with light maintenance and recoating on schedule lets you preserve that just-restored look almost indefinitely, postponing a costly full refinish for years while your floors stay bright and protected.
Final Thoughts on Restoring Floor Shine
For tired, scuffed floors that are not ready for the expense and disruption of refinishing, rejuvenate floor shine products offer a genuinely effective, budget-friendly renewal. By cleaning thoroughly, applying thin even coats of the restorer, and letting each layer cure, you can transform a dull surface into a glossy, protected floor in a single afternoon. Keep your expectations realistic about deep damage, maintain it with gentle cleaning, and reapply when the shine fades, and you will keep your floors looking fresh for years between full refinishes.
Prefer to explore on your own?
See how new flooring looks in your actual room in seconds — free, no signup.
Try the free Floor Studio →