The single biggest mistake I see homeowners make is treating insulation as one product instead of a toolkit. Residential insulation comes in half a dozen forms, and each one exists because it solves a problem the others handle poorly. Fiberglass in an attic, spray foam at a rim joist, rigid board on a foundation, they are not interchangeable, and swapping one for another in the wrong spot either wastes money or invites moisture problems down the road. Here is how the materials actually break down and where each earns its keep.
Why R-Value Is Only Half the Story
R-value measures resistance to heat flow, and more is generally better, but the number on the bag only matters if the material is installed correctly and the air is sealed. A batt with gaps around wiring can lose a third of its rated performance. Air leakage often accounts for more heat loss than the insulation itself, which is why professionals air-seal first, then insulate. Think of it as two jobs: stop the drafts, then slow the heat. Do them in that order and modest insulation outperforms a thick, sloppy install every time.
Recommended R-Values by Location
The Department of Energy sets target R-values by climate zone. For most of the country, these ranges are the practical goals:
- Attic: R-38 to R-60, the highest priority in almost every home
- 2×4 exterior walls: R-13 to R-15 in the cavity, more with exterior board
- 2×6 exterior walls: R-19 to R-21 in the cavity
- Floors over unconditioned space: R-25 to R-30
- Basement walls: R-10 to R-15
- Crawlspace walls: R-10 to R-19 depending on climate
Cold northern zones push toward the top of each range; the warm South can sit at the bottom for walls but still wants a deep attic, because attic heat gain drives summer cooling bills just as hard as winter losses.
Fiberglass Batts and Rolls
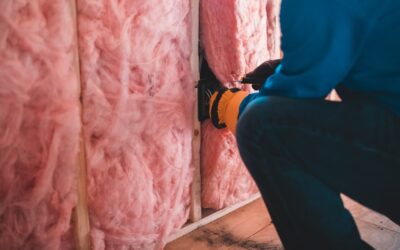
Fiberglass is the workhorse and the cheapest option, running about $0.55 to $1.10 per square foot depending on R-value. It delivers roughly R-2.9 to R-3.8 per inch. A standard R-13 batt fits a 2×4 wall; R-19 and R-21 fill a 2×6. It is ideal for open stud walls, floor joists, and unfinished attics where you can lay it between framing. The weakness is that it must be cut and fitted precisely. Any gap, compression, or spot where it doesn’t touch the drywall becomes a thermal hole. For a DIYer willing to be meticulous, fiberglass is the most forgiving on the wallet.
Blown-In Cellulose and Fiberglass
For attics, loose-fill blown insulation is hard to beat. It flows around obstructions, fills irregular cavities, and buries the ceiling framing so heat can’t bridge through. Cellulose runs about R-3.5 per inch, blown fiberglass about R-2.5 per inch. Installed cost is roughly $1.00 to $2.00 per square foot for a typical attic depth. To hit R-49 with cellulose you need around 14 inches of settled depth. Most rental centers loan a blower free with a bulk bag purchase, so an attic top-up is a realistic weekend project that pays back fast in a cold climate.
Spray Foam: Open-Cell and Closed-Cell
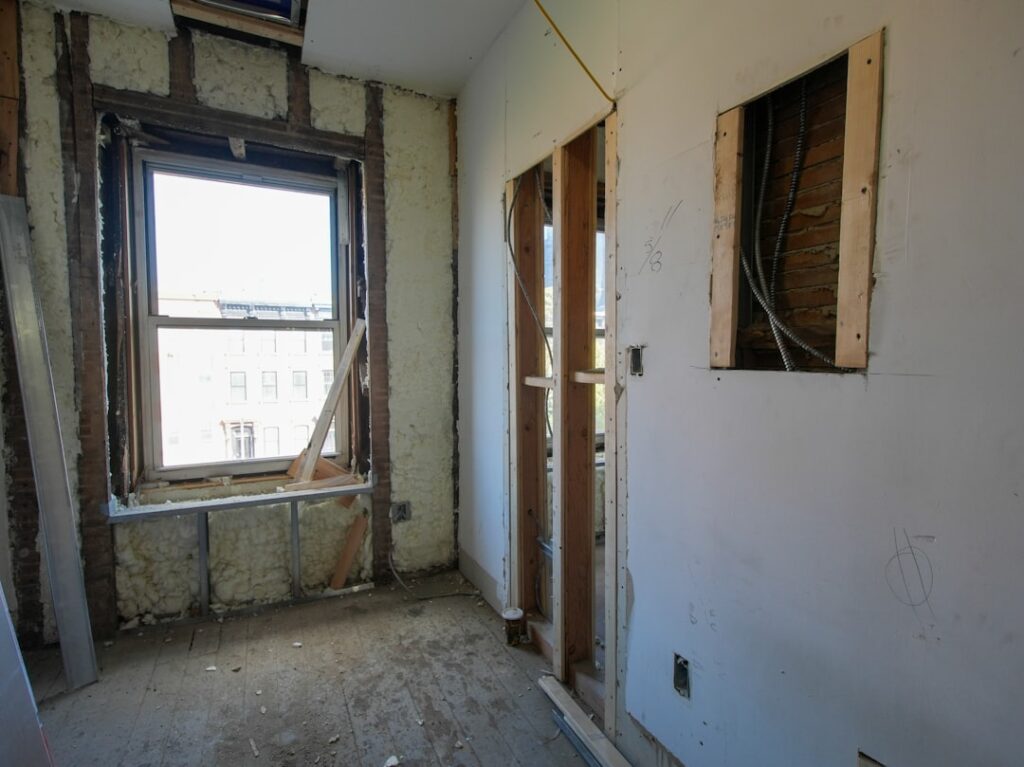
Spray foam is the premium option and the one that does double duty as an air barrier. Open-cell foam runs about R-3.7 per inch, stays flexible, and costs roughly $0.45 to $0.75 per board foot. Closed-cell foam delivers about R-6.5 per inch, adds structural rigidity, blocks vapor, and costs around $1.00 to $1.50 per board foot. I specify closed-cell at rim joists, in cathedral ceilings with no venting, and on the underside of roof decks where I want a compact, high-R, air-tight layer. It is expensive, so I reserve it for spots where its air-sealing and moisture control justify the price rather than blanketing an entire house with it.
Rigid Foam Board
Rigid board, whether XPS, EPS, or polyiso, is the material for continuous insulation and for anything touching concrete or soil. XPS gives R-5 per inch and shrugs off moisture, making it the standard for basement and foundation walls. Polyiso delivers R-6 per inch and is common as exterior sheathing insulation. A 1-inch layer of foam board on the outside of the studs breaks the thermal bridge that framing creates, which can add several effective R-points to a wall for a modest material cost of roughly $0.95 to $1.60 per square foot. For finishing a basement, board glued to the concrete is the move that keeps the wall dry and warm.
Mineral Wool
Mineral wool, made from spun rock or slag, sits a notch above fiberglass in price at $1.00 to $1.60 per square foot and offers R-4.0 to R-4.3 per inch. Its real advantages are fire resistance, sound absorption, and the fact that it holds its shape and repels water. I use it in walls where fire rating or noise control matters, and around a wood stove or in a mechanical room where its high melting point is genuine insurance. It cuts with a serrated knife and friction-fits tightly without sagging over the years.
Vapor, Air, and Moisture Control
Insulation does not work in a vacuum; it lives inside a wall that also has to manage moisture, and getting that wrong causes more problems than low R-value ever will. Warm indoor air holds moisture, and when it meets a cold surface inside the wall it condenses, which over time rots framing and grows mold. The defense is a combination of air sealing and, where the climate calls for it, a vapor retarder on the correct side of the assembly. In cold climates the vapor retarder generally goes toward the warm interior; in hot, humid climates the rules flip and a poorly placed interior vapor barrier can trap moisture. This is exactly why closed-cell spray foam is so valued at rim joists: it insulates and controls both air and vapor in one application, in a spot notorious for hidden condensation.
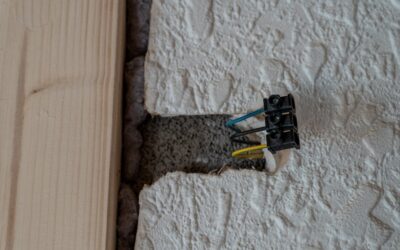
The practical takeaway for a homeowner is to treat air sealing as a separate, prior step to insulating. Foam the gaps around the top plates, seal penetrations for wires and pipes, gasket the attic hatch, and caulk the rim joist before any fluffy insulation goes in. A house that is air-sealed and insulated to a modest R-value will outperform a leaky house packed with premium insulation, and it will stay drier inside the walls where you can never see.
DIY or Hire a Pro
Some insulation jobs are perfect for a weekend and some are not. Laying batts in an open wall, topping up an attic with blown fiberglass from a rented blower, or gluing rigid board to a basement wall are all realistic DIY projects that save real labor cost. Spray foam is the job to hire out, because the two-part chemistry has to be mixed and applied at the right temperature and thickness, and a bad foam job off-gasses or fails to cure. Dense-pack cellulose in existing closed walls also usually goes better with a pro who has the equipment to pack it to the correct density without over-pressurizing the cavity.
Wherever you draw the line, wear the right protection. Fiberglass and mineral wool shed irritating fibers, so gloves, long sleeves, eye protection, and an N95 or better respirator are not optional. Work in a ventilated space, and in a hot attic go early in the morning before the space becomes dangerous. The material is cheap; a trip to urgent care for fiberglass in your eyes is not.
Matching Material to Location
Put it all together and a well-built home usually mixes several products. Blown cellulose or fiberglass in the attic for cheap, deep coverage. Fiberglass or mineral wool batts in the framed walls. Closed-cell spray foam at the rim joists and any tricky air-leakage points. Rigid XPS on the basement walls and under the slab. That combination costs less than spray-foaming everything and performs better than fiberglass alone.
Before you buy anything, walk the house and find the air leaks first: attic bypasses, recessed lights, plumbing chases, and the rim joist. Sealing those with foam and caulk often does more for comfort than another inch of R-value. Smart residential insulation is really about choosing the right material for each surface and getting the air-sealing done before the fluffy stuff goes in, and a home built that way stays comfortable in July and January alike while the utility bills stay flat.