Walk into any home center and the insulation aisle presents a wall of pink batts, foam cans, and mysterious loose fill with no obvious way to compare them. Yet choosing among the different types of insulation is one of the highest-return decisions you can make for comfort and energy bills. The different types of insulation each excel in specific spots, and the right pick depends on where you are insulating, your climate, your budget, and whether you are building new or retrofitting an existing home.
Fiberglass Batts and Rolls
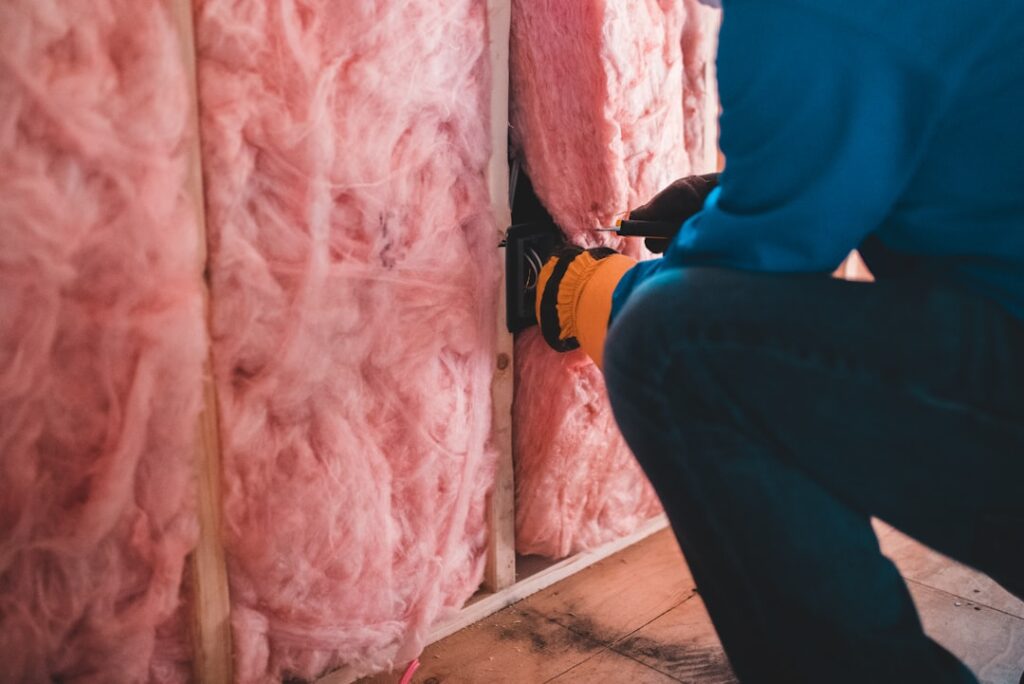
Fiberglass is the most common and familiar insulation, sold as pre-cut batts or long rolls that friction-fit between studs and joists. It costs the least, roughly $0.30 to $1.50 per square foot installed, and a determined DIYer can handle it in a weekend. Standard batts deliver about R-3 to R-4 per inch, so a 3.5-inch wall batt yields around R-13 to R-15 and a 6-inch attic batt about R-19 to R-21.
The weakness of fiberglass is installation quality. Gaps, compression, and poor fit around wiring and pipes create voids that tank real-world performance. It also does little to stop air movement, so it works best paired with proper air sealing. Wear a respirator, gloves, and long sleeves, because the fine glass fibers irritate skin and lungs. Done carefully in an open wall or accessible attic, fiberglass is the value champion.
Blown-In Cellulose
Cellulose is made from recycled paper treated with borate for fire and pest resistance, and it is blown in as loose fill with a rented or borrowed machine. It shines in attics and in enclosed existing walls, where it can be dense-packed through small holes without opening up the drywall. R-value runs about R-3.2 to R-3.8 per inch, and its density lets it fill around obstructions better than batts.
Because it packs tightly, cellulose slows air movement more effectively than loose fiberglass and has a high recycled content that appeals to eco-minded homeowners. It does settle over time in open applications, so installers over-blow attics to account for it, and it can absorb moisture if a roof leaks, so keeping water out is essential. For retrofitting existing walls without demolition, dense-pack cellulose is often the best available option.
Spray Foam: Open and Closed Cell
Spray polyurethane foam expands on contact to seal and insulate in one step, which makes it the top performer for air sealing. It comes in two forms. Open-cell foam is softer and lighter at about R-3.5 to R-3.9 per inch, good for interior walls and sound damping. Closed-cell foam is dense and rigid at about R-6 to R-7 per inch, and it doubles as a vapor and air barrier, ideal for rim joists, crawl spaces, and cathedral ceilings.
The catch is cost. Professionally installed spray foam runs $1.50 to $4.50 per square foot or more, several times the price of fiberglass. It requires professional application for large areas because mixing ratios and temperatures must be exact, and errors produce off-gassing or poor cure. For sealing tricky, leaky assemblies where air infiltration is the real problem, though, nothing matches its combination of high R-value and airtightness.
Mineral Wool
Mineral wool, also called rock wool or by the brand Rockwool, is spun from molten rock or slag into dense batts. It offers about R-4 to R-4.3 per inch, slightly better than fiberglass, and brings two standout advantages: it is fire-resistant to temperatures well over 1,000 degrees Fahrenheit and it is an excellent sound absorber. That makes it popular for interior walls between rooms, around furnaces, and in fire-rated assemblies.
Mineral wool is denser and firmer than fiberglass, so it holds its shape, resists sagging, and is easier to cut cleanly with a serrated blade. It also repels water rather than absorbing it, which helps in damp basements. The trade-off is a higher price, typically $1 to $2.50 per square foot, and more weight to handle. For soundproofing and fire safety, the premium is often worth it.
Rigid Foam Board
Rigid foam panels, in EPS, XPS, and polyiso, provide continuous insulation that wraps over framing to stop thermal bridging, the heat loss that occurs straight through wood studs. Depending on type, foam board delivers R-3.6 to R-6.5 per inch. It is the go-to for exterior sheathing, foundation walls, under slabs, and any place a continuous, moisture-tolerant layer is needed.
Because it comes in rigid 4-by-8 sheets, foam board cuts easily with a knife and installs without special equipment, making it DIY-friendly. It must be covered with drywall in living spaces for fire safety, and seams should be taped or foamed to block air. Used as an exterior layer over conventional wall insulation, foam board noticeably improves whole-wall R-value and reduces condensation risk inside the assembly.
Radiant Barriers and Reflective Insulation
Radiant barriers work differently from everything above. Instead of resisting conductive heat flow, a reflective foil surface bounces radiant heat away, which is most useful in hot, sunny climates. Installed in an attic, a radiant barrier can cut cooling costs by reflecting the sun’s heat before it radiates down into the living space below.
These products carry no meaningful R-value on their own and do little in cold climates where the goal is trapping heat inside. They complement, rather than replace, conventional insulation. In the Sun Belt, adding a radiant barrier to attic rafters alongside adequate attic floor insulation is a cost-effective combination that keeps upstairs bedrooms noticeably cooler in summer.
Matching Insulation to the Job
The best choice is rarely one product for the whole house. Use fiberglass or cellulose for the bulk R-value in attics and open walls, closed-cell spray foam or rigid board to seal and insulate rim joists and foundations, mineral wool where fire resistance and soundproofing matter, and a radiant barrier in hot climates. Air sealing with caulk and spray foam around penetrations comes first, because even the best insulation underperforms in a leaky assembly. Check the Department of Energy’s recommended R-values for your climate zone, then layer the right materials to hit those targets. Insulate that way and you buy comfort and lower bills that pay back the investment for the life of the home.
How Much Insulation You Actually Need
The right amount of insulation depends heavily on your climate zone. The Department of Energy divides the country into zones, and recommended attic insulation ranges from about R-30 to R-49 in warm southern regions up to R-49 to R-60 in cold northern states. Walls typically target R-13 to R-21 depending on framing depth, and floors over unconditioned space call for R-19 to R-30. Meeting or exceeding these targets is where insulation delivers its full return.
Attics are almost always the highest-value place to add insulation because heat rises and escapes through the roof. If you can see the tops of your ceiling joists in the attic, you are under-insulated and adding blown cellulose or fiberglass on top is one of the cheapest, fastest efficiency upgrades available. Before adding attic insulation, though, air-seal the ceiling penetrations, recessed lights, and the attic hatch, since insulation laid over unsealed gaps lets conditioned air leak straight through.
Air Sealing Comes First
No insulation performs to its rating in a leaky house, which is why professionals air-seal before they insulate. Air infiltration through gaps around windows, doors, outlets, plumbing penetrations, and the rim joist can account for a large share of a home’s energy loss. Caulk small cracks, use canned spray foam around larger penetrations, and weatherstrip doors and attic hatches. A blower-door test performed by an energy auditor pinpoints the worst leaks and quantifies how tight the house is.
Think of air sealing and insulation as partners: sealing stops the drafts that move heat by convection, while insulation slows the heat that conducts through solid surfaces. Done together, they transform a drafty, expensive-to-heat house into a comfortable, efficient one. Prioritize sealing the biggest leaks first, then bring insulation up to the recommended R-value for your zone, and the combined effect on both comfort and utility bills is far greater than either measure alone.