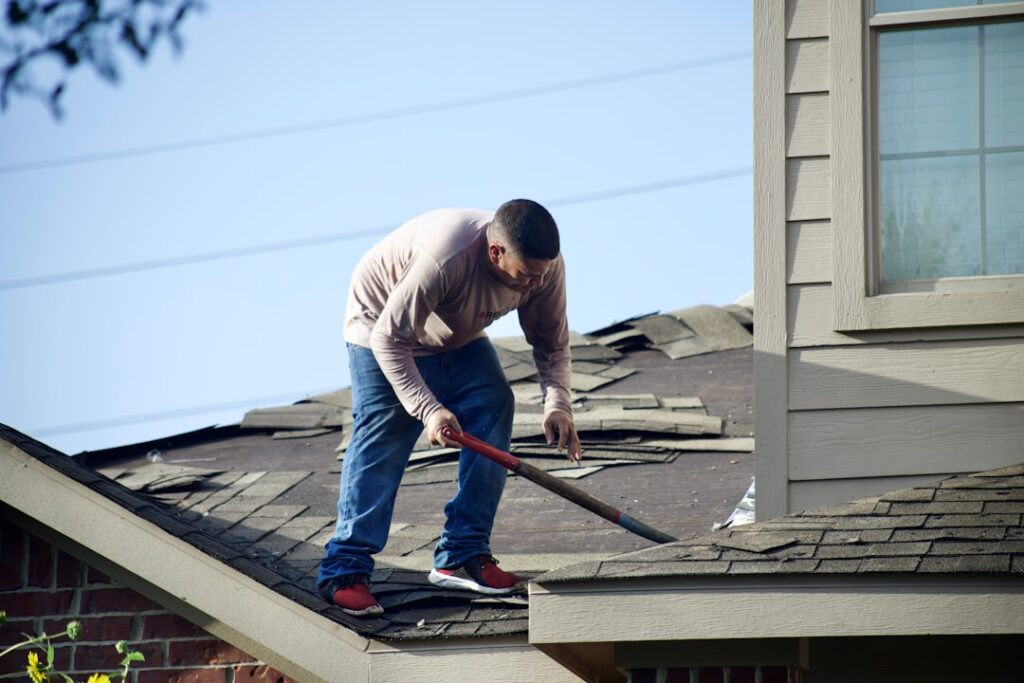
Most homeowners replace a roof once, maybe twice, in a lifetime, which means almost nobody knows what a good job is supposed to look like while it is happening above their head. A residential roof replacement is actually a fast, well-choreographed process: a competent crew strips and re-roofs an average 2,000 square foot house in one to three days. The quality difference between roofs that last 25 years and roofs that leak in five is decided in details you can watch for, from how the deck gets inspected after tear-off to where the ice barrier stops. This guide walks through the entire process, start to finish, so you know exactly what should happen at each stage.
- Step 1: Confirming It's Really Time
- Step 2: Choosing Material and Contractor
- Step 3: Permits, Scheduling, and Prep Week
- Step 4: Tear-Off and Deck Inspection
- Step 5: The Dry-In: Underlayment, Ice Barrier, and Flashing
- Step 6: Installing the New Roof and Ventilation
- Step 7: Cleanup, Inspection, and Paperwork
- What the Timeline Looks Like
Step 1: Confirming It’s Really Time
Replace the roof when the evidence says so, not when a door-knocker after a hailstorm says so. On asphalt shingles, the honest signals are widespread granule loss with fiberglass mat showing through, curling or cupping shingle edges across whole slopes, cracked and brittle tabs, and more than a handful of active leaks or interior stains. Age is the tiebreaker: 3-tab shingles are done around 15 to 20 years, architectural shingles around 22 to 28 depending on climate and attic ventilation. Isolated damage, a lifted flashing, a few wind-torn tabs, one leaking pipe boot, is repair territory. A pattern of failure across the whole field is replacement territory, because chasing leaks on a dying roof costs $400 to $900 per visit and never ends.
Get an inspection you trust. Two or three contractors plus, ideally, one party with no dog in the fight, a home inspector or your insurance adjuster, gives you a consensus before anyone talks price.
Step 2: Choosing Material and Contractor
Architectural asphalt shingles cover roughly 80 percent of American re-roofs, and for good reason: proven, insurable, and every crew knows them. Metal, tile, and synthetic slate are all legitimate upgrades with their own installation subcultures, so if you go that route, hire a specialist in that material rather than a shingle crew moonlighting.
Vet contractors on four things: state license and active liability plus workers’ comp insurance (ask for certificates sent directly from the insurer), manufacturer certification such as GAF Master Elite or Owens Corning Platinum, which unlocks the better workmanship warranties, local references from jobs at least five years old, and a written scope that itemizes tear-off, deck repair pricing per sheet, underlayment type, ice barrier coverage, flashing replacement, and ventilation. A bid that just says “install 30-year shingles” is a bid designed to hide shortcuts. Never pay more than a third up front, and align final payment with a completed punch list.
Step 3: Permits, Scheduling, and Prep Week
Your contractor should pull the building permit; in most jurisdictions a re-roof requires one plus at least a final inspection, and some snow-load and hurricane regions require an in-progress deck or nailing inspection too. Materials usually arrive a day or two early, delivered by boom truck directly onto the roof or staged in the driveway.
Your prep list before the crew arrives: move cars onto the street, clear patio furniture, grills, and planters away from the walls, take down fragile items from interior walls and shelves because hammering vibrates the whole structure, cover anything precious in the attic with plastic sheeting since debris and dust rain through the deck boards during tear-off, mark sprinkler heads and delicate landscaping, and plan for pets and remote workers to be elsewhere. Roofing is loud, roughly a full day of continuous banging directly overhead.
Step 4: Tear-Off and Deck Inspection
Crews start early, typically 7 a.m., and strip the old roofing with tear-off forks down to bare decking, working slope by slope so no more roof is open than can be dried-in the same day. A dump trailer or roll-off sits under the eave, and a magnetized sweeper should tour the lawn and driveway repeatedly, not just at the end. Old flashing, pipe boots, and vents come off with the shingles; reusing rusted flashing is a classic corner-cut.
What follows is the most important 30 minutes of the whole project: the deck inspection. Every sheet of plywood or plank of skip sheathing gets checked for rot, delamination, water stains, and broken fasteners. Soft decking must be replaced, not roofed over, and your contract should state a per-sheet price agreed in advance, typically $70 to $120 per 4×8 sheet, so nobody negotiates under pressure. Ask the crew lead to photograph any decking they replace. This is also the moment to fix sagging rafters, add blocking, and re-nail the deck to current code in wind zones.
Step 5: The Dry-In: Underlayment, Ice Barrier, and Flashing
With the deck sound, the water management layers go down, and this is where 25-year roofs are actually made. Self-adhering ice and water membrane goes on first at the vulnerable spots: eaves (extending at least 2 feet inside the exterior wall line in freezing climates, which usually means two courses), valleys, and around chimneys and skylights. The rest of the deck gets synthetic underlayment, cap-nailed flat. Drip edge wraps the perimeter, under the underlayment at the eaves and over it at the rakes, a small sequencing detail that inspectors check and hacks miss.
New flashing goes in everywhere metal meets anything: step flashing woven into each shingle course along walls and chimneys, kick-out flashing at the bottom of every roof-wall intersection to throw water into the gutter instead of behind the siding, new pipe boots, and valley metal or woven valleys per the design. If your bid says “reuse existing flashing where serviceable,” push back; flashing failures cause a large share of all roof leaks and replacement costs little while everything is open.
Step 6: Installing the New Roof and Ventilation
Shingles go on from the eaves up: a starter strip along eaves and rakes, then field shingles nailed with six nails each in high-wind areas, placed in the manufacturer’s nail zone, driven flush but not overdriven. Watch for gun-happy crews blowing nails through the mat, since overdriven nails void wind warranties. Ridge and hip caps finish the field.
Ventilation gets corrected now, not later. A balanced system pairs intake at the soffits with exhaust at the ridge, roughly 1 square foot of net free vent area per 300 square feet of attic, split between the two. Blocked soffits and missing ridge vents cook shingles from below and are a leading reason roofs die a decade early, so a replacement that doesn’t address airflow is only half a job. New bath fan caps, furnace flashings, and satellite mount removals round out the penetration work.
Step 7: Cleanup, Inspection, and Paperwork
A professional cleanup includes hauling all debris, magnetic sweeps of lawn, beds, and driveway (nails will still surface for weeks; keep bike tires alert), gutter cleanout, and a walkaround with the crew lead. The municipal inspector signs off on the permit, and you should receive three documents before final payment: the permit final, the manufacturer warranty registration for the shingle system, and the contractor’s written workmanship warranty, which is the one that actually covers installation errors and should run 5 to 25 years depending on certification level. Photograph the finished roof and file everything with your insurance records, since a documented new roof frequently earns a premium discount.
What the Timeline Looks Like
From signed contract to finished roof typically runs two to six weeks, most of it waiting for permits, materials, and a weather window. The physical work on a standard single-family home: day one, tear-off, deck repair, and dry-in; day two, shingles, flashing, ventilation, and cleanup. Complex roofs, tile, or metal stretch that to a week or more. Costs vary widely by material and region, and that deserves its own discussion; we break down pricing line by line in our new roof cost guide. Process-wise, though, if your crew inspects the deck honestly, layers the dry-in correctly, replaces the flashing, and balances the ventilation, you have bought yourself a couple of decades of not thinking about the roof at all.