Most roof leaks don’t come from failed shingles — they come from failed sealant around flashing, vents, and penetrations, which means the right roof caulk is often the difference between a $12 fix and a $600 service call. The trouble is that the average hardware store shelf holds a dozen tubes that all claim to stop leaks, and half of them will crack out in two winters on a hot asphalt roof. Roofing sealant lives in one of the harshest environments on your house: 160°F deck temperatures in July, ice in January, constant UV, and shingles that expand and contract daily. Pick the chemistry that matches the joint and the product will outlast the repair around it. Pick wrong and you’ll be back on the ladder next spring.
Part of our Roofing guide — explore the full guide →
Why Roofing Sealants Are a Different Animal
A tube rated for baseboards or even exterior window trim has no business on a roof. Roof sealants have to bond to difficult surfaces — galvanized steel flashing, aluminum drip edge, asphalt shingle granules, EPDM pipe boots, weathered wood — and many of those surfaces are dusty, oxidized, or coated with oils from the asphalt itself. They also have to survive direct sun. UV exposure on a south-facing slope is brutal, and a sealant without dedicated UV stabilizers will chalk, harden, and split within a couple of seasons.
Movement is the other killer. A 10-foot run of aluminum flashing can move more than 1/8 inch between a January night and a July afternoon. Any sealant bridging metal to shingle has to stretch and recover through thousands of those cycles. That’s why elongation and adhesion numbers matter more on a roof than almost anywhere else on the house, and why the $3 painter’s tube fails where an $8 polyurethane holds for a decade.
The Three Chemistries: Butyl, Urethane, and Silicone
Nearly every legitimate roofing sealant falls into one of three families, and each has a distinct personality on the roof.
Butyl rubber is the traditionalist’s choice and still what many pro roofers reach for on metal. It stays permanently tacky and gummy under the skin, which lets it absorb movement without tearing, and it bonds aggressively to galvanized steel and aluminum. Butyl also tolerates damp surfaces better than most chemistries, making it the go-to for emergency work. Its weaknesses are cosmetic: it stays soft, collects dirt, can’t be painted cleanly, and sags on vertical joints in heat.
Polyurethane is the workhorse for permanent repairs. Products like Loctite PL Roof & Flashing Polyurethane Sealant (about $9 per 10-ounce tube) cure into a tough, rubbery solid with excellent tear resistance, stick tenaciously to metal, wood, masonry, and asphalt, and remain paintable. Urethanes handle the movement at flashing joints better than anything short of a purpose-made hybrid. The trade-offs: they cure slowly (a full day or more to skin over in cool weather), they degrade under UV faster than silicone unless painted or shaded, and they will not bond to a wet surface.
Silicone owns the UV category. A quality neutral-cure silicone shrugs off decades of direct sun without hardening, which is why silicone roof coatings dominate commercial flat-roof restoration. On a residential shingle roof, though, silicone is a specialist, not a generalist. It bonds poorly to asphalt and to any dusty or oxidized surface, nothing sticks to cured silicone (including future repair attempts), and it can’t be painted. Use it on clean metal, skylights, and glass — and keep it away from shingles.
Two products deserve special mention because they don’t fit neatly into the triangle. Henry 208 Wet Patch (about $10 per quart, $30 per 3.5-gallon pail) is an asphalt-based plastic roof cement engineered to be troweled into leaks even in standing water or driving rain — it’s the emergency room of roof repair, not the permanent fix, but nothing beats it when water is actively coming in. Through the Roof! by Sashco (roughly $14 per 10.5-ounce tube) is a clear elastomeric co-polymer that stretches to several times its width, applies down to freezing temperatures, sticks to wet surfaces, and dries invisible — ideal where a black smear of roof cement would be an eyesore, such as around skylights or on visible flashing.
Matching the Sealant to the Repair
Think in terms of the joint, not the brand. Step and headwall flashing where metal meets shingles wants polyurethane — the joint moves, the surfaces are mixed, and the repair should be permanent. Run a 1/4-inch bead along the top edge of the flashing where it tucks under siding or counterflashing, and tool it flat.
Plumbing vent pipe boots usually fail at the rubber collar, which UV splits after 10 to 15 years. If the crack is small, a bead of Through the Roof! or a urethane sealant over the split buys several years; if the rubber is crumbling, caulk is a bandage — replace the boot or slip a repair collar like a Perma-Boot over it. Seal the new boot’s flange to the shingles below with roof cement or urethane, never with silicone.
Exposed nail heads on ridge caps and flashing are the most common slow leak on older roofs. Dab each head with a quarter-size spot of urethane or Wet Patch. Lifted or torn shingles get roofing cement: work a 1-inch band of Henry 208 under the lifted tab with a putty knife, press it down, and weight it with a brick for a day. For a torn shingle you’re keeping temporarily, cement under the tear plus a bead over the exposed line will hold a season or two until replacement.
Skylight perimeters and metal roof seams favor silicone or a butyl tape, since both surfaces are typically clean metal or glass and UV exposure is total. On metal roof lap seams and gutter aprons, butyl tape between the panels plus stitch screws is the pro detail; a surface bead of urethane is the retrofit version.
Application Temperature and Weather Windows
Every failed caulk job I get called to inspect traces back to one of two sins: wrong chemistry or wrong conditions. Most urethanes and elastomerics want the surface between 40°F and 100°F at application, and remember that a dark shingle surface in full sun can read 50 degrees hotter than the air — a 90°F afternoon can put the deck at 140°F, hot enough to make sealant slump and skin before it wets into the surface. Work early morning on summer repairs.
Cold is the other trap. Below about 40°F most water-based and many solvent-based products cure at a crawl, and shingles turn brittle enough to crack when you lift a tab. Through the Roof! and Henry 208 are the cold-weather exceptions, rated for application near or below freezing. Whatever you use, check the forecast: urethane needs 24 hours before rain, silicone needs a few hours to skin, and only the wet-patch asphalt cements genuinely don’t care.
Prep and Technique on the Roof
Adhesion is 80 percent preparation. Scrape away old, cracked sealant with a stiff putty knife — new caulk over failed caulk fails on the old material’s schedule, not the new one’s. Brush off granules and dust, then wipe metal surfaces with a rag dampened in mineral spirits and let it flash off. On oxidized aluminum or galvanized flashing, a quick scuff with a maroon abrasive pad exposes fresh metal and can double the bond strength.
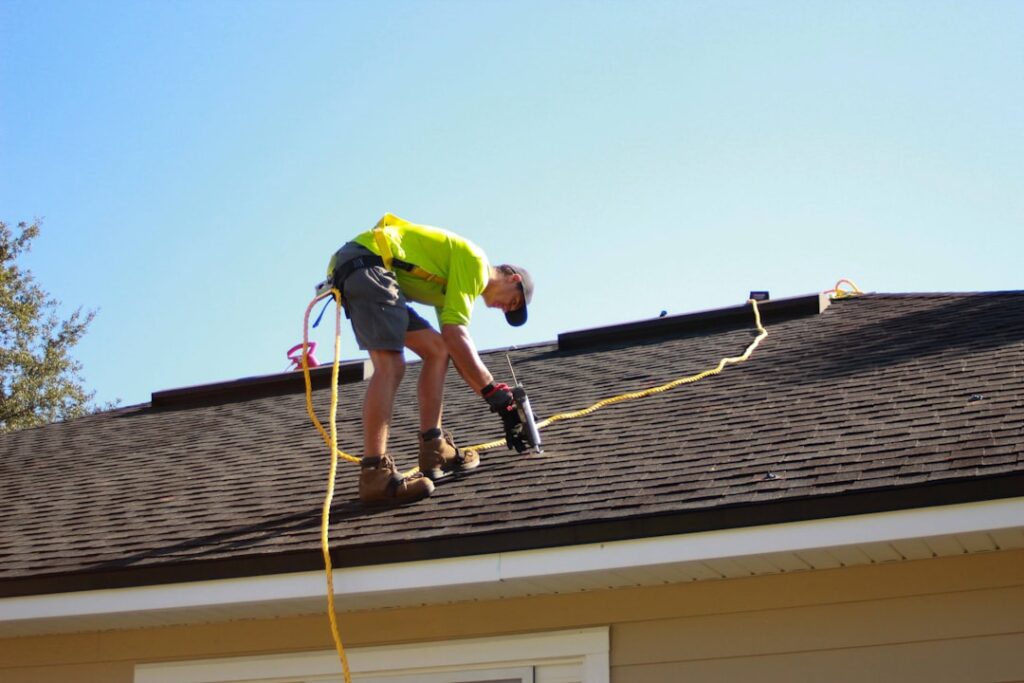
Cut the nozzle for a bead slightly wider than the gap — 1/4 inch covers most flashing work — and push the gun rather than pulling it, forcing sealant into the joint instead of laying a rope on top. Tool the bead with a gloved finger to press it into both surfaces. For gaps wider than about 3/8 inch, stuff backer rod in first or bridge the gap with fiberglass mesh embedded in roof cement; sealant alone spanning a wide void will split down the middle when the joint moves.
When Caulk Is the Wrong Answer
An honest contractor tells you what a tube can’t do. Sealant is a repair for joints, penetrations, and small breaches — it is not a substitute for flashing. If water is tracking behind step flashing, if a valley is rusted through, or if you’re tempted to caulk the entire perimeter of a chimney, the underlying metal needs replacement, and smearing sealant over it only hides the problem until the decking rots. Likewise, never caulk the bottom edge of flashing or shingles shut: those gaps are weep paths, and sealing them traps water inside the assembly. A good rule from the trade — seal the top of a joint where water enters, leave the bottom open where water exits.
Budget-wise, a proper repair kit is cheap insurance: a tube of Loctite PL Roof & Flashing, a quart of Henry 208, a tube of Through the Roof!, a putty knife, and mineral spirits runs about $40 and handles 90 percent of residential roof leaks. Keep the wet patch on the shelf for emergencies, use the urethane for planned repairs on a dry day, and save the clear elastomeric for anything visible from the ground. Match the chemistry to the joint, respect the temperature window, and prep like the bond depends on it — because it does.