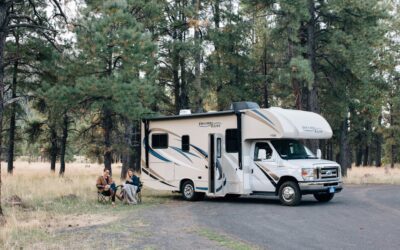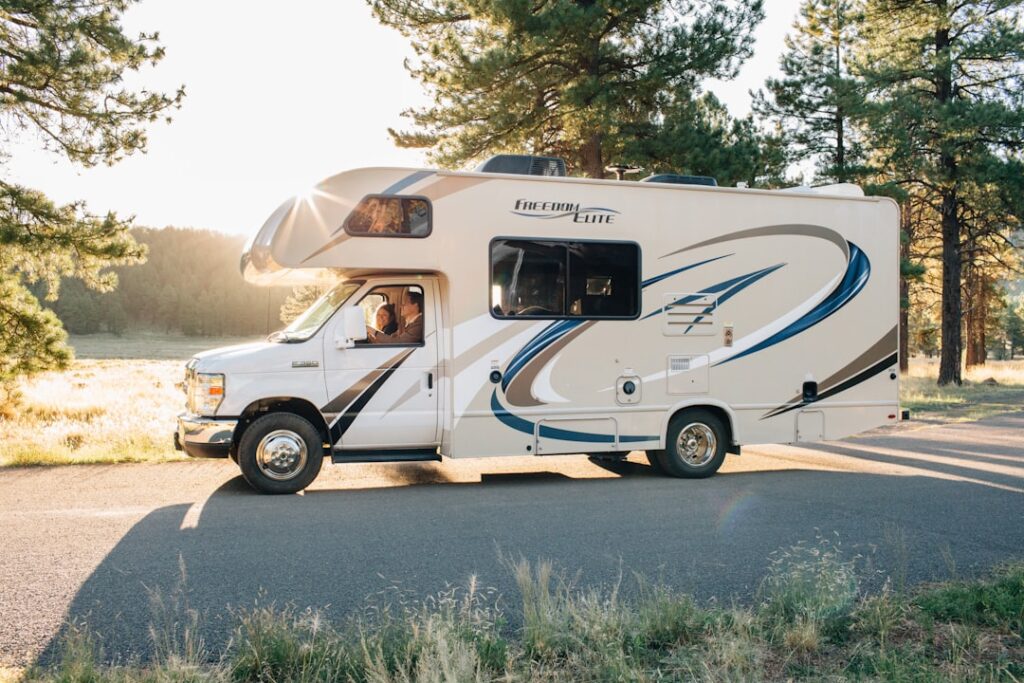
Replacing an RV rubber roof costs $3,000 to $8,000 at a shop; coating the same roof costs $200 to $600 in materials and a weekend. That arithmetic is why rv roof coating has become the standard mid-life play for any rig whose membrane is chalking, micro-cracking, or running hot — a full-coverage liquid system that seals the entire surface, not just the seams, and buys another 10 to 20 years of service. But “coating” covers three different chemistries with different prep demands, and the product has to match the roof under it. Here’s how restoration systems work, which one fits your EPDM, TPO, or fiberglass roof, and the honest labor involved in doing it right.
Part of our Roofing guide — explore the full guide →
Coating vs. Sealant: Which Problem Do You Have?
Get the diagnosis right before spending anything. Cracked beads around a vent or a lifting seam is a sealant job — spot repair with lap sealant, covered in our RV roof sealant guide, for $20 a tube. Coating is for surface-wide aging: heavy white chalking that rubs off on your hand, a membrane grown thin or gray, spider-web micro-cracks across the field, persistent small weeps with no findable point source, or an interior that bakes because the old roof’s reflectivity is gone. The two are sequential, not alternative — every coating system starts with fresh lap sealant or seam tape at penetrations, then floods the whole roof over it.
The Three Chemistries
Silicone (the premium tier)
100 percent silicone coatings — Dicor Signature Extend, Henry Tropi-Cool 887, and the RV-marketed EPDM/TPO systems from Flex Armor competitors — cure into a permanently flexible, UV-immune layer that laughs at ponding water, the classic weakness of other coatings on dead-flat RV roofs. Expect $60 to $90 per gallon and one thick coat or two standard coats. Tradeoffs: silicone collects dust (it stays slightly tacky), it’s slippery when wet — real consideration on a roof you walk to reach the AC — and nothing bonds to cured silicone except more silicone, so it’s a one-way door.
Acrylic and elastomeric latex (the value tier)
Water-based elastomerics — Dicor Acrylic Roof Coating, Heng’s Rubber Roof Coating, Kool Seal — run $25 to $45 per gallon, apply like thick paint, clean up with water, and brighten reflectivity dramatically. They’re the right call for a sound roof that needs UV protection and heat relief rather than leak-proofing, because acrylics soften under standing water and RV roofs pond by design. Plan on two coats minimum and recoating every 3 to 5 years. Important nuance: Heng’s and similar EPDM-specific coatings are formulated for rubber; check the label before rolling them on TPO, which many acrylics grip poorly.
Liquid rubber / urethane hybrids (the leak-stopper tier)
EPDM liquid coatings (Liquid Roof brand is the known name, roughly $100 per gallon) and urethane systems cure into a true waterproof membrane — genuinely the closest thing to a new roof from a bucket, and the pick for a roof with a history of weeps. They demand the most disciplined prep and mixing (Liquid Roof uses a catalyst), and cost approaches the silicone tier.
Match chemistry to membrane: EPDM roofs accept almost everything; TPO’s slick surface needs a TPO-rated product and usually a primer; fiberglass takes acrylics and silicones happily after de-waxing and scuffing; aluminum wants an elastomeric with a rust-inhibiting primer on any oxidation.
Coverage Math and Real Costs
Coatings spec 50 to 100 sq ft per gallon per coat depending on product and roof texture. A 32-foot rig with an 8.5-foot-wide roof is roughly 270 sq ft: at 60 sq ft per gallon and two coats, that’s 9 gallons of acrylic (about $270 to $400) or 6 to 7 gallons of a thicker silicone (about $400 to $600), plus $60 to $120 in cleaner, primer, seam tape, and lap sealant. Professional application runs $1,000 to $3,000; sprayed-on specialty systems like FlexArmor (a polyurea shell with a lifetime no-leak warranty) cost $4,000 to $8,000 — competing with roof replacement, and honestly a better product than a factory membrane. Under-buying is the classic DIY error: a coat applied too thin to stretch the bucket delivers neither the waterproofing nor the warranty mileage. Measure your actual roof, apply the product’s stated coverage, round up a gallon, and check the dry-film thickness the maker specifies — that number, not the gallon count, is the real deliverable.
Application: The Two-Day Job, Honestly Described
Prep is 70 percent of the work and 90 percent of the outcome.
- Verify the deck is sound. Walk the roof; soft, spongy areas mean wet plywood below, and coating over rot seals the problem in. Fix structure first — cut out and replace wet decking from above, or have a shop do it, before any liquid goes down.
- Deep-clean the membrane. Scrub with the coating maker’s cleaner or a medium brush and Dawn solution until an EPDM roof stops shedding white chalk on your palm. Rinse until water runs clear. A gentle low-pressure wash is fine; a 3,000 psi turbo nozzle will end your membrane’s career on the spot.
- Repair and re-seal penetrations. New self-leveling lap sealant or seam tape at every vent, skylight, and seam that shows age. Let it skin per the label.
- Tape and prime. Mask the drip rails and cap ends; apply primer if your membrane/product combination calls for it (TPO almost always does).
- Roll the coats. Cut in around penetrations with a brush, then roll the field with a 1/2-inch nap roller in overlapping passes, working backward toward the ladder. Respect recoat windows — typically 8 to 24 hours — and the weather: 55 to 90°F, dew-free evening ahead, no rain for 24 to 48 hours.
- Cure before travel. Most systems want several days before highway wind-loading and flexing.
What to Expect Afterward
A properly applied system changes the rig noticeably: interior temps drop measurably under a fresh white reflective surface (coating makers claim 50°F-plus cooler roof skins in summer sun, and owners routinely report the AC cycling less), the chalking stops, and minor weeps disappear under the new monolithic film. Acrylics want a recoat every 3 to 5 years; silicones and liquid rubber commonly run 10 to 15 with only annual inspection and fresh lap sealant as needed. Keep the receipts and batch labels — several brands offer 5 to 10 year warranties that require proof of coverage rates. The same restoration logic scales up to houses and commercial buildings, with the same chemistry families; the residential version of this decision is covered in our roof coating guide.
Timing and Storage: Getting Maximum Life From the Work
Coat in the shoulder seasons if you can — late spring or early fall gives the 55 to 90°F window with mild sun, where summer application on a black-out day can flash-skin acrylics before they level. New-to-you used rig? Coat early in your ownership rather than waiting for symptoms; you’re buying protection for a membrane whose maintenance history you don’t know. And remember that storage habits compound the coating’s lifespan: a rig parked under cover or a breathable RV roof cover ages its coating at half the rate of one baking in a desert storage lot, and clearing leaf litter and pine needles twice a year prevents the acidic, moisture-holding mats that stain and degrade any coating chemistry. Wash the coated roof annually with mild soap — grime buildup measurably cuts reflectivity, which is half of what you paid for.
When Coating Is the Wrong Answer
Skip the bucket and see an RV shop when the roof deck is soft over more than a small patch, when the membrane is torn loose or ballooning at speed, when seams have separated structurally, or when a previous owner’s mystery coating is peeling in sheets (new coating bonds to the failing layer, not the roof). Coating is a mid-life restoration for a structurally sound roof — applied at the right moment, usually years 8 to 15 of a membrane’s life, it’s the single highest-return maintenance dollar an RV owner can spend.