The moment drywall goes up, fixing electrical mistakes stops being cheap. That is why the rough in electrical phase — after framing but before insulation and sheetrock — is where careful planning pays off for the life of the house. This is when every box is nailed, every cable is pulled, every staple is set, and the whole system is inspected top to bottom. Whether you are building new, finishing a basement, or doing a gut remodel, understanding rough-in lets you communicate clearly with the electrician and catch errors before they disappear behind walls.
What “Rough In” Means
Rough-in is the electrical work completed before wall coverings. At the end of rough-in, you have boxes mounted on studs, cables pulled from the panel to every box, cables stapled per code, and pigtails of wire sticking out of each box ready for finish devices. No receptacles or switches are installed yet — those come during trim-out.
The rough-in inspection is the final step before drywall. An inspector walks the house, checks every aspect of the installation, and signs off before builders can insulate.
Planning Before the Electrician Arrives
Homeowners make the most impact at the design stage. Walk every room with painters tape and mark:
- Every receptacle location — consider furniture layout, lamps, TVs, home offices
- Every light fixture and switch — including three-way switches for stairs and halls
- Ceiling fan locations with rated fan boxes
- Data runs — ethernet, cable TV, doorbell, thermostat wiring
- Outdoor outlets (GFCI) for holiday lights and tools
- Bathroom vent fan timer switches
- Dedicated circuits for appliances — range, dryer, microwave, dishwasher
Adding an outlet now costs $40 to $80. Adding one later costs $200 to $500 plus wall patching. Overbuild on outlets during rough-in and you will thank yourself for years.
Box Mounting
Standard heights for box mounting, measured from subfloor to the bottom of the box:
- Wall receptacle — 12 to 16 inches
- Switches — 44 to 48 inches
- Kitchen counter receptacles — 44 inches (4 inches above a 40-inch counter)
- Above-vanity switches — 48 inches
- Exterior outlets — 18 inches minimum above grade
Boxes must sit flush with the finished drywall plane. Plastic boxes have depth markers printed on the side for 1/2-inch drywall. Older metal boxes need plaster ears or box extenders if installed over paneling or stone veneer.
Cable Types and Sizing
Residential rough-in almost always uses NM-B cable (Romex). Common sizes and uses:
- 14/2 NM-B — 15-amp lighting circuits
- 12/2 NM-B — 20-amp general receptacles and kitchen circuits
- 12/3 NM-B — three-way switches and multi-wire branch circuits
- 10/2 NM-B — 30-amp water heater, dryer, and some AC units
- 6/3 NM-B — electric range (50A) and some HVAC feeds
For wet or damp locations, use UF-B direct-burial cable. For conduit runs in garages or exposed basements, use THHN individual conductors.
Stapling and Running Cable
NEC 334.30 requires NM-B cable stapled within 12 inches of every box and every 4.5 feet along the run. Drill holes in stud centers — never closer than 1.25 inches from any edge, or install a nail plate to protect the cable. In joist runs, cable should pass through holes drilled in the joist center, not notched on the edge.
Do not flatten cables with overly aggressive staples. A staple that crushes the jacket damages the conductors inside and is a common inspection failure.
Required Circuits by Room
The 2020 NEC requires dedicated circuits for several rooms:
- Kitchen — two 20A small-appliance circuits minimum
- Dining room — at least one 20A circuit
- Laundry — one 20A circuit
- Bathroom — one 20A circuit, can serve multiple bathrooms
- Garage — at least one 20A receptacle circuit
Arc-fault (AFCI) and ground-fault (GFCI) protection requirements have expanded dramatically. Most habitable rooms now require AFCI protection at the breaker, and GFCI applies to kitchens, bathrooms, garages, basements, outdoors, laundry, and any receptacle within 6 feet of a sink.
Panel Work During Rough-In
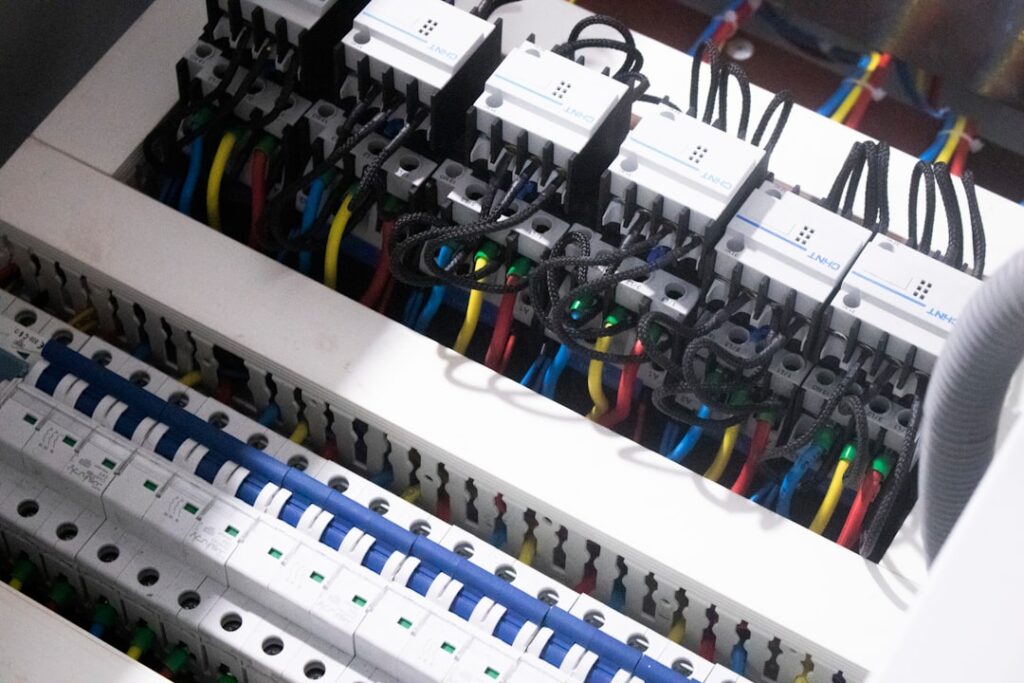
All home-run cables terminate at the panel during rough-in. Electricians usually leave cables neatly coiled in the panel or roughly routed to their breaker positions but uninstalled. The panel is fully wired and breakers installed at trim-out. For a new 200-amp service, rough-in panel work alone runs $1,200 to $2,500 in labor.
The Rough-In Inspection
Before insulation, the local electrical inspector visits the site and verifies:
- Box mounting — flush, level, secured to studs
- Cable fastening — staples every 4.5 feet, within 12 inches of boxes
- Wire conductor fill in each box (cubic inch calculation)
- Adequate wire for trim-out (6 to 8 inches sticking out of each box)
- Proper cable sizing for circuit ampacity
- Nail plates on cables within 1.25 inches of stud edges
- Grounding — all grounds properly pigtailed in boxes, bonded at panel
Expect one to two corrections on a typical whole-house rough-in. Minor items are easy fixes; major issues like improper wire size mean pulling cable back through and re-running it.
Budget and Timeline
Rough-in electrical for a typical 2,500 sq ft new construction home costs $6,000 to $12,000 including materials, depending on fixture count and circuit complexity. The work itself takes five to ten working days. Remodel rough-in is priced hourly at $75 to $150 per hour depending on region and scope.
Coordinating With Other Trades
Electrical rough-in overlaps with HVAC and plumbing. Order of operations matters:
- Framing complete with all openings and blocking in place
- HVAC ductwork installed next because ducts are the largest and least flexible
- Plumbing rough-in follows with water, drain, and vent lines
- Electrical last, routing cable around existing trades
A general contractor coordinates this sequence. Homeowners acting as their own GC should schedule trades in this order and allow a couple days between each for inspections.
Future-Proofing Tips
Spend a few hundred dollars now to save thousands later. During rough-in, consider pulling extra cat6 data to every bedroom and office, conduit runs between attic and basement for future low-voltage, an empty 3/4 inch PVC sleeve between the TV wall and media cabinet, and a dedicated 20A outlet in the garage for a future EV charger. None of these additions require much labor during rough-in but are a major expense if added after drywall.