Adding capacity to a home electrical system usually means one of two things: upgrading the main panel, or installing a sub panel to serve a specific area. An electrical sub panel is almost always the better choice for garages, detached shops, additions, and ADUs because it runs a single heavy feeder to a secondary distribution point, then branches out short circuits locally. Done right, a sub panel install is a long-term solution that supports 30 or more years of electrical demand. Done wrong, it trips inconveniently, violates code, and fails inspection when you try to sell the house.
- What a Sub Panel Actually Does
- Sizing the Sub Panel Correctly
- Wire Gauge and Feeder Selection
- Four-Wire Feeders Are Code, Not Optional
- Grounding Rules for Detached Structures
- Conduit or Cable — Which to Use
- Permits, Inspections, and Realistic Costs
- Plan the Circuit Layout Before Installation
- Common Mistakes to Avoid
What a Sub Panel Actually Does
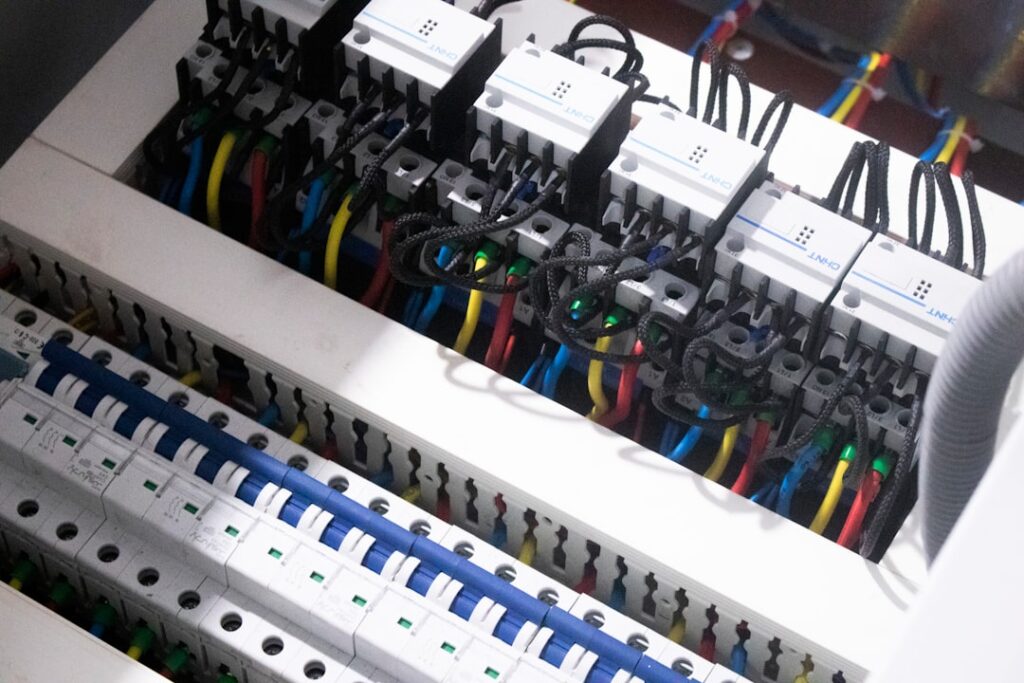
A sub panel is a smaller breaker panel fed by a single circuit from the main service panel. Picture a 100-amp breaker in the main panel feeding a 100-amp sub panel through heavy conductors. From there, the sub panel splits that 100 amps into many smaller circuits — 15-amp lights, 20-amp receptacles, 30-amp dryer, 50-amp range, and so on.
You do not gain total service capacity by adding a sub panel. You gain distribution flexibility. If your main panel is on the other side of the house from your new garage, running 20 individual branch circuits through the walls is impractical. Running one heavy feeder to a garage sub panel and 20 short local circuits is standard practice.
Sizing the Sub Panel Correctly
Sub panel size is rated in amps, matching the main breaker that feeds it. Common sizes:
- 60 amp sub panel: Small workshops, detached garages with basic lighting and one or two outlets. Limited future capacity.
- 100 amp sub panel: The default for garages, ADUs, and most additions. Handles a dryer, water heater, dozens of lights, and general outlets.
- 125 amp sub panel: Mid-size ADUs or light commercial shop space. Same feeder costs as 100 amp, more breaker positions.
- 200 amp sub panel: Large additions, big workshops, or ADUs that match primary house capacity.
A typical 200-amp service home can support a 100-amp sub panel to a garage without issue. Before installing a 200-amp sub, verify your main service has headroom using an NEC Article 220 load calculation — most licensed electricians perform this for $150 to $250 as part of the design.
Wire Gauge and Feeder Selection
Feeders to a sub panel must be sized for the breaker protecting them. Typical combinations:
- 60 amp: #6 AWG copper or #4 AWG aluminum.
- 100 amp: #3 AWG copper or #1/0 AWG aluminum.
- 125 amp: #2 AWG copper or #2/0 AWG aluminum.
- 200 amp: #2/0 AWG copper or #4/0 AWG aluminum.
Aluminum feeders cost about 40 percent less than copper and are standard for utility service. They are perfectly fine for residential sub panel feeders, but terminations must be coated with anti-oxidant compound and torqued to spec. Copper is more forgiving and preferred when conduit size allows.
Voltage drop matters on long runs. For a 100-amp feeder over 100 feet, you may need to upsize to #2 AWG copper or #1/0 aluminum to keep voltage drop under 3 percent. Run the math before buying wire.
Four-Wire Feeders Are Code, Not Optional
Modern NEC requires four conductors to a sub panel: two hots, one neutral, and one separate equipment grounding conductor. The grounds and neutrals are kept separate inside the sub panel — the neutral bar is isolated, and the ground bar bonds to the metal enclosure.
This is the single most common violation in older sub panel installs. Pre-2008 installations sometimes used three-wire feeders with neutral bonded to ground at the sub panel. That setup is no longer code-compliant for new work and should be corrected during any major renovation.
Grounding Rules for Detached Structures
A sub panel in a detached building (garage, shop, ADU) needs its own local grounding electrode system — typically two ground rods driven 8 feet into the soil, 6 feet apart, bonded with #6 AWG copper. This does not replace the equipment grounding conductor in the feeder. It adds local grounding for lightning and fault protection.
For sub panels inside the same building as the main panel (for example, in the basement feeding a new addition), no additional ground rods are required — the equipment ground in the feeder handles it.
Conduit or Cable — Which to Use
Indoor sub panel feeders can run in SE (service entrance) cable or NM-B individual conductors pulled through conduit. Outdoor feeders and feeders in wet locations need rated wire like THWN-2 in PVC conduit, or URD direct burial cable for underground runs.
For a detached garage 50 feet from the main panel, most electricians trench 18 to 24 inches deep and run 3-inch PVC conduit with three #2/0 aluminum conductors plus a #4 aluminum ground. The conduit protects the wire from future digging and allows wire replacement in 20 years without excavating.
Permits, Inspections, and Realistic Costs
Sub panel installation almost always requires a permit. Trenching, running feeder, installing the panel, and connecting branch circuits all fall under inspection. Rough-in inspection happens after wires are pulled but before the cover goes on. Final inspection happens after all circuits are connected and loads are in place.
Expect to pay $1,500 to $3,500 for a typical 100-amp sub panel install in a detached garage, including materials, labor, and permit. ADU and larger installs run $3,500 to $6,500. DIY is allowed in most jurisdictions under a homeowner permit, but the work must pass the same inspections.
Plan the Circuit Layout Before Installation
A sub panel works best when you plan branch circuits ahead of the install. For a 2-car garage:
- 20-amp GFCI circuit for general receptacles — code now requires all garage outlets to be GFCI protected.
- 15-amp circuit for interior and exterior lights.
- 20-amp dedicated circuit for garage door opener, especially if two doors.
- 30- or 50-amp 240V circuit for welder, air compressor, or EV charger.
- 20-amp dedicated for freezer or refrigerator — no one wants a trip to ruin a full deep freeze.
Leaving two or three spare breaker positions is wise — future needs like EV chargers, heated flooring, or mini-splits come up more often than people expect.
Common Mistakes to Avoid
Three mistakes show up over and over on DIY sub panel installs:
- Using a main-breaker panel as a sub panel without removing the bonding screw between neutral bar and enclosure. The bonding screw must come out.
- Landing the ground wire on the neutral bar or vice versa. Ground and neutral must be on separate bars in a sub panel.
- Under-sizing the feeder because the panel label reads “100 amp max” — the label assumes proper breaker and wire sizing, not that you can feed any 100-amp panel with #6 wire.
An electrical sub panel is one of the higher-stakes DIY projects because mistakes create fire risk, not just code issues. If you are not fully confident reading NEC tables and interpreting breaker specs, hire a licensed electrician for the feeder and installation, then handle branch circuits yourself under permit.