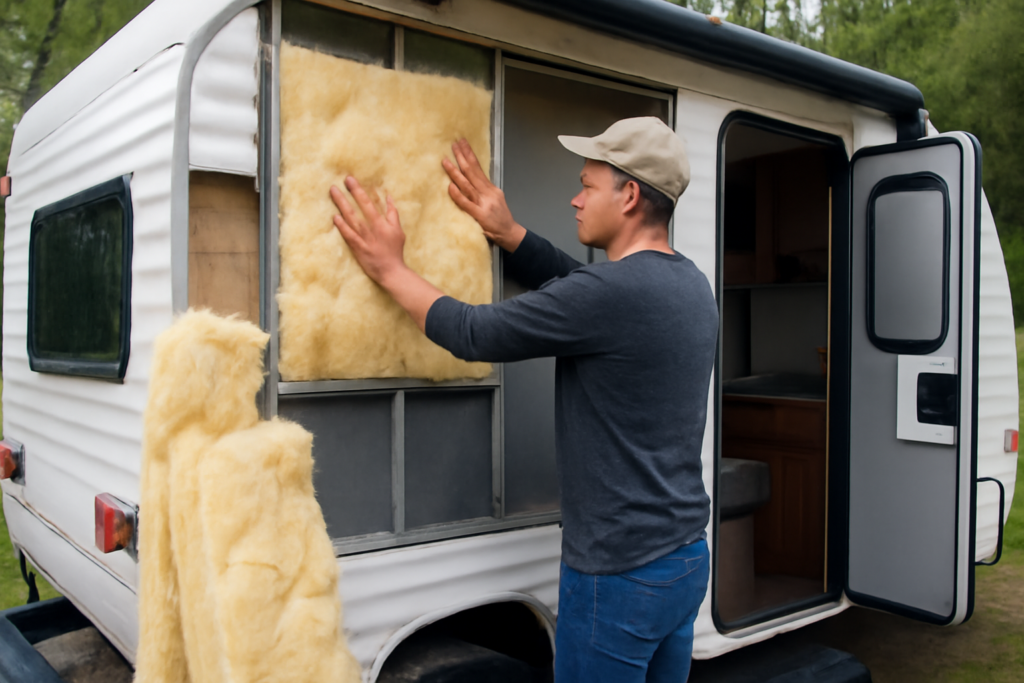
Most RVs are built for 70°F weekends, not January. Factory walls are barely 1.5 to 2 inches thick, windows are single-pane, and the underbelly is often bare corrugated plastic — which is why a typical travel trailer needs a furnace running nearly constantly to hold 65°F when it’s 20°F outside. Upgrading RV insulation is the difference between a rig that survives shoulder seasons and one that’s genuinely comfortable year-round, and most of the improvements are weekend projects costing $50 to $500 each. Here’s what’s in your walls now, which upgrades actually move the needle, and how full-timers winterize rigs that were never designed for it.
What Factory RV Insulation Looks Like
Construction style determines your starting point. Traditional “stick and tin” trailers — wood framing with corrugated aluminum siding — carry fiberglass batts in the wall cavities, typically R-6 to R-9, and are the easier type to upgrade because walls can be opened and refilled. Laminated fiberglass rigs (Azdel or luan-skinned sandwich walls) use rigid foam — usually 1 to 1.5 inches of EPS block foam or polystyrene, R-5 to R-9 — bonded into a sandwich you cannot practically open; upgrades there focus on windows, roof, and underbelly instead of walls.
Marketing R-values deserve skepticism. “R-38 roof!” claims usually describe a single point at the thickest spot of a crowned roof, ignoring the aluminum framing that bridges every stud and rafter — and aluminum conducts heat about 1,500 times faster than wood. Real-world whole-wall performance in most rigs is a third to half the brochure figure. “Four-season” and “Arctic package” labels are unregulated; the honest test is the spec sheet’s heated-underbelly details, dual-pane window availability, and owners’ reports below freezing.
The Biggest Wins: Windows, Vents, and Skylights
Glass and roof openings leak more heat per square foot than any wall, so start there. Single-pane RV windows run around R-1; treatments stack cheaply:
- Vent cushions: $15-$30 foam pillows that plug 14-inch roof vents — the single best dollar-per-degree upgrade in RVing
- Reflectix window inserts: $20-$50 per rig, cut-to-fit reflective panels for sun-side summer heat and winter night losses; blocks light, so best for sleeping areas and storage mode
- Interior storm windows: clear plexiglass or vinyl film (the $15 shrink-film kits sold for houses work fine in RVs) create a dead-air layer worth roughly a doubling of window R-value while keeping daylight
- Insulated curtains: thermal-lined drapes with sealed edges, especially across the cab of motorhomes — that windshield is a 20-square-foot thermal hole, and a quilted windshield cover ($60-$150) is standard equipment for winter motorhome dwellers
Skylights and shower domes get the same cushion treatment. Total spend for a full glass-and-openings pass: under $300, with an effect on furnace runtime you’ll notice the first cold night.
Walls, Roof, and Slide-Outs
Wall upgrades depend on access. During any repair or renovation of a stick-and-tin rig, replace tired batts with rigid polyiso board (R-6.5 per inch, foil-faced, cut snug and canned-foam sealed) — the single biggest structural insulation gain available, taking walls from R-6 toward R-13 in the same cavity. Closed-cell spray foam kits ($300-$700 for small rigs) fill irregular cavities and add rigidity, though overspray discipline matters in a space where every wire may someday need finding. In laminated rigs, accept the walls and spend elsewhere.
Slide-outs are notorious cold spots — thin floors, imperfect seals, three exposed faces. Practical fixes: foam board cut to fit beneath slide floors from outside, heavy rugs inside, and fresh bulb and wiper seals ($50-$150) because a worn slide seal leaks more heat as air than the walls lose by conduction. On the roof, an interior ceiling of 1/2-inch foam board under a renovation, or simply a white reflective roof coating (Henry Tropi-Cool class, $100-$200), tames summer gain dramatically — southern full-timers report 10-15°F cooler interiors from coating alone.
Underbelly, Skirting, and Tanks: Winter Survival
Cold kills RVs from below. Plumbing runs, holding tanks, and dump valves live in the underbelly, and a night in the teens freezes them in unprotected rigs. The defense stack, in order of importance for winter camping:
- Skirting: enclosing the space under the rig stops wind from scouring heat off the floor and creates a buffer zone often 15-25°F warmer than ambient. Options range from custom vinyl skirts ($1,000-$3,000 installed) to DIY foam board ($200-$400) to inflatable AirSkirts ($1,500-$2,500). For any stay over a couple of winter weeks, skirting outperforms every other upgrade combined
- Tank heaters: 12-volt adhesive heating pads ($30-$60 per tank) thermostatically warm fresh, gray, and black tanks; factory “Arctic packages” often just mean these pads
- Heat tape and pipe insulation: wrap the fresh-water hose and exposed lines ($30-$80); a heated hose ($100-$150) is the plug-and-play version
- Underbelly sealing: before winter, drop the coroplast, repair rodent damage, add foam board between frame members, and reseal — many “cold floor” rigs are actually missing half their underbelly insulation to old repairs
Ducted furnace rigs have one advantage: most route a duct into the underbelly, so running the propane furnace (not just electric space heaters) actively warms the tanks. In serious cold, run the furnace at least part-time even if electric heat is free at your site.
Condensation: The Problem Insulation Creates
Tighten and warm an RV and you’ll meet the real winter enemy: moisture. Four people breathing, cooking, and showering release gallons of water vapor daily into a few hundred square feet, and it condenses on every cold surface — window frames, wall corners behind cushions, closet walls — feeding mold and rot. Insulation helps by warming surfaces above the dew point, but management is mandatory: crack a roof vent while cooking and showering (yes, even in January), run vent fans, keep cabinet doors ajar against exterior walls, and run a dehumidifier — a small compressor unit ($150-$250) in humid-winter climates, or DampRid tubs for storage. Target 30 to 50 percent relative humidity on a $10 hygrometer.
Propane heat adds its own twist: an unvented catalytic or “Buddy” heater dumps roughly a pint of water vapor into the air for every pound of propane burned, plus CO risk. The ducted furnace vents its combustion moisture outside — one more reason it, plus insulation, beats space heaters alone for four-season living.
Summer Counts Too: Insulating Against Heat
The same thin envelope that freezes you in January cooks you in July, and a 13,500 BTU rooftop air conditioner is easily overwhelmed by a rig soaking in 95°F sun. The heat-side playbook overlaps heavily with winter prep: reflective window coverings (Reflectix shines here, bouncing solar gain before it enters), vent cushions, and a white or reflective roof coating that can drop skin temperature 30°F or more. Add awnings or shade cloth on the sun side — shading the wall outperforms any insulation inside it — and park nose-in to the afternoon sun so the windshield takes the load with its cover on. Full-timers in the Southwest often report the roof coating plus window inserts cut air-conditioner duty cycles by a third, which matters as much for generator fuel as for comfort.
Budget Roadmap: What to Do First
For a weekender extending into spring and fall: vent cushions, Reflectix inserts, and a windshield cover — under $200, one afternoon. For regular sub-freezing trips: add tank heater pads, a heated hose, slide seal renewal, and shrink-film storm windows — roughly $400 more. For stationary winter living: skirting, underbelly refurbishment with foam board, and a proper dehumidifier — $500 to $2,500 depending on DIY appetite. And during any renovation, upgrade whatever cavity is open with polyiso or spray foam as a matter of course. Measured by furnace propane saved (winter full-timers routinely burn $200-$400 of propane monthly unskirted), the whole stack pays for itself in one to two seasons.
The Bottom Line
RV insulation is a system, and the factory ships you the minimum viable version of it. Attack the openings first — vents, windows, windshield — because that’s where the heat actually goes; protect the plumbing with skirting and tank heat before trusting any “four-season” badge; and manage the humidity your newly cozy rig will generate. None of the individual projects is difficult, most cost less than a single month of winter campground electricity, and together they turn a three-season box into a rig that shrugs off weather the brochure never promised it could handle.