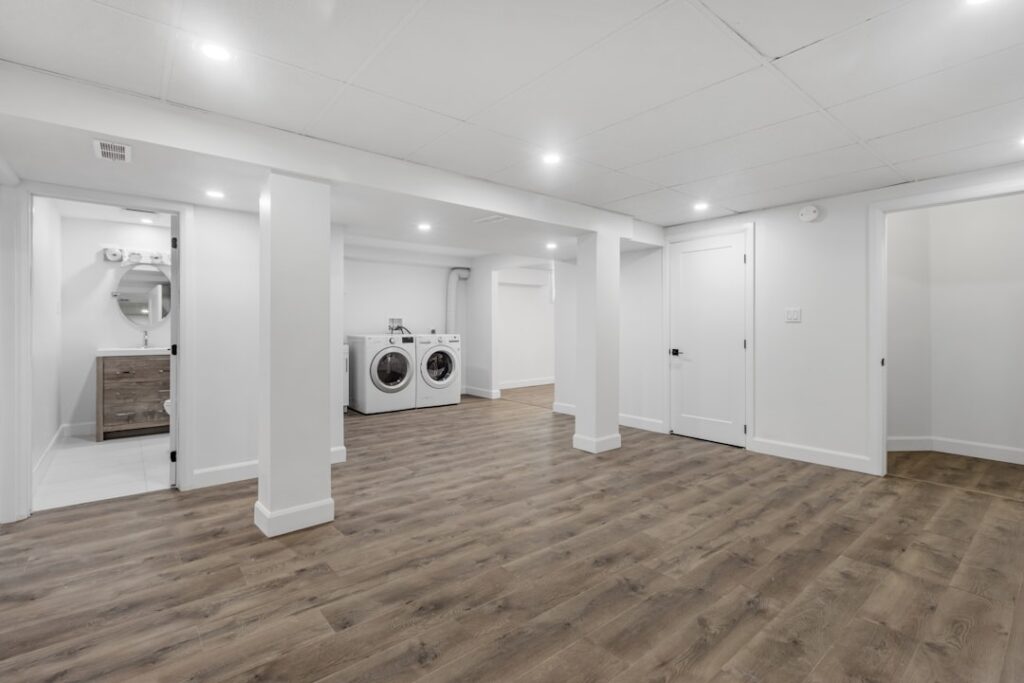
Sealing basement floor concrete is one of the most cost-effective ways to fight moisture, reduce dust, and protect the slab beneath your home. Bare concrete is porous; it wicks up water vapor from the ground, sheds a fine gray dust, and stains easily. A quality sealer closes those pores, creating a cleaner, drier, more durable surface that resists the everyday problems basements are notorious for.
Part of our Epoxy, Concrete & Garage Floors guide — explore the full guide →
Before you buy a bucket of sealer, though, one rule matters above all: address the source of any moisture first. A sealer manages vapor and minor dampness, but it cannot stop active leaks, hydrostatic pressure, or a failing drainage system. This guide covers when sealing helps, the sealer types, and how to do it safely.
Basements live a hard life. They sit partly below grade against damp soil, see temperature swings, and often serve as storage, laundry, and mechanical space all at once. The concrete slab takes the brunt of it, and bare concrete is far less inert than it looks, constantly wicking moisture, shedding dust, and soaking up anything spilled on it. Sealing is the straightforward, affordable way to give that slab a fighting chance, and it is a project many homeowners can tackle themselves with the right preparation.
Why Seal a Basement Floor
The benefits are practical and add up quickly:
- Moisture control: a good sealer slows water vapor transmission through the slab, helping keep the space drier.
- Dust reduction: sealing stops the chalky concrete dust that coats stored items and circulates in the air.
- Stain resistance: sealed concrete shrugs off spills, oil, and mildew far better than bare slab.
- Easier cleaning: a sealed surface mops up rather than absorbing everything.
- Floor prep: sealing is often a required step before installing finished flooring over concrete.
Address the Moisture Source First
This deserves its own section because skipping it wastes money. If your basement has standing water after rain, efflorescence (white mineral deposits), or visible cracks weeping moisture, a topical sealer alone will not fix it and may even trap water, leading to bubbling or failure.
Before sealing, grade soil away from the foundation, clean and extend gutters and downspouts, and address any plumbing leaks. For serious water intrusion, consult a foundation or waterproofing professional about drainage, a sump pump, or exterior waterproofing. Sealing is the finishing touch on a dry basement, not a cure for a wet one.
Types of Basement Floor Sealers
Several sealer chemistries suit basement concrete, each with different strengths:
- Penetrating sealers (silicate, siloxane): soak into the concrete and react chemically to densify and waterproof from within. They leave a natural look, do not peel, and are excellent for moisture resistance.
- Epoxy: a thick, durable topical coating that creates a hard, attractive, chemical-resistant surface; popular for finished basements and workshops but demands careful prep and adequate cure time.
- Acrylic sealers: affordable topical coatings that add a light sheen and protection; easier to apply but less durable than epoxy.
- Polyurethane: a tough topcoat often used over epoxy for added abrasion and chemical resistance.
For basements primarily concerned with vapor and dust, a penetrating sealer is often the simplest, most forgiving choice. For a finished, high-traffic floor, epoxy delivers durability and looks but requires more skill.
Pros and Cons
Weigh the tradeoffs before committing:
- Pros: better moisture and dust control, easier cleaning, stain resistance, longer slab life, and a base for finished flooring.
- Cons: topical coatings can peel or bubble if applied over a damp or dirty slab, surface prep is labor-intensive, solvent-based products have strong fumes, and sealing does not solve underlying water problems.
Surface Preparation
Prep determines success more than the product itself. Topical sealers fail when applied to a poorly prepared slab:
- Clear the floor and clean it thoroughly, removing oil, grease, and old coatings.
- Etch or mechanically profile the concrete so the sealer can bond, following the product’s instructions.
- Repair cracks and fill any significant gaps with appropriate concrete patch.
- Test for moisture by taping a plastic sheet to the slab; condensation underneath after a day signals a moisture problem to resolve first.
- Let the floor dry completely before applying any sealer.
Safety and Application
Many sealers, especially epoxies and solvent-based products, release strong fumes. Treat ventilation and protection as non-negotiable:
- Open windows, run fans, and ventilate the basement aggressively during and after application.
- Wear chemical-resistant gloves, eye protection, and a respirator rated for organic vapors when the label calls for it.
- Read and follow the manufacturer’s instructions exactly, including mixing ratios and recoat windows.
- Keep the area free of ignition sources with flammable solvent products.
- Respect the full cure time before walking on or loading the floor.
How Long Sealers Last and When to Reapply
Different sealers age differently, and knowing the expected lifespan helps you plan maintenance. Penetrating silicate and siloxane sealers chemically react with the concrete and effectively become part of the slab, so they last a long time, often many years, without peeling. They are largely maintenance-free, though a reapplication after a decade or so refreshes water repellency in heavy-use areas.
Topical coatings wear at the surface, so their lifespan depends on traffic. Acrylic sealers are the shortest-lived, often needing recoating every few years, especially where foot traffic, furniture, or moisture is constant. Epoxy and polyurethane systems are far more durable, frequently lasting a decade or more in a residential basement, but they can eventually scratch, dull, or chip and benefit from a fresh topcoat.
Watch for telltale signs it is time to reseal: water that soaks in rather than beading, renewed dusting, dulling of a once-glossy coating, or staining that no longer wipes away easily. Catching wear early and recoating is far easier than stripping a failed coating and starting over.
Is Sealing Worth It?
For most homeowners with a basically dry basement, sealing the floor is a worthwhile, affordable upgrade that pays off in cleaner air, easier maintenance, and a protected slab. Choose a penetrating sealer for straightforward moisture and dust control or epoxy for a durable finished surface, prep the concrete properly, ventilate well, and fix any water source first. Get those steps right and a sealed basement floor will stay cleaner, drier, and more usable for years.
Prefer to explore on your own?
See how new flooring looks in your actual room in seconds — free, no signup.
Try the free Floor Studio →