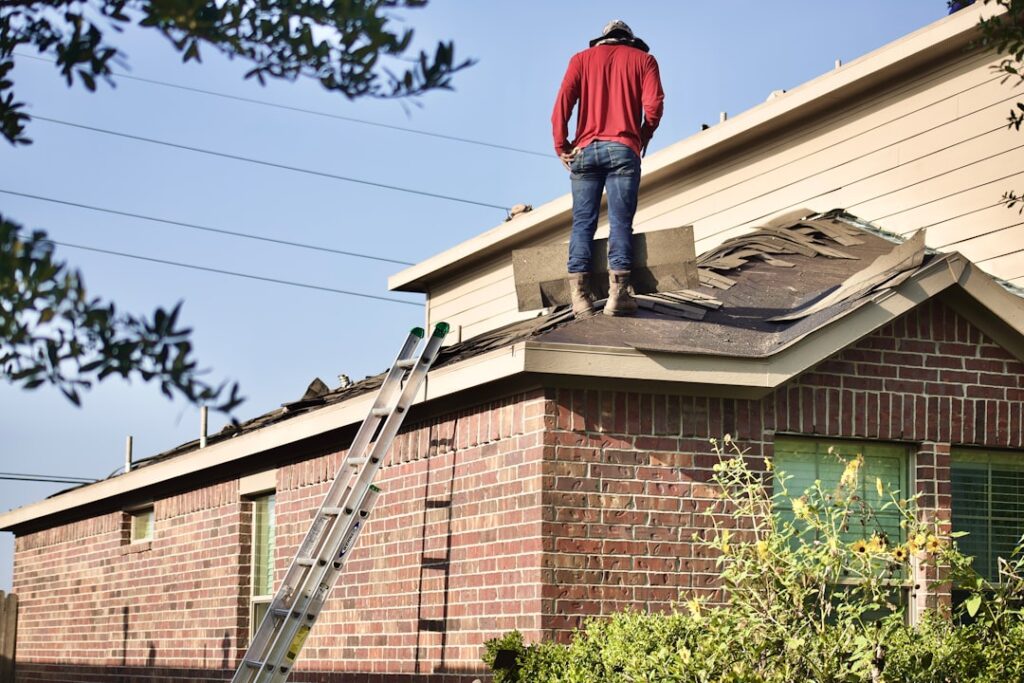
One missing shingle exposes about 30 square inches of nail lines and underlayment to every storm that follows — and the water that gets in travels along rafters before it ever stains a ceiling. Prompt shingle roof repair is the cheapest insurance in homeownership: a $30 bundle and an hour of careful work today prevents the rotted decking and moldy insulation that turn into four-figure fixes by spring. This guide covers diagnosing the damage, replacing individual shingles the right way, and knowing when a spot repair is false economy.
Reading the Damage
Different failures call for different fixes, so start with a ground-level inspection using binoculars — or a careful walk if the pitch is shallow and shingles are dry. Missing shingles and tabs are obvious. Creased or lifted tabs mean wind broke the seal but left the shingle in place; these often re-seal with adhesive rather than replacement. Cracked or torn shingles need swapping. Round bruises with loose granules signal hail — stop and read our note on insurance below before touching anything. Widespread curling, cupping, and heavy granule loss are age, not damage, and no repair fixes age. If water is already inside, trace it first; our roof leak repair guide covers finding the entry point, which is frequently flashing rather than the shingles themselves.
Tools and Materials for the Job
A proper shingle swap needs less than $60 in supplies if you already own basic tools:
- Flat pry bar (a flat bar slides under shingles better than a claw hammer)
- Replacement shingles — matching bundle, about $30 – $45, or spares left from the original install
- 1¼-inch galvanized roofing nails
- Roofing sealant such as a polyurethane or asphalt roof cement in a caulk tube ($8 – $12)
- Utility knife with hook blades
Work on a mild day, ideally 45 to 85°F. Cold shingles crack when you lift them; hot shingles scuff and tear. Early morning in summer and midafternoon in fall are the sweet spots.
How to Replace a Damaged Shingle
Each shingle is held by its own nails plus the nails of the course above, and glued down by the sealant strip. The whole trick is breaking things loose without collateral damage:
- Break the seal. Slide the flat bar gently under the tabs of the shingle above the damaged one, working side to side until the adhesive releases. Do the same on the damaged shingle.
- Pull eight nails. Lift the shingle above and pry out the four nails through the damaged shingle’s top edge, then the four from the course above that also catch it. Lever against a scrap block, not the good shingles.
- Slide out the old, slide in the new. Trim the replacement to match if it is a cut piece at a rake or valley.
- Nail to the pattern. Four nails on the nail line — just below the sealant strip, never in it and never high on the shingle. High nailing is the number-one amateur mistake and lets the shingle slide out in the next wind event.
- Re-seal everything you lifted. A quarter-size dab of roofing sealant under each disturbed tab, pressed down firmly. The factory strip will not re-bond on its own once broken.
Fixing Lifted Tabs and Nail Pops
Not every repair needs a new shingle. Wind-lifted tabs that are intact — no crease line across the tab — just need re-gluing: lift gently, apply two spots of roof cement, press down, and weight briefly with a brick on a rag. Creased tabs have a broken mat and will flap again; replace those. Nail pops, where a backed-out nail tents the shingle above it, get fixed by lifting the shingle, pulling the nail, driving a new nail an inch away, and sealing both the old hole and the disturbed tab. Never the shortcut you see on bad roofs: a blob of caulk over an exposed nail head lasts one season.
What Shingle Roof Repair Costs
DIY spot repairs run $30 to $75 in materials. Professional pricing in 2026 typically lands at:
- Minimum service call: $150 – $400 (covers most one-to-five-shingle fixes)
- Repair of a 10 – 100 sq ft section: $350 – $1,200
- Full slope replacement: $1,000 – $3,000 depending on size and pitch
Color match is the hidden cost of small repairs: a five-year-old weathered roof never matches fresh shingles exactly. Pros sometimes harvest shingles from an inconspicuous slope for visible repairs and put the new ones where nobody looks. For storm damage with widespread hail bruising or blown-off sections across multiple slopes, file an insurance claim before paying for piecemeal repairs — a documented storm event often buys a full replacement, and an out-of-pocket patch can complicate the claim. Get a contractor’s inspection report first; our roof inspection guide explains what a proper one documents.
When Spot Repair Is the Wrong Answer
Replacing shingles on a roof past 20 years is usually paying twice: the surrounding shingles are too brittle to lift without cracking, and the next failure is one storm away. Rules of thumb from the field — if more than 30 percent of a slope needs work, if repairs are becoming an annual event, or if the shingles crumble at the edges when lifted, put the money toward replacement instead. Our shingle roof replacement guide covers that process and cost. For urgent situations — active leaking with rain incoming — tarp first and repair after; the steps are in our emergency roof repair guide.
Repairing Ridge Caps and Valley Shingles
Two locations play by their own rules. Ridge and hip caps take the worst wind exposure on the roof and fail first — you will often see caps flapping while the field is intact. Replacement caps install like field shingles but overlap along the ridge line, each nailed with two longer nails (1¾ inch, since they penetrate multiple layers) and the final cap’s exposed nail heads sealed with dabs of polyurethane. Buy purpose-made hip-and-ridge caps to match architectural shingles; folding a three-tab over the ridge cracks in cold weather and looks wrong beside laminated caps. Valleys are the opposite problem: they carry concentrated water flow, so never nail within 6 inches of the valley centerline, and if a woven or cut valley is deteriorating along its length, that is a section rebuild for a professional rather than a patch — improvised valley repairs are among the most common sources of the leaks pros get called to redo.
Matching Repairs on an Aging Roof
A repair also has to hold onto brittle neighbors, so adjust technique with roof age. On shingles past 15 years, warm each tab with your palm before lifting, work slower, and accept that you may crack one or two adjacent tabs — buy an extra bundle and plan to replace what breaks. Hairline cracks in otherwise-sound older shingles can be stabilized without replacement: a bead of roof cement under the crack, pressed flat, then a sprinkle of granules (collect a handful from the gutter) over the exposed cement to hide and UV-shield it. This granule trick is also the professional finish for any visible sealant on a shingle roof; bare black mastic smears are the signature of rushed work and degrade quickly in sun.
Safety and a Final Pro Tip
Roof falls injure more DIYers than any other home repair. Stay off pitches above 6:12, off wet or frosty shingles, and off any roof without a stable ladder extending three feet past the eave. On walkable pitches, wear soft-soled shoes and work with a helper on the ground. And when your roof is installed or repaired, ask the crew to leave the spare shingles — a labeled bundle in the garage guarantees a perfect color match for the next decade of small fixes. Store it flat in a cool spot; bundles left in a hot attic fuse into a solid brick within a couple of summers and become unusable exactly when you need them.