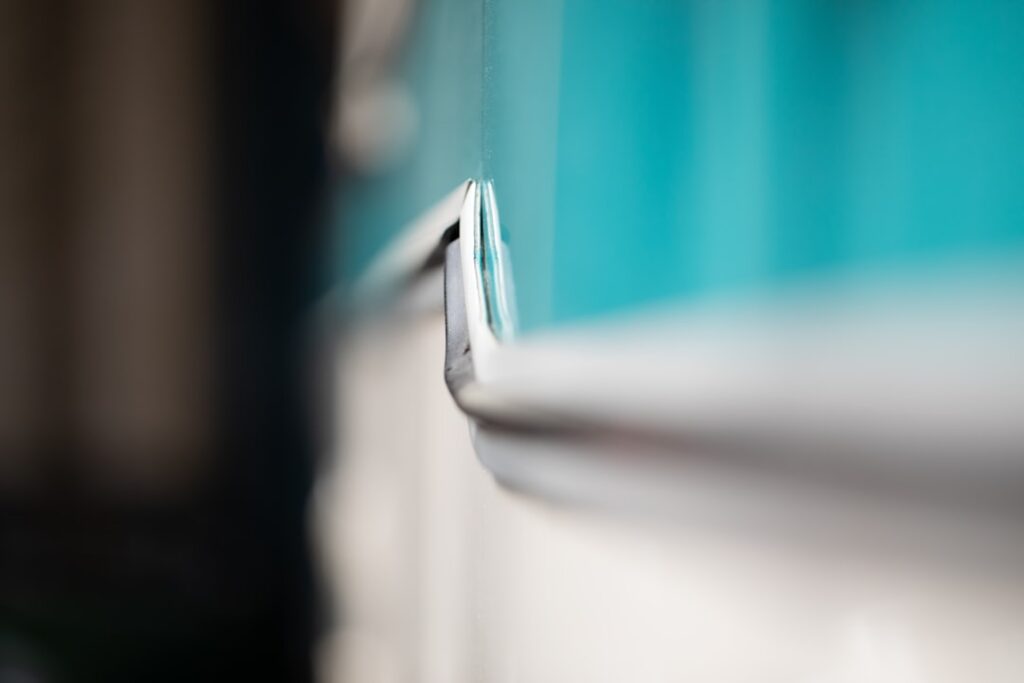
If a puddle keeps appearing on your bathroom floor after every shower, the culprit is almost always a failed shower door seal. These flexible strips of vinyl, silicone, or rubber run along the bottom and sides of a glass shower door, closing the gaps that would otherwise let water escape onto the floor. They are cheap, they wear out on a predictable schedule, and replacing one is a genuinely easy DIY job that most homeowners can finish in under an hour. Here is everything you need to know to fix the leak and keep it fixed.
Part of our Bathroom Remodeling & Flooring guide — explore the full guide →
- Why Shower Door Seals Fail
- The Types of Shower Door Seals
- Measuring and Identifying the Right Replacement
- How to Replace a Shower Door Seal
- What It Costs
- Other Sources of Shower Leaks
- Preventing Future Failures
- When to Replace Versus Recaulk
- Framed Versus Frameless Door Seals
- Signs It Is Time to Replace
- A Quick Word on Thresholds and Curbs
- The Bottom Line
Why Shower Door Seals Fail
Seals live in a brutal environment: constant moisture, temperature swings, soap scum, and the flex of the door opening and closing hundreds of times a month. Over time the flexible material hardens, cracks, tears, or simply flattens out and loses its springy shape, at which point it no longer bridges the gap. Mineral buildup and mildew accelerate the decay. Most seals last two to five years before they need replacing, so a leak in an older shower usually points straight at the seal rather than the glass or the door mechanism.
The Types of Shower Door Seals
Knowing which seal you have is the first step, because they are not interchangeable.
- Sweep or bottom seal: A strip along the bottom edge of the door, often with a fin or bulb that presses against the threshold to block water at the floor. This is the most common failure point.
- Side or jamb seal: Runs vertically along the hinge or latch side, closing the gap between the door and the wall or the fixed panel.
- Magnetic seal: Used on the latch edge of some swinging doors, with magnetic strips that pull the door closed and seal the gap.
- Bulb and fin combinations: Many seals combine a bulb shape with a wiper fin to handle both the gap and the runoff.
Seals also differ by how they attach. Some slide into a channel in the glass edge, some clip over the glass, and some adhere with a track. Match the attachment style, not just the shape.
Measuring and Identifying the Right Replacement
Getting the correct replacement hinges on three measurements. First, the glass thickness, commonly 3/16 inch, 1/4 inch, or 3/8 inch, because seals are sized to grip a specific thickness. Second, the length of the door edge, which you cut the new seal to match. Third, the profile shape and how the existing seal attaches. The easiest path is to remove the old seal and take it to the hardware store to match it, or measure the glass thickness with calipers and note whether the seal slides in a channel or clips on.
How to Replace a Shower Door Seal
- Remove the old seal. Most slide out of the channel along the door edge, or peel off if adhesive-mounted. Slide it out fully and clean the channel of soap scum and old residue.
- Clean the glass edge and threshold thoroughly. Any grime left behind prevents the new seal from seating and sealing properly.
- Measure the door width and cut the new seal to length with a utility knife or sharp scissors. Cut a hair long and trim to fit rather than short.
- Slide or clip the new seal onto the glass edge, working from one end to the other and pressing it firmly into the channel.
- Test by closing the door and running the shower briefly. The fin or bulb should press against the threshold or panel and stop water. Trim any excess length.
The whole job needs only a utility knife, a tape measure, and maybe a mild cleaner. No special tools, no plumber.
What It Costs
This is one of the cheapest bathroom fixes there is. Replacement seals run $8 to $25 for a standard sweep or side seal at a hardware store or online, with universal kits that fit multiple glass thicknesses at the higher end. Even buying seals for both the bottom and the sides, you are usually under $40 in parts. Hiring a handyman to do it would cost $75 to $150 in labor, which makes this an obvious DIY given how simple it is.
Other Sources of Shower Leaks
Before you replace the seal, confirm it is actually the problem, because a few other issues mimic a bad seal. Cracked or missing caulk where the shower frame meets the wall or floor lets water seep out; re-caulking with a mildew-resistant silicone often fixes leaks the seal cannot. A door that is out of alignment or has sagging hinges won’t close tightly enough for even a good seal to work. And a threshold or curb that slopes the wrong way can channel water outward. Check the caulk lines and the door alignment as part of your diagnosis.
Preventing Future Failures
A little maintenance stretches seal life considerably. Wipe the door and squeegee the glass after showers to reduce standing water and soap scum on the seal. Clean the seals periodically with a mild cleaner and a soft brush to remove mildew and mineral deposits that harden the material. Avoid harsh abrasive cleaners that degrade the vinyl or silicone. Keeping the seal flexible and clean is the difference between a seal that lasts two years and one that lasts five.
When to Replace Versus Recaulk
If water escapes along the bottom or a specific edge and you can see the seal is cracked, flattened, or torn, replace the seal. If water seeps from the corners where glass meets tile, or from beneath the frame, the caulk is the more likely culprit and re-caulking is the fix. Often the best result comes from doing both at once while you have the shower dried out: fresh seals plus fresh silicone caulk gives you a watertight enclosure again. Both are inexpensive, both are DIY, and together they solve the vast majority of shower leaks.
Framed Versus Frameless Door Seals
The type of shower door you have changes the seals involved. Framed shower doors, surrounded by metal tracks, rely on a bottom sweep and vinyl seals within the frame channels, and these are the easiest to replace because the seals slide in and out of the aluminum track. Frameless glass doors, which have no surrounding frame, use different seals: a bottom sweep that clips onto the glass edge, side seals that run along the glass, and often a magnetic strip on the latch edge that meets a matching strip or a small polycarbonate seal on the fixed panel. Frameless seals are slightly more particular about matching glass thickness, usually 3/8 inch on frameless doors, so measure precisely. In both cases the replacement is a slide-and-clip job, but bring your old seal or exact measurements to match the profile.
Signs It Is Time to Replace
Do not wait for a full-blown puddle to act. Early warning signs that a seal is failing include water escaping at one spot along the bottom, a seal that has visibly flattened and no longer touches the threshold, cracks or splits in the vinyl, persistent mildew that won’t clean off because it has grown into deteriorated material, and a seal that has gone stiff and brittle rather than staying flexible. Catching these signs early lets you replace a $15 seal before water works its way under the shower and into the subfloor, where a hidden leak can rot framing and stain the ceiling of the room below. A quick monthly glance at the condition of your seals is worth the thirty seconds it takes.
A Quick Word on Thresholds and Curbs
The seal works together with the shower threshold, the raised curb the door closes against. If the threshold itself is cracked, has failed grout, or is missing caulk where it meets the tile, water can bypass even a perfect seal by wicking through those gaps. When you replace a seal, take a moment to inspect and, if needed, re-grout or re-caulk the threshold with mildew-resistant silicone. Addressing the seal and the threshold together gives you a fully watertight base and saves you from chasing a leak that keeps reappearing despite a brand-new seal.
The Bottom Line
A leaking shower is annoying and can, over time, rot subfloor and damage the ceiling below, so it is worth fixing promptly. In most cases a worn shower door seal is the cause, and the repair costs under $40 and takes less than an hour with a utility knife and a tape measure. Match the seal to your glass thickness and attachment style, clean the channel before installing, and address the caulk while you are at it. Do that and the puddle on your bathroom floor disappears, along with the risk of hidden water damage.