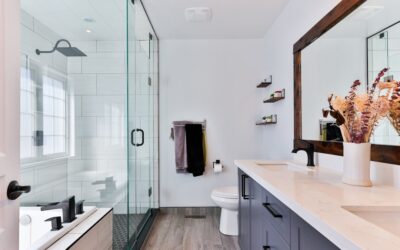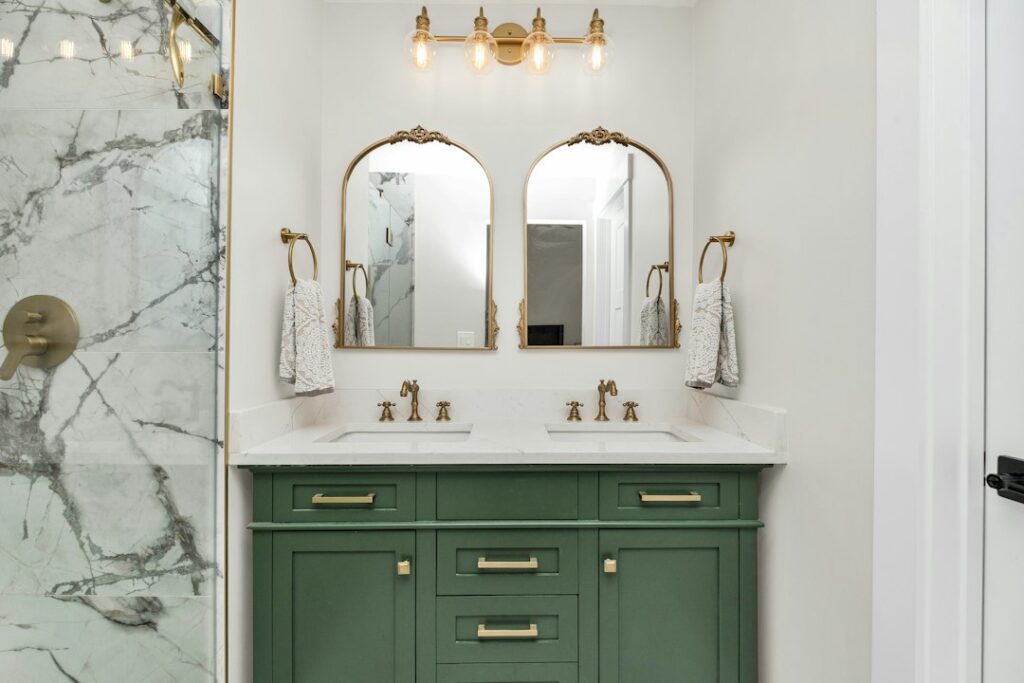
Tile gets all the attention, yet a large share of American bathrooms are walled with shower surround panels because they go up in a weekend, leave almost no grout to scrub, and cost a fraction of a custom tile job. The catch is that “panel” covers at least six very different materials, from thin PVC sheets that cost less than a dinner out to composite stone slabs that rival tile on price. Picking the wrong one is the most common regret we hear about.
Part of our Bathroom Remodeling & Flooring guide — explore the full guide →
Here is the short answer. For a tight budget and a quick refresh, fiberglass or acrylic three-piece kits are hard to beat. For the best balance of looks, durability and DIY friendliness, solid surface or composite stone panels win. Laminate wall panels sit in the middle and look great, but they demand careful sealing at every joint. PVC is the cheapest and lightest, and it suits utility baths and rentals more than primary suites.
- How Shower Surround Panels Compare at a Glance
- Acrylic and Fiberglass Tub Surround Panels
- PVC Wall Panels: The Cheapest Bathtub Wall Surround
- Laminate Shower Wall Board
- Solid Surface and Composite Stone Panels
- Prefab Shower Walls vs Tile: Which Makes Sense?
- How to Install Shower Surround Panels: Overview
- Moisture, Mold and Substrate Safety
- Troubleshooting Common Panel Problems
- What Bathroom Shower Panels Cost
- When to Call a Pro
- Frequently Asked Questions
- Can shower surround panels go over existing tile?
- Which panel material lasts the longest?
- Are tub wall panels waterproof on their own?
- Do panels grow mold more than tile?
- Can I install bathtub wall panels myself?
- Can shower wall panels be installed directly to studs?
- What adhesive is used for shower surround panels?
- Are there shower surround panels that look like tile?
- How do you clean shower surround panels?
We break down each material by price, seam count, lifespan and installation difficulty, then cover substrate prep, common failures, and when a contractor earns their fee.
How Shower Surround Panels Compare at a Glance
Before getting into the details, it helps to see the main tradeoffs side by side. Prices are general installed or material ranges for a standard 60-inch tub alcove and will vary by region and finish.
| Material | Typical material cost | Seams | Expected lifespan |
|---|---|---|---|
| PVC sheets | Lowest | Many | 8 to 15 years |
| Fiberglass kit | Low | 2 to 4 | 10 to 15 years |
| Acrylic kit | Low to moderate | 2 to 4 | 15 to 20 years |
| Laminate panels | Moderate | 2 to 4 corners | 15 to 25 years |
| Solid surface | Moderate to high | 2 to 3 | 20 to 30+ years |
| Composite stone | High | 2 to 3 | 25+ years |
Fewer seams almost always means less cleaning and fewer places for water to sneak behind the wall. That single factor explains why higher-end panels last so much longer.
Acrylic and Fiberglass Tub Surround Panels
These are the classic tub surround panels sold as three-piece or five-piece kits in home centers. Both are formed shells with molded shelves and soap ledges, and both glue directly to drywall-type backer or install over existing smooth walls in many cases.
Fiberglass
Fiberglass panels use a gel coat over a reinforced resin layer. They are the least expensive formed option, typically a few hundred dollars for a kit. The downside is the gel coat itself: it is thin, it dulls with abrasive cleaners, and it can crack if the wall behind it flexes. Expect about 10 to 15 years before the finish looks tired.
Acrylic
Acrylic bathtub wall panels have color that runs through the sheet, so light scratches buff out with polishing compound. They resist fading better and feel warmer to the touch. Kits cost moderately more than fiberglass, and a good one lasts 15 to 20 years or longer. If you are choosing between the two for a kids’ bath or rental, acrylic usually pays for itself in reduced complaints.
Both types fit only standard alcove sizes, so measure carefully. A 3 piece bathtub wall surround fits most 60-inch by 30-inch alcoves with walls around 58 to 60 inches tall. Nonstandard openings may need trim strips or a different product entirely.
PVC Wall Panels: The Cheapest Bathtub Wall Surround
If you are searching for a cheap bathtub wall surround, PVC tongue-and-groove planks or large PVC sheets are where you will land. They are featherlight, cut with a utility knife, and install with adhesive and trim. Some imitate tile or beadboard.
The drawbacks are real. PVC has many joints, and each one is a potential leak path if the sealant fails. Thin sheets can feel hollow when you lean on them and may bow with heat from a hot shower over time. They work well for a basement bath, a cabin, or a quick fix while you save for something better. For a daily-use primary shower, most homeowners outgrow them within a decade.
Laminate Shower Wall Board
High-pressure laminate panels bonded to a waterproof core have become popular for remodels. They come in 4-foot widths and full ceiling heights, with patterns that mimic marble, stone and subway tile. A typical tub shower wall panels setup uses one back panel, two side panels and aluminum or PVC corner and edge profiles.
Looks are the selling point. Laminate shower wall board offers more realistic stone patterns than formed acrylic, and the panels can be cut to fit odd alcoves. The weak points are the corners and cut edges. Every exposed core edge must be sealed with the recommended silicone or sealant, and corner profiles must be bedded correctly. Done right, these walls last 15 to 25 years. Done sloppily, water wicks into the core within a few years.
Installation is moderately DIY friendly. You need a circular saw with a fine blade, a level, a caulk gun, panel adhesive and patience with layout.
Solid Surface and Composite Stone Panels
At the top end are cast solid surface and composite stone panels. These are dense, heavy sheets, often 1/4 to 1/2 inch thick, that resemble cultured marble or quartz. Many systems offer trim kits, matching shelves and even grout-line patterns routed into the surface.
What you get is the closest thing to a joint-free wall without tile. Most bathtub shower walls in this category use just two or three panels, glued to the backer with a structural adhesive and sealed with color-matched silicone. Scratches can often be sanded out. The surfaces are nonporous, so they do not need sealing, and mold has nowhere to grow except at caulk lines.
Weight is the challenge. A single back panel can weigh 60 to 100 pounds or more, so it is a two-person job, and cuts require a fine-tooth blade with dust control. Material costs land well above acrylic kits and can approach mid-range tile. Lifespans of 25 years or more are common.
Prefab Shower Walls vs Tile: Which Makes Sense?
Prefabricated shower walls make the most sense when speed, low maintenance or budget is the priority. A panel install can be finished in one or two days. A tile job typically runs a week once you count waterproofing cure time, setting, grouting and sealing.
Tile still wins for custom niches, curbless showers, and designs that use many materials. If you want a built-in bench or a feature wall, tile or a hybrid approach (panels on the walls, tile on a niche) gives more freedom. For a straightforward alcove over a tub, though, panels usually deliver a cleaner result with far less upkeep.
How to Install Shower Surround Panels: Overview
Every system has its own instructions, and following them protects the warranty. The general sequence looks like this:
- Remove old surfaces. Strip tile, old panels or damaged drywall down to sound framing or backer. Look for soft spots and stains.
- Fix moisture issues first. Repair leaky valves, failed tub flanges and rotted studs before anything new goes up.
- Install the right substrate. Use cement board, a foam backer or moisture-resistant board as the manufacturer specifies. Add a waterproof membrane where required.
- Dry fit and mark. Set each panel in place, mark valve and spout holes, and check plumb.
- Cut openings. Use a hole saw for valve and spout openings, slightly oversized for trim plates.
- Apply adhesive. Use the specified panel adhesive in the recommended pattern, usually vertical beads or a trowel coat.
- Set panels. Start with the back wall, then sides, pressing firmly and bracing until the adhesive grabs.
- Seal joints. Run 100% silicone at corners, tub deck and trim edges. Leave a small gap at the tub to allow movement.
- Let it cure. Wait the full cure time, usually 24 hours, before using the shower.
Tools for most kits include a tape measure, level, circular saw or jigsaw with a fine blade, hole saw, caulk gun, utility knife, safety glasses and a respirator for cutting dust.
Moisture, Mold and Substrate Safety
Panels are only as good as the wall behind them. Never install new shower wall systems over drywall that is already wet, crumbly or stained. If you find mold during demolition, fix the moisture source first, then dry the cavity fully before closing it up. Small spots on framing can be cleaned and the material dried, but any mold growth larger than about 10 square feet should be handled by a professional mold remediation contractor.
Waterproof properly at the tub flange: the backer should overlap the tub lip, never sit behind it with a gap. Seal every penetration. Use bathroom tub wall liners or membrane systems where the panel maker requires them. Good ventilation also matters, so run an exhaust fan during and for 20 minutes after every shower.
Troubleshooting Common Panel Problems
- Black lines at caulk joints: mildew in the silicone. Cut out and recaulk with a mold-resistant silicone after cleaning and drying the joint.
- Panels flexing or popping: adhesive failed or the backer is soft. Check for hidden water damage.
- Cracks in fiberglass gel coat: usually from wall movement. Small cracks can be patched, but widespread cracking means replacement.
- Swelling at laminate edges: water reached the core. Reseal immediately, and replace the panel if it has swelled noticeably.
- Dull or yellowed finish: abrasive cleaners or harsh chemicals. Switch to nonabrasive cleaners and polish acrylic gently.
What Bathroom Shower Panels Cost
Budget roughly as follows, recognizing that local labor rates vary widely:
- PVC or fiberglass kit, DIY: a few hundred dollars in materials.
- Acrylic kit, installed: commonly low four figures including demo and backer.
- Laminate panel system, installed: mid four figures for a standard alcove.
- Solid surface or composite stone, installed: mid to upper four figures, sometimes more with trim and accessories.
A shower wall panel kit that includes trim, corner pieces and adhesive often saves money and headaches compared with buying components separately.
When to Call a Pro
Hire a contractor if you find rot in the framing, if the tub or shower valve needs replacing, or if you are working with heavy composite stone that requires precise cuts. Valve and drain changes involve plumbing code and sometimes permits, so a licensed plumber should handle them. A pro installer is also wise if the alcove is out of square by more than about 1/4 inch, since panels show every wall flaw.
Frequently Asked Questions
Can shower surround panels go over existing tile?
Some systems allow it if the tile is flat, firmly bonded and free of moisture problems, but most installers prefer removing tile so they can inspect the wall. Check the panel maker’s instructions before deciding.
Which panel material lasts the longest?
Solid surface and composite stone panels typically last the longest, often 25 years or more, because they are thick, nonporous and repairable. Acrylic follows, with fiberglass and PVC trailing.
Are tub wall panels waterproof on their own?
The panel faces are waterproof, but the joints, edges and penetrations depend on proper sealing. A water-resistant backer and correct caulking are what keep the wall dry.
Do panels grow mold more than tile?
Usually less, because there are far fewer grout lines. Mold tends to appear only at silicone joints, which you can recaulk easily.
Can I install bathtub wall panels myself?
Yes, acrylic, fiberglass, PVC and laminate kits are realistic DIY projects for a handy homeowner. Heavy stone-look panels are better as a two-person or pro job.
Can shower wall panels be installed directly to studs?
Only when the panel maker specifically rates the system for direct-to-stud installation. Most acrylic, fiberglass, laminate and solid surface panels need a flat, solid backer such as cement board, a foam board or moisture-resistant board behind them. Gluing panels to bare studs without approval can void the warranty and leaves the panels unsupported between framing members, which leads to flexing and failed seams.
What adhesive is used for shower surround panels?
Use the adhesive the panel manufacturer specifies, usually a tub surround or panel adhesive rated for wet areas, and 100% silicone for the joints. Many kits include or name a matching adhesive. General construction adhesives can attack some plastics or stay soft in steamy conditions, so swapping in a different product is a common cause of panels pulling away from the wall.
Are there shower surround panels that look like tile?
Yes. Many acrylic and PVC panels are molded with a subway or square tile pattern, and laminate and solid surface systems come with printed or routed grout lines. They give the look of tile with far fewer real joints to seal and clean. Up close, molded patterns look less convincing than laminate or stone-look panels, so view a full sample before ordering.
How do you clean shower surround panels?
Wipe the panels with a soft cloth or sponge and a mild, nonabrasive bathroom cleaner, then rinse and squeegee or towel them dry. Avoid scouring pads and powdered cleansers, which dull acrylic and fiberglass finishes. A quick squeegee after each shower keeps soap film and hard water spots from building up, and caulk joints should be checked a few times a year for mildew or gaps.