Every piece of silver eventually develops a dark, dull layer of tarnish that dulls its natural beauty. Whether you own sterling silver flatware, jewelry, candlesticks, or decorative trays, finding the right silver cleaner makes the difference between a frustrating scrub session and a quick, satisfying shine. This guide walks you through the best DIY solutions, commercial products, and professional techniques for restoring silver in 2026.
What Causes Silver Tarnish?
Tarnish is a thin layer of silver sulfide that forms when silver reacts with sulfur compounds in the air. This chemical reaction happens naturally and is accelerated by several factors:
- Humidity: Moisture speeds up the sulfide reaction, which is why silver tarnishes faster in humid climates
- Air pollution: Industrial areas have higher concentrations of sulfur dioxide in the air
- Contact with certain materials: Rubber bands, wool, latex gloves, and some foods (eggs, onions, mustard) release sulfur compounds
- Skin oils & perspiration: Body chemistry varies, and some people tarnish silver faster through touch
- Household chemicals: Bleach, ammonia, and chlorinated cleaners accelerate tarnishing
Understanding these causes helps you choose the right silver cleaner and implement prevention strategies that keep your silver bright longer.
DIY Silver Cleaner Methods
You do not need expensive products to clean silver. These household methods have proven effective for generations:
Baking Soda & Aluminum Foil Method
This is the most popular DIY silver cleaner because it reverses tarnish through an electrochemical reaction rather than abrasion. No silver is removed in the process.
- Line a glass baking dish with aluminum foil, shiny side up
- Place silver items on the foil, ensuring each piece touches the aluminum
- Sprinkle 2 tablespoons of baking soda over the silver
- Pour boiling water over the items until fully submerged
- Let sit for 2 to 5 minutes (longer for heavy tarnish)
- Remove with tongs, rinse under warm water, and dry with a soft cloth
White Vinegar & Baking Soda Paste
Mix 1/2 cup white vinegar with 2 tablespoons baking soda to form a fizzing paste. Apply with a soft cloth, rub gently, and rinse. This works well for lightly tarnished items and is particularly effective on silver-plated pieces.
Toothpaste Method
Use a non-gel, non-whitening toothpaste as a mild abrasive silver cleaner. Apply a small amount to a soft cloth, rub in circular motions, rinse, and dry. This is best for small items like rings and earrings.
Cornstarch & Water Paste
Mix cornstarch with water to create a thick paste. Apply to tarnished silver, let dry completely, then buff off with a soft cloth. The dried paste lifts tarnish as it is removed.
Ketchup Dip
The mild acidity of ketchup dissolves light tarnish. Apply a thin layer, let sit for 10 minutes, rub gently with a soft cloth, and rinse. This works surprisingly well on simple, non-ornate pieces.
Best Commercial Silver Cleaners
When DIY methods are not enough, these commercial products deliver professional results:
| Product | Type | Best For | Price |
|---|---|---|---|
| Wright’s Silver Cream | Cream polish | Flatware, serving pieces | $6 – $9 |
| Weiman Silver Polish | Liquid polish | Large surfaces, trays | $5 – $8 |
| Hagerty Silversmiths’ Wash | Dip solution | Heavily tarnished items | $8 – $12 |
| Goddard’s Silver Dip | Dip solution | Quick cleaning, jewelry | $7 – $10 |
| Cape Cod Polishing Cloths | Pre-treated cloth | Jewelry, small items | $8 – $15 |
| Flitz Metal Polish | Paste | Multi-metal, heavy tarnish | $8 – $14 |
Method Comparison Chart
Choosing the right silver cleaner depends on the tarnish severity, item type, and your preference for DIY versus commercial solutions:
| Method | Tarnish Level | Abrasiveness | Time | Cost | Skill Level |
|---|---|---|---|---|---|
| Baking soda & foil | Light to heavy | None | 5 – 10 min | Under $1 | Beginner |
| Vinegar & baking soda | Light to medium | Low | 5 – 15 min | Under $1 | Beginner |
| Toothpaste | Light | Low to medium | 5 – 10 min | Under $1 | Beginner |
| Commercial cream | Medium to heavy | Low | 10 – 20 min | $6 – $10 | Beginner |
| Dip solution | Any | None | 1 – 3 min | $7 – $12 | Beginner |
| Professional service | Severe | Varies | 1 – 7 days | $20 – $100+ | N/A |
Cleaning Silver Jewelry
Silver jewelry requires a gentler approach than flatware or serving pieces. Here is how to clean different jewelry types with a silver cleaner:
Plain Silver Rings & Bracelets
The baking soda and foil method works well for plain silver jewelry without gemstones. For daily maintenance, wipe with a silver polishing cloth after each wearing.
Silver Jewelry with Gemstones
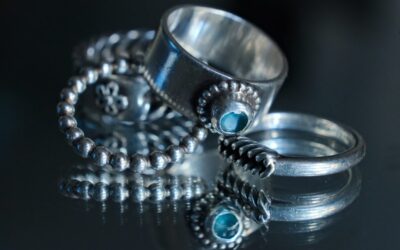
Avoid dipping gemstone-set jewelry in chemical solutions. Some stones, particularly pearls, opals, turquoise, and emeralds, are porous and can be damaged by acidic or alkaline cleaners. Instead, use a soft cloth dampened with mild soapy water and clean around the stones carefully.
Silver Chains & Intricate Pieces
For chains and detailed filigree, a dip solution reaches into crevices that cloths cannot. Submerge for the recommended time (usually 10 to 30 seconds), rinse thoroughly, and dry with a soft cloth. Use a soft-bristle toothbrush for stubborn spots in detailed areas.
Oxidized or Antiqued Silver
Intentionally darkened silver should not be cleaned with aggressive methods that remove the patina. Use only a dry polishing cloth to brighten the raised surfaces while preserving the dark recesses that give the piece its character.
Cleaning Silver Flatware
Silver flatware sees regular use and food contact, which means it tarnishes faster and needs cleaning more often. Here are the best practices:
- Wash silver flatware by hand immediately after use. Dishwashers can cause scratching and accelerate tarnish through chemical exposure.
- Never let egg, mayonnaise, mustard, or salt sit on silver for extended periods. These foods contain sulfur or chloride compounds that cause rapid tarnishing.
- Use a commercial silver cream like Wright’s for periodic deep cleaning, applying with a soft sponge in long strokes rather than circular motions.
- Dry thoroughly before storing to prevent moisture-related spotting.
- If flatware drops on the floor during cleaning, be careful on hard surfaces. Silver is soft and dents easily on tile floors, and dropped pieces can also chip hardwood flooring.
Cleaning Decorative Silver
Large silver pieces like trays, candlesticks, tea sets, and picture frames present unique challenges:
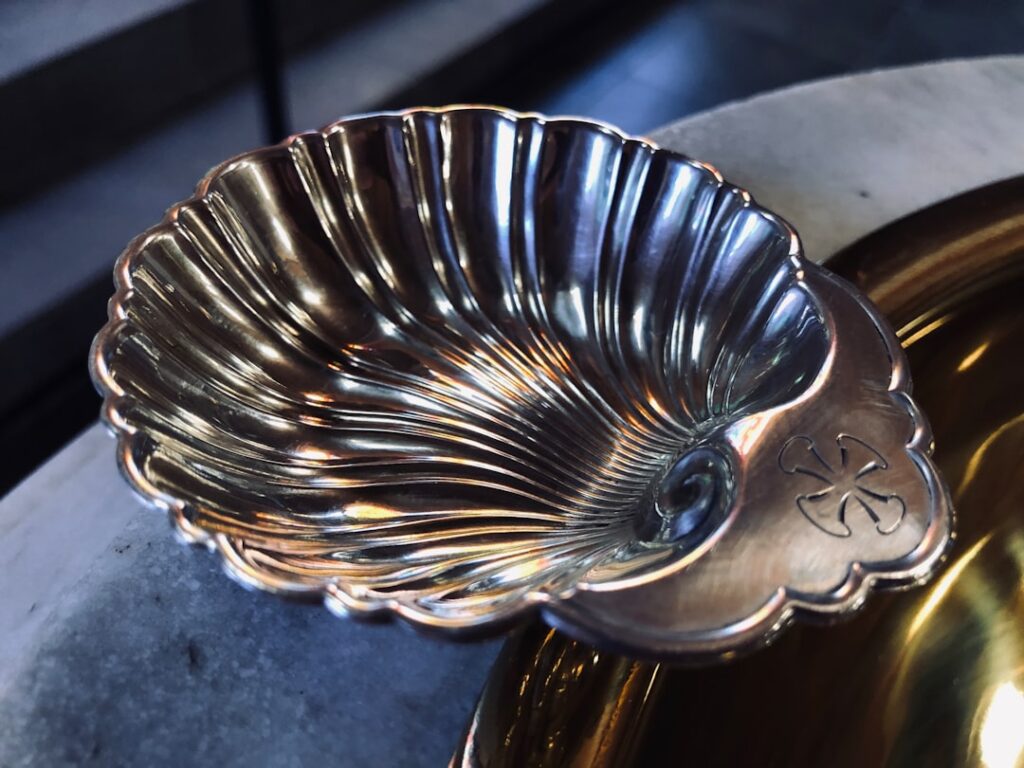
- Trays & platters: Apply cream polish with a soft cloth, working in straight lines. Buff with a clean, dry cloth. For heavily tarnished pieces, the foil and baking soda bath works well if you have a container large enough.
- Candlesticks: Remove wax drips by placing the candlestick in the freezer for an hour, then peeling off the hardened wax. Clean tarnish with a silver dip or cream polish.
- Tea sets & coffee pots: Clean the exterior with cream polish. For the interior, fill with hot water and baking soda, let stand for 30 minutes, then rinse.
- Picture frames: Remove the photo and backing first. Apply polish sparingly to avoid drips that could stain the backing material.
Preventing Tarnish
The best silver cleaner strategy is preventing tarnish from forming in the first place:
- Store in anti-tarnish bags or cloth: These contain activated charcoal or other compounds that absorb sulfur from the air
- Use silica gel packets: Place them in silver storage drawers to absorb moisture
- Avoid rubber contact: Rubber bands and rubber shelf liners release sulfur. Use felt-lined drawers instead.
- Handle with cotton gloves: Skin oils accelerate tarnishing, especially on display pieces
- Apply a protective lacquer: Museum-grade silver lacquer prevents air contact. This is best for display pieces that are rarely handled.
- Keep silver out of the kitchen: Cooking fumes, especially from gas stoves, contain sulfur compounds
- Store away from household cleaning products that release volatile chemicals
Common Cleaning Mistakes
These errors can damage your silver permanently:
- Using bleach or chlorine: These chemicals pit and corrode silver surfaces
- Scrubbing with steel wool or abrasive pads: They scratch the silver surface permanently
- Putting silver in the dishwasher: High heat, harsh detergent, and contact with stainless steel cause irreversible damage
- Over-polishing: Each time you polish, you remove a microscopic layer of silver. Over-polishing thin silver plate can wear through to the base metal.
- Leaving chemical dips too long: Dip solutions work fast. Leaving silver submerged for more than the recommended time can strip the finish.
- Not rinsing thoroughly: Residual cleaning chemicals continue to react with silver if not completely washed off
Frequently Asked Questions
What is the fastest way to clean tarnished silver?
A commercial dip solution like Goddard’s Silver Dip cleans tarnished silver in under 30 seconds. For a DIY approach, the baking soda and aluminum foil method works within 5 minutes and requires no scrubbing.
Does Coca-Cola clean silver?
The phosphoric acid in Coca-Cola can dissolve light tarnish, but it is not as effective as dedicated silver cleaners. Soak the silver for 10 minutes, then rinse and dry. This is a last-resort method, not a recommended practice.
Can I use a silver cleaner on gold or platinum?
No. Silver cleaners are formulated for silver’s specific chemistry. Gold and platinum require different cleaning solutions. Using a silver cleaner on other metals may cause discoloration or damage.
How often should I clean silver?
Clean silver when tarnish becomes visible, which varies by storage conditions. With proper storage, you may only need to polish a few times per year. Regularly used flatware should be hand-washed after each use and deep-cleaned monthly.
Is tarnish harmful to silver?
Tarnish is a surface-level reaction that does not damage the underlying silver. However, severe tarnish that builds up over years becomes harder to remove and may require professional cleaning.
What is the safest silver cleaner for antique silver?
The baking soda and aluminum foil method is safest because it chemically reverses tarnish without removing any silver. For valuable antiques, consult a professional conservator rather than attempting aggressive cleaning at home.
Last updated: March 2026