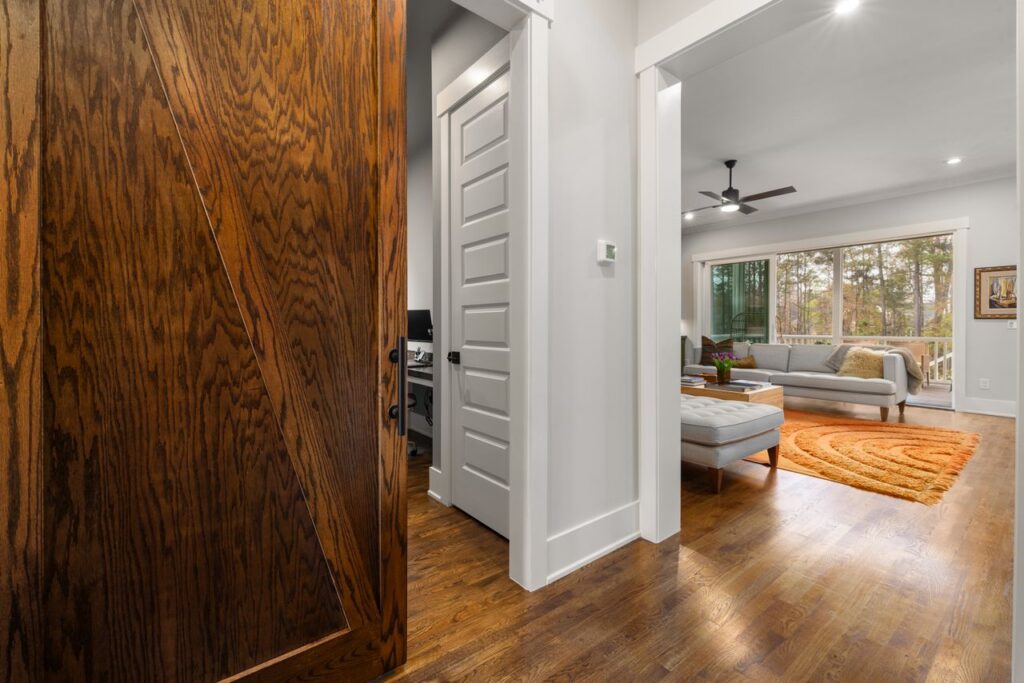
A sliding door floor guide is the small bracket or channel mounted at the bottom of a sliding door opening that keeps the panel from swinging, swaying, or rubbing against the frame as it rolls. While most of a sliding door’s weight hangs from a top track, the sliding door floor guide handles the equally important job of controlling lateral movement, so the door glides straight, stays plumb, and does not bang into the jamb every time you open or close it.
Part of our Windows & Doors guide — explore the full guide →
It is an easy part to overlook until a door starts dragging, rattling, or jumping off track. This guide explains the types of floor guides, how they work, how to install and adjust one, and how to troubleshoot the most common problems so your sliding doors run smoothly.
What a Floor Guide Does
Top-hung sliding doors, including closet bypass doors, barn doors, and pocket doors, carry their load on rollers at the top. That arrangement is great for smooth travel but leaves the bottom of the panel free to swing like a pendulum. The floor guide solves this by capturing the lower edge of the door and restricting it to side-to-side travel along the opening.
Without a guide, a door can sway into the frame, scrape the wall, or slip out of its track entirely. With one, the panel stays aligned, the gaps along the edges stay consistent, and the door opens and closes with the quiet, controlled motion it was designed for.
Common Types of Sliding Door Floor Guides
Guides vary by door style, and choosing the right kind matters as much as installing it well.
- Floor-mounted bracket guides: A small pin or post that fits into a groove routed in the bottom of the door, common on bypass closet doors. The bracket screws to the floor between the panels.
- Channel or U-shaped guides: The bottom edge of the door rides inside a U-shaped channel, keeping it captured on both sides. Often used for single panels.
- Adjustable guides: Brackets that allow you to fine-tune the gap by sliding or shimming the guide closer to or farther from the door.
- Wall-mounted barn door guides: For barn doors, the guide often mounts to the wall or baseboard at floor level rather than sitting on the floor, so it does not interrupt the flooring or create a trip point.
- Floor-channel track: Some patio and heavier glass doors run in a bottom track that doubles as a guide and a rolling surface.
Match the guide to your door’s design. A grooved bypass door needs a pin guide, while a flat-bottomed barn door usually needs a wall-mounted bracket that pinches the panel.
Materials and Durability
Floor guides are made from nylon, plastic, steel, or zinc-coated metal. Nylon and plastic guides run quietly and resist wear against wood doors, which is why many closet kits include them. Metal guides are stronger and better suited to heavier doors or high-traffic openings, though they can be noisier if they contact the panel directly.
For barn doors and heavier panels, look for a guide with replaceable nylon rollers or pads where it contacts the door. Those wear parts take the friction and are cheap to swap when they thin out, sparing the door itself from scuffing.
How to Install a Sliding Door Floor Guide
Installation is usually a quick job, but careful positioning is what keeps the door tracking straight. Read any instructions that came with your door or guide kit first, since hole spacing and orientation vary.
- Position the door. Hang the door on its top track and let it settle so it hangs plumb.
- Mark the guide location. For a bypass door, the guide sits centered in the opening where the panels overlap. For a single door, align it so the panel hangs straight and the side gaps are even.
- Check alignment. Slide the door fully open and closed by hand to confirm the guide location keeps it parallel to the frame throughout its travel.
- Fasten the guide. Drill pilot holes if needed and screw the guide to the floor or wall. Anchors may be required for tile or concrete.
- Test and adjust. Slide the door several times, checking that it does not bind, rub, or swing. Adjust the position before final tightening.
If your floor is finished hardwood, tile, or stone, drill carefully and use the correct fasteners so you do not crack the surface. When in doubt, a handyman or installer can set the guide without risking the flooring.
Adjusting and Aligning the Door
A door that drags or leaves uneven gaps usually needs adjustment at both the top and the bottom. Start at the top, where most roller hangers have a height or lateral adjustment screw that sets how the door hangs. Get the panel plumb there first, then turn to the floor guide.
If your guide is the adjustable type, loosen it and nudge it toward or away from the door until the panel travels straight without rubbing. The goal is a guide snug enough to control sway but loose enough that the door glides freely. Re-tighten the fasteners once the door moves smoothly end to end.
Troubleshooting Common Problems
Most floor-guide complaints trace back to a handful of issues that are simple to diagnose.
- Door swings or rattles: The guide is missing, broken, or too loose. Replace or tighten it so it captures the panel.
- Door drags on the guide: The guide sits too tight or the door hangs too low. Adjust the top rollers up, then reposition the guide.
- Door jumps the track: The guide may be misaligned, forcing the bottom out of line with the top. Recenter it under the panel.
- Squeaking or grinding: Worn nylon or dry contact points. Replace the wear pads or apply a small amount of manufacturer-approved lubricant.
- Cracked plastic guide: A common failure on older closet doors. Swap in a new guide rather than gluing the broken one.
Keep the guide and any groove free of dust, carpet fibers, and debris, since buildup is a frequent and easily missed cause of binding.
Maintenance and When to Replace
Floor guides need little upkeep, but a quick look once or twice a year pays off. Vacuum out any channel or groove, check that fasteners are snug, and inspect nylon pads for flat spots or cracks. A door that suddenly starts swaying is often signaling a worn or loosened guide.
Replace the guide when the plastic cracks, the pin shears off, or the rollers wear past the point of controlling the door. Replacement guides are inexpensive and widely available in standard sizes, so matching the original is usually straightforward. Take the old part to the store or note your door brand and style to find a compatible fit.
Final Thoughts
A floor guide is a small component with an outsized effect on how a sliding door feels to use. Pick the type that matches your door, position it so the panel tracks straight, and adjust the top hangers and the guide together for smooth, quiet travel. With occasional cleaning and the rare inexpensive replacement, your sliding doors will glide effortlessly for years.
Prefer to explore on your own?
See how new flooring looks in your actual room in seconds — free, no signup.
Try the free Floor Studio →