
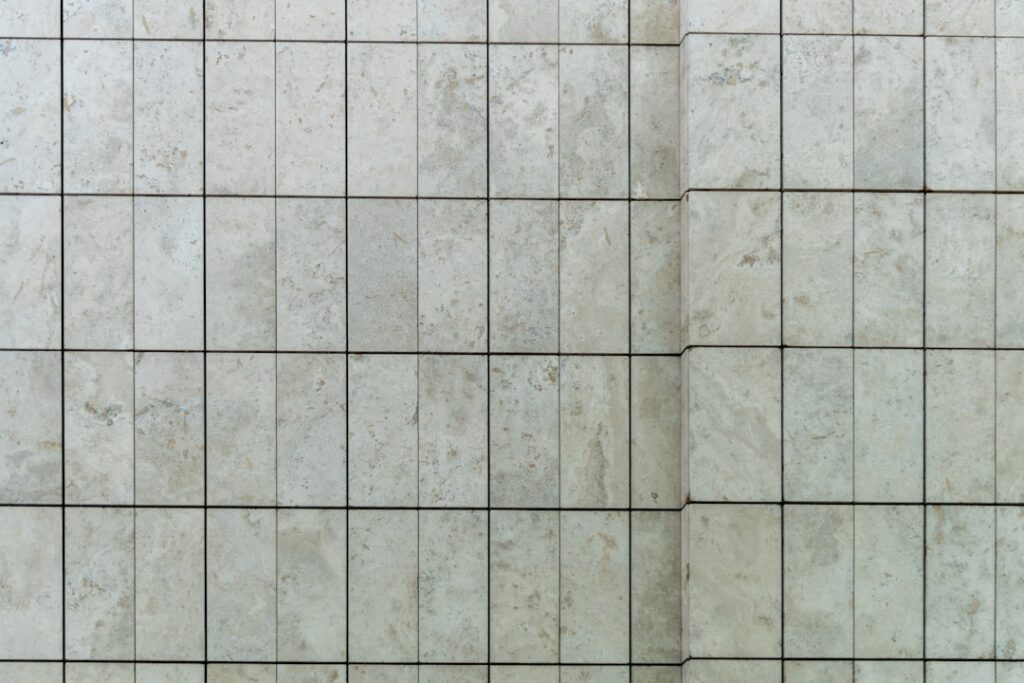
Most homeowners assume “tile” means thinset, grout, and a weekend on your knees. That isn’t the only path anymore. Snap tile flooring uses interlocking edges to lock individual tiles together over an existing floor, with no mortar and no wet-saw setup. I’ve installed it in basements, garages, laundry rooms, and rental units where ripping out the old floor wasn’t an option. It looks like real tile, installs in an afternoon, and comes apart if you ever need it to.
Part of our Tile & Grout guide — explore the full guide →
That said, snap-together systems are not a universal substitute for a bonded ceramic floor. Knowing where they shine, and where they fall short, saves you from an expensive mistake.
What Snap Tile Flooring Actually Is
The category covers several products that share one trait: each piece has tongue-and-groove or click edges that mechanically lock to its neighbors. The most common type today is a rigid composite tile, typically a stone-plastic composite (SPC) core with a printed wear layer that mimics ceramic, porcelain, or natural stone. These float over the subfloor rather than gluing down.
Other versions exist. Interlocking PVC garage tiles use raised loops on the underside and snap together edge to edge. Peel-and-stick “snap” hybrids combine an adhesive base with locking edges. Outdoor deck tiles ride on a plastic grid that clicks together over concrete or wood. They all skip mortar, but the materials and durability vary a great deal.
Common Snap Tile Formats
- Rigid SPC click tiles — 12 by 24 inch or 18 by 18 inch planks/tiles, 4 to 6 mm thick, grouted look with attached or separate grout strips
- Interlocking PVC tiles — usually 12 by 12 inch, flexible, popular in garages and workshops
- Outdoor deck tiles — porcelain or wood-composite tops on a snap grid base, 12 by 12 or 24 by 24 inch
The Pros of Snap Tile Flooring
Speed is the headline. A handy homeowner can lay 200 square feet of click tile in a single day, because there’s no mortar to mix, no spacers to fuss over, and no 24-hour cure before you can walk on it. You cut the tiles with a utility knife and a straightedge or a simple miter saw instead of a wet saw.
Installation over existing floors is the second big win. Because the floor floats, you can lay it directly over old vinyl, ceramic, plywood, or sealed concrete as long as the surface is clean, dry, and reasonably flat. That eliminates demolition and disposal costs, which on a real tile job often run $1.50 to $3.00 per square foot all by themselves.
- No grout maintenance with most click-tile systems
- Removable and reusable, which renters and short-term owners love
- Warmer and softer underfoot than ceramic, thanks to the resilient core
- Water-resistant SPC cores handle spills and damp basements well
The Cons You Should Weigh
Snap tile is not bonded to the subfloor, and that changes how it behaves. Heavy point loads, like a refrigerator dolly or a jack stand, can dent a soft PVC tile or shift a floating SPC field. A true thinset-set porcelain floor over a solid slab will always outlast a floating system in a high-abuse setting.
The look, while convincing from standing height, rarely fools you up close. Printed wear layers repeat their pattern every few tiles, and the faux grout lines sit slightly proud or recessed rather than flush like real grout. Resale appraisers and buyers generally value genuine tile higher than any floating product.
Flatness is the other gotcha. Floating floors telegraph dips and humps in the subfloor, and any deviation over about 3/16 inch across 10 feet will cause clicking, flexing, or separated seams over time. You may still need to skim or level a bad slab before you start.
Typical Cost Per Square Foot
Material pricing spans a wide band depending on quality. Budget interlocking PVC garage tiles run about $2.00 to $3.50 per square foot. Mid-grade rigid SPC click tiles land around $3.00 to $5.00, and premium products with thicker wear layers and realistic stone visuals can reach $6.00 or more.
Because most buyers install it themselves, labor often drops to zero. If you hire out, expect $1.50 to $3.00 per square foot for installation since the work is fast. All in, a DIY snap tile floor commonly costs $3 to $6 per square foot versus $10 to $20 for professionally installed porcelain.
- PVC interlocking tiles: $2.00–$3.50 / sq ft material
- Rigid SPC click tiles: $3.00–$5.00 / sq ft material
- Premium / outdoor porcelain snap tiles: $5.00–$8.00+ / sq ft material
Where Snap Tile Works Best
Basements top my list. The moisture-resistant SPC core tolerates the humidity and the occasional minor seepage that wrecks laminate, and the floating install spans a slab without bonding to it. Laundry rooms, mudrooms, home gyms, and finished garages are equally strong candidates.
Rentals and temporary spaces make sense too. Since the tiles lift out, you can take the floor with you or swap a damaged piece in minutes. For a covered patio or deck, the outdoor-rated grid tiles convert a plain concrete pad into a finished surface in an afternoon.
Skip it in spaces with constant standing water, like a curbless shower or an unprotected exterior deck in a freeze-thaw climate, and think twice in a formal kitchen or entry where buyers expect real stone or porcelain.
Installation Over Existing Floors, Step by Step
- Confirm the subfloor is clean, dry, and flat within 3/16 inch over 10 feet; grind high spots and fill low spots with leveling compound.
- Acclimate rigid tiles in the room for 48 hours so they reach the local temperature, which prevents post-install gapping.
- Leave a 1/4 inch expansion gap around the perimeter and any fixed objects; the floor needs room to move with temperature swings.
- Start in a corner, angle each tile’s tongue into the groove of the last, and press down until the click engages.
- Stagger seams at least 6 inches so joints don’t line up and weaken the field.
- Trim border pieces with a utility knife (score and snap) or a fine-tooth saw, then reinstall baseboard or add quarter-round to hide the gap.
Buying Tips Before You Order
Check the wear-layer thickness, listed in mils, not the total tile thickness. A 12 mil wear layer suits light residential use; 20 mil or higher handles garages, kids, and pets. For PVC garage tiles, confirm the load rating matches your vehicle weight and tire type, because some soft tiles scuff under hot summer tires.
Order roughly 10 percent extra for cuts and future repairs, and buy it all from the same production lot so the printed visuals match. Finally, read the warranty: many residential snap tile flooring products carry 15 to lifetime structural warranties, but they’re void if installed over an out-of-spec subfloor, so document your flatness prep.
Used within its limits, snap tile is one of the fastest, most forgiving ways to put a tile look on the floor without the mess of mortar. Match the product type to the room, prep the substrate honestly, and you’ll get a durable floor that you, or the next owner, can pull up and reuse down the road.
Prefer to explore on your own?
See how new flooring looks in your actual room in seconds — free, no signup.
Try the free Floor Studio →

