If you have ever heard every word of a conversation through a bedroom wall, listened to a home theater rattle the whole house, or been kept awake by a noisy laundry room, you have met the problem that sound batt insulation is designed to solve. Also called acoustic insulation, these batts are packed into wall and floor cavities specifically to absorb sound and cut the transmission of noise from one room to another. It is one of the simplest, most cost-effective upgrades you can make during construction or a remodel, and it dramatically improves the peace and privacy of a home. This guide explains how it works, the ratings to understand, materials, pricing, installation, and the mistakes that limit its effectiveness.
- How Sound Batt Insulation Works
- Understanding STC Ratings
- Materials for Sound Control
- Sound Batt Insulation Pricing
- Where to Use Sound Batts
- Installation Tips
- Common Mistakes to Avoid
- Realistic Expectations
- Pairing Batts with Other Soundproofing Techniques
- Sound Batts in New Construction vs. Retrofits
How Sound Batt Insulation Works
Sound travels as vibrations through the air and through solid materials. An empty wall cavity is essentially a drum: the two drywall faces vibrate and pass sound across the air gap between them. Sound batt insulation fills that cavity with dense, fibrous material that absorbs the airborne sound energy and dampens the vibration, turning sound into tiny amounts of heat within the fibers. The denser and more fibrous the material, the more sound it absorbs. This is why acoustic batts are engineered to be denser than basic thermal insulation, though many standard batts also provide meaningful sound reduction.
Understanding STC Ratings
Sound performance is measured by Sound Transmission Class, or STC. The higher the STC number, the more sound the assembly blocks. A few reference points help:
- STC 30-35: A typical uninsulated interior wall. Normal speech is easily heard.
- STC 40-45: Loud speech is faint; adding batts to a standard wall lands here.
- STC 50-55: Loud sounds are barely audible; achieved with insulation plus techniques like resilient channels or double drywall.
- STC 60+: Very quiet, suitable for home theaters, requiring multiple sound-control strategies.
Insulation alone will not reach the highest ratings, but adding sound batts to a wall commonly raises the STC by several points, a very noticeable improvement, and it is the foundation the other techniques build on.
Materials for Sound Control
- Mineral wool (rock wool): The premium acoustic choice. Its high density makes it an excellent sound absorber, and it is also fire-resistant. Brands include Rockwool Safe’n’Sound, made specifically for interior sound and fire control.
- Fiberglass acoustic batts: Special sound-rated fiberglass batts are lighter and cheaper than mineral wool while still cutting noise well. Standard fiberglass also helps, though dedicated acoustic versions perform better.
- Cotton (recycled denim) batts: Made from recycled denim, these offer good sound absorption, no itch, and an eco-friendly appeal, though they cost more.
Sound Batt Insulation Pricing
Acoustic batts cost a bit more than basic thermal insulation but remain affordable. Sound-rated fiberglass runs about $0.70 to $1.30 per square foot for materials. Mineral wool acoustic batts run roughly $1.00 to $2.00 per square foot. Recycled cotton batts run about $1.20 to $2.50 per square foot. Professional installation adds around $0.50 to $1.50 per square foot. For a single interior wall of about 120 square feet, materials might total $85 to $240. The cost is modest relative to the comfort payoff, especially compared to the expense of adding sound control after walls are already closed up.
Where to Use Sound Batts
Target the spots where noise bothers you most:
- Bedroom walls: For privacy and quiet sleep, especially in shared or multi-generational homes.
- Home theaters and media rooms: To contain loud audio and keep it from filling the house.
- Bathrooms: To muffle plumbing and fan noise, a courtesy in any home.
- Laundry rooms and mechanical rooms: To dampen washer, dryer, and equipment noise.
- Home offices: For focus and confidential calls.
- Floors between levels: In floor joists to reduce footstep and voice transmission between stories.
Installation Tips
Sound batt installation is straightforward and DIY-friendly, but detail matters for acoustic performance.
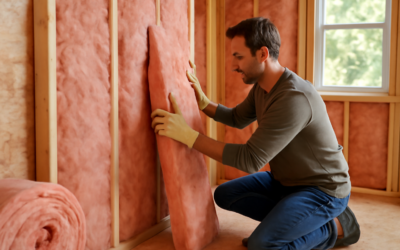
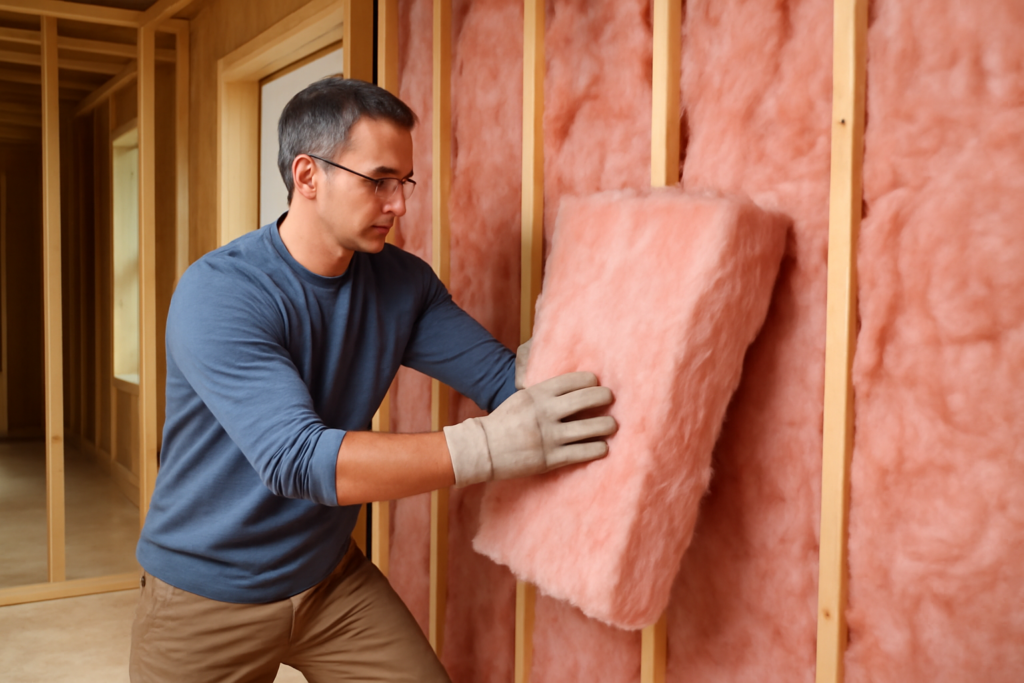
- Fill the cavity completely. Any gap or void lets sound leak through, so cut batts to fit snugly around wiring and boxes without compressing them.
- Do not compress the batt. Crushing it reduces both thermal and acoustic performance. It should fill the depth fully but stay lofted.
- Seal air paths. Sound follows air, so caulk gaps at the top and bottom plates, around outlets, and where pipes penetrate. Acoustic sealant on the drywall perimeter helps significantly.
- Consider offset boxes. Electrical boxes back to back on a shared wall create a direct sound path; offset them to different stud bays.
- Combine with other measures. For serious soundproofing, pair batts with resilient channel, a second layer of drywall, or a damping compound between drywall layers.
Common Mistakes to Avoid
- Leaving gaps. Incomplete fill is the number one reason sound insulation underperforms. Sound leaks through the smallest openings.
- Compressing the batt. Stuffing a thick batt into a thin cavity kills its performance. Match the batt depth to the wall.
- Ignoring air leaks. Uncaulked outlets, gaps, and penetrations let sound bypass the insulation entirely. Seal them.
- Expecting miracles from batts alone. Insulation raises STC modestly; for a true home theater you also need mass and decoupling. Set realistic expectations.
- Back-to-back outlets. Aligned electrical boxes create a sound tunnel through the wall. Stagger them.
- Skipping the ceiling or floor. Noise from upstairs travels through the floor system; treat floors too if inter-level noise is the issue.
Realistic Expectations
Sound batt insulation makes a real, audible difference: conversations become muffled, loud televisions become tolerable, and bedrooms become noticeably more private. What it will not do by itself is create a soundproof recording studio. Total sound isolation requires combining insulation with added mass, decoupling the wall structure, and eliminating every air path. For the vast majority of homeowners simply wanting quieter, more private rooms, batts deliver most of the benefit at a fraction of the cost of elaborate soundproofing.
Pairing Batts with Other Soundproofing Techniques
Sound batts form the foundation of a quiet wall, but combining them with a few complementary techniques multiplies the effect for spaces that need serious isolation. Adding mass is the most reliable upgrade: a second layer of drywall, ideally with a thin layer of damping compound sandwiched between the two sheets, significantly raises the wall’s ability to block sound. Decoupling is the next lever, using resilient channel or sound isolation clips to hang the drywall so it does not rigidly touch the studs, breaking the path vibrations travel through the framing. Sealing every air gap with acoustic sealant closes the routes sound sneaks through, since even a small gap around an outlet or at the floor undermines an otherwise good wall. Solid-core doors and proper door seals matter too, because a hollow door is often the weakest link in an otherwise quiet room. Layering these strategies, starting with batts and adding mass, decoupling, and sealing as needed, lets you dial in the exact level of quiet a room requires.
Sound Batts in New Construction vs. Retrofits
The easiest and cheapest time to add sound insulation is during construction or a remodel when the wall cavities are open, so if you are already opening walls for any reason, adding acoustic batts is an inexpensive upgrade you will appreciate for years. Retrofitting sound control into existing finished walls is harder, since you either have to open the drywall to add batts or resort to surface treatments. One retrofit option is blown-in insulation injected through small holes, which adds some cavity fill without full demolition, though it does not match the density of a properly installed batt. Another is adding a layer of mass-loaded material or a second drywall layer over the existing wall, which raises the sound blocking without opening the cavity. For most homeowners, the practical lesson is to seize the opportunity whenever a wall is already open, insulating for sound proactively in bedrooms, offices, and media rooms rather than wishing you had once the drywall is up and the noise problem becomes apparent.
Adding sound batt insulation is one of the highest-value comfort upgrades available, particularly during construction or a remodel when the walls are open. Choose a dense material like mineral wool for the best results, fill every cavity completely without compressing it, seal the air paths that let sound sneak through, and target the walls and floors around the noisiest rooms. The result is a calmer, more private home where a closed door actually means a quiet room.