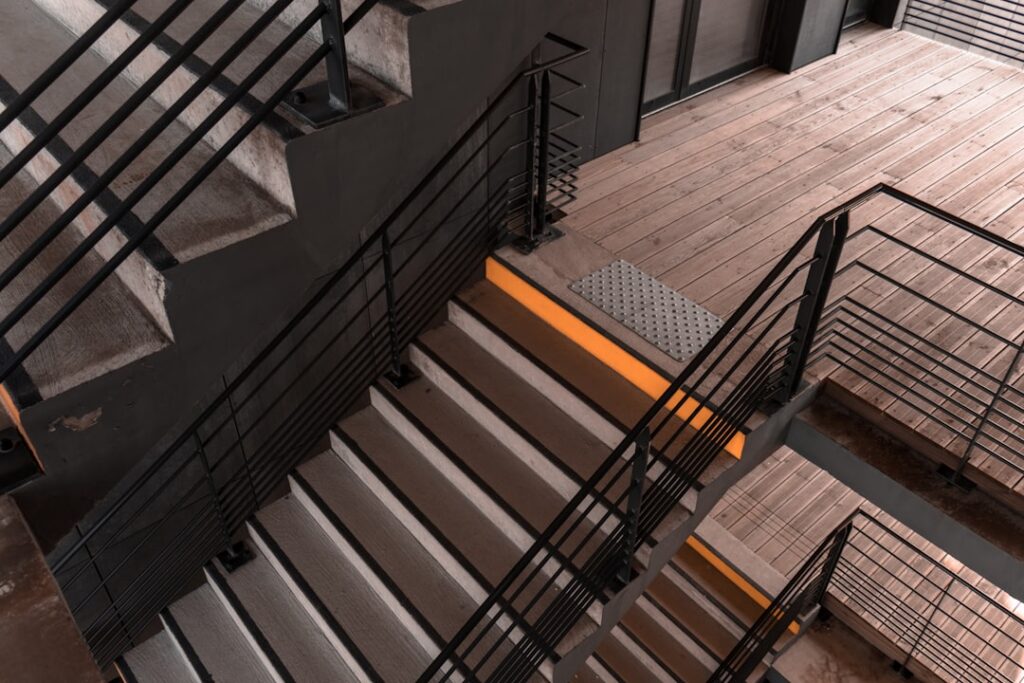
If your staircase is carpeted, worn, or covered in mismatched materials, stair tread caps offer one of the fastest and most affordable ways to get a solid-wood look without rebuilding the stairs. Stair tread caps are shaped wood or engineered overlays that fit right over your existing treads, giving you a durable, finished surface in a weekend. I’ve retrofitted dozens of staircases this way, and the transformation from tired builder-grade steps to warm hardwood is dramatic. Here’s everything you need to know to choose and install them correctly.
Part of our Stairs & Stair Flooring guide — explore the full guide →
- What Exactly Are Tread Caps
- Why Homeowners Choose Caps Over Full Replacement
- Common Materials and Options
- Measuring for the Right Fit
- Tools and Materials You'll Need
- Step-by-Step Installation
- Finishing and Sealing
- Cost Breakdown for a Full Staircase
- Handling Curved and Open Staircases
- Safety and Building Code Notes
- Preparing the Existing Stairs
- Are Tread Caps Right for You
What Exactly Are Tread Caps
A stair tread cap is a thinner overlay, usually 1/2 to 3/4 inch thick, designed to sit on top of an existing structural tread rather than replace it. Unlike a full 1-inch solid tread, a cap keeps your stair heights the same and avoids the labor of tearing out the old steps. Most caps come with a bullnose front edge that mimics a traditional tread, and they’re often sold as part of a system with matching riser boards and cove molding for a complete makeover.
Why Homeowners Choose Caps Over Full Replacement
Replacing full treads means removing the old ones, which can disturb stringers, drywall, and skirt boards, and it often changes the critical rise-and-run measurements that code regulates. Caps sidestep all of that. Because they add only a fraction of an inch, they keep every step within the allowed 3/8-inch variation between risers. They install with adhesive and a few finish nails, and the finished result looks identical to solid treads once trimmed out. For anyone covering carpet or plywood stairs, caps are the practical choice.
Common Materials and Options
Tread caps come in a range of materials to match your budget and decor.
- Solid hardwood (oak, maple, hickory): $30 to $70 per cap. Classic, sandable, and long-lasting.
- Engineered wood: $25 to $50 per cap. A real wood veneer over a stable core, less prone to warping.
- Retread systems (like NuStair or similar): $40 to $60 per step, sold as matched tread-and-riser kits.
- Laminate or vinyl caps: $20 to $40 per cap. Budget-friendly and scratch-resistant, good for high-traffic homes.
Red oak is the most popular choice because it’s affordable, widely available, and takes stain evenly. If you want to match existing floors, bring a sample to compare species and finish.
Measuring for the Right Fit
Accurate measurement is the difference between a professional result and a frustrating one. Standard stair treads are about 10 to 11-1/2 inches deep and 36 to 42 inches wide, but you should measure every step, because older stairs are rarely identical. Measure the depth from the back riser to the front nosing, the width between skirt boards, and note whether the run is open or closed on the sides. Most tread caps come oversized at around 11-1/2 by 48 inches so you can trim them to your exact dimensions.
Tools and Materials You’ll Need
Installing tread caps is a manageable DIY project. Gather a circular saw or miter saw, a jigsaw for curved or notched cuts, construction adhesive, a finish nailer or hammer and finish nails, a pry bar for removing old materials, wood filler, and a caulk gun. If your caps are unfinished, you’ll also need sandpaper, stain, and polyurethane. Plan for roughly $150 to $300 in materials for a typical 13-step staircase beyond the cost of the caps themselves.
Step-by-Step Installation
The process is straightforward once you’ve done the first step. Working from the top down keeps you from stepping on fresh adhesive.
- Remove old carpet, tack strips, staples, and any protruding nails, then vacuum thoroughly.
- Sand or plane the existing tread flat and clean it so adhesive bonds well.
- Dry-fit each cap, marking and cutting it to width and depth, and notching around newel posts as needed.
- Apply a generous bead of construction adhesive in an S-pattern across the tread.
- Press the cap into place, then secure with a few finish nails near the back where trim will hide them.
- Install matching risers and cove molding, fill nail holes, and caulk seams for a finished look.
Let the adhesive cure for 24 hours before heavy traffic, and stagger your footfalls to the untreated edges if you must use the stairs sooner.
Finishing and Sealing
If you bought unfinished caps, sand them smooth with 120- then 220-grit paper, wipe away dust, and apply stain in the direction of the grain. Once dry, protect the surface with at least three coats of oil-based or water-based polyurethane, sanding lightly between coats. Stairs take heavy wear, so a satin or semi-gloss poly rated for floors holds up far better than a general-purpose finish. Prefinished caps skip this step entirely and are ready to walk on once the adhesive sets.
Cost Breakdown for a Full Staircase
For a standard 13-step staircase, budget roughly $600 to $1,300 in materials if you do the work yourself, depending on wood species and whether you buy prefinished. Hiring a carpenter typically adds $50 to $100 per step in labor, bringing a professional job to $1,500 to $3,000 total. Compared to full solid-tread replacement, which can run $2,500 to $5,000, caps deliver most of the visual payoff for a fraction of the cost and disruption.
Handling Curved and Open Staircases
Not every staircase is a simple straight run, and curved or open designs need extra planning. Open staircases, where one or both sides are exposed rather than closed against a wall, require caps with a finished, returned nosing on the open end so the edge looks complete rather than cut off. Winder and curved treads are pie-shaped and must be templated individually, since no two are alike; trace each one onto cardboard first, then transfer the shape to your cap and cut with a jigsaw. Balusters passing through the treads add another wrinkle, requiring careful notching or drilling around each one. These situations are still DIY-friendly but take more time, so budget extra material for mistakes and work slowly on the template stage.
Safety and Building Code Notes
Because stairs are one of the most common places for household falls, keep safety in mind when installing caps. The critical rule is consistency: building codes limit the variation between riser heights to about 3/8 inch across a staircase, and adding caps that differ in thickness can throw this off, creating a trip hazard. Use caps of uniform thickness and account for any change at the top and bottom steps. Make sure the nosing overhang stays within the code range, typically 3/4 to 1-1/4 inches, and add a slip-resistant finish or clear grip strips if the treads will be walked on in socks. If your staircase has a handrail, confirm it still meets the required height after any changes.
Preparing the Existing Stairs
The finished result is only as good as the prep, so start by removing any old carpet, staples, and tack strips, then scrape off residual padding and adhesive until the substrate is smooth. Drive any proud nails below the surface and fill deep gouges with wood filler so the cap sits dead flat. Check each tread for squeaks and screw the old tread down into the stringer wherever it moves, because a cap will not silence a loose step underneath. Vacuum thoroughly and wipe with a tack cloth before applying adhesive, since even a film of dust ruins the bond. A quick pass with a belt sander knocks down high spots on plywood treads. Spending an extra hour on prep prevents the hollow spots, lifting edges, and squeaks that make a retread job feel cheap.
Are Tread Caps Right for You
Stair tread caps make the most sense when your underlying stairs are structurally sound but cosmetically dated, especially over carpet or plywood. They’re less ideal if your treads are rotted, badly warped, or squeak severely, since caps won’t fix structural problems underneath. For the vast majority of homes, though, they’re a smart, budget-friendly upgrade that adds warmth, value, and a true hardwood appearance to one of the most visible features in the house. With a free weekend and basic tools, you can completely transform your staircase.