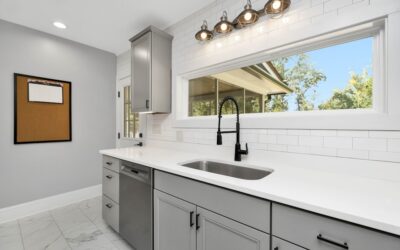
A tile back splash does double duty: it shields the wall behind your counter and stove from water, grease, and splatter, and it’s often the single most eye-catching design element in a kitchen. A few square feet of tile can completely change the personality of a room — turning a builder-grade kitchen into something custom, or refreshing a dated space without touching the cabinets. Better still, it’s one of the most achievable DIY tile projects, with a small footprint and forgiving scope.
Part of our Tile & Grout guide — explore the full guide →
This guide walks through choosing materials, planning a layout, installing step by step, and finishing with clean grout for a backsplash you’ll be proud of.
What a Backsplash Does
The functional job is protection. The wall between your countertop and upper cabinets takes constant abuse — splashes from the sink, grease from the cooktop, and the occasional sauce explosion. Painted drywall absorbs that and stains; tile wipes clean. A backsplash creates a durable, water-resistant, easy-to-clean surface exactly where you need it most.
The design job is just as important. Because it sits at eye level, a backsplash draws attention, ties together your countertops and cabinets, and sets the tone for the whole kitchen. That’s why even a modest tile choice has outsized impact.
Choosing Your Tile Material
The material sets the look, the budget, and the maintenance. Here are the most common choices.
Ceramic and Porcelain
The most popular and budget-friendly options. Classic subway tile, picket shapes, and patterned cement-look porcelain all fall here. They’re durable, water-resistant, easy to clean, and come in endless colors and finishes.
Glass
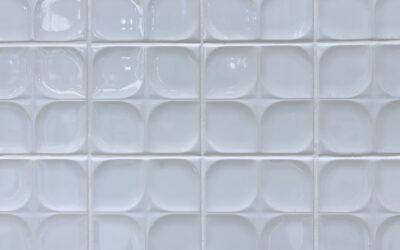
Glass tile reflects light and adds depth and shine. It’s nonporous and easy to wipe down, though it shows fingerprints and needs careful cutting. Mesh-mounted glass mosaics speed installation considerably.
Natural Stone
Marble, travertine, and slate bring rich, natural variation but are porous and require sealing to resist stains from grease and acidic foods. Best for homeowners who want luxury and don’t mind the upkeep.
Mosaic Sheets
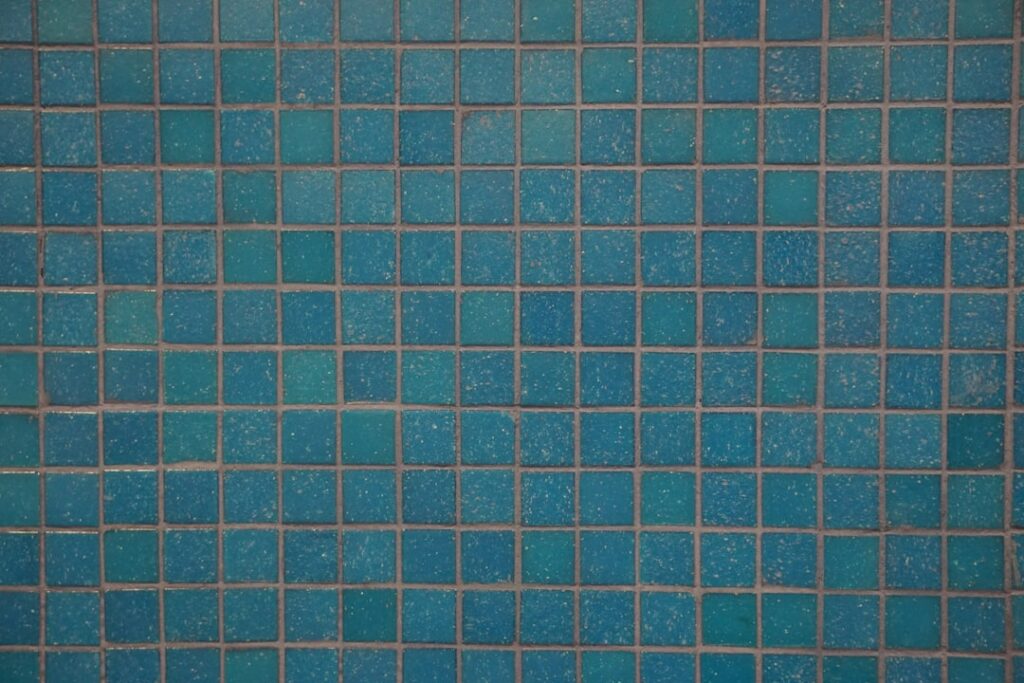
Small tiles pre-mounted on mesh backing make intricate patterns easy. Penny rounds, hexagons, and herringbone mosaics install far faster than setting tiny tiles one by one.
Planning the Layout
Layout planning prevents the awkward slivers and crooked lines that scream amateur. Spend time here before any tile touches the wall.
- Find your focal point. The area behind the cooktop or the main sink is the visual center — start your layout there so full tiles land where eyes go.
- Find the center and work out. Measure the wall, mark the center, and dry-lay tiles to see where cuts fall at the edges and outlets.
- Establish a level baseline. Countertops aren’t always level, so snap a level line and use a ledger board if needed rather than trusting the counter.
- Plan around outlets and windows, centering the pattern so cuts are balanced and symmetrical.
Installing a Tile Backsplash
With a clean, smooth wall and a plan in hand, installation moves quickly. Most backsplashes are small enough to finish in a weekend.
- Prep the wall. Clean off grease, sand glossy paint for grip, and patch any holes so the surface is smooth.
- Spread adhesive. Use a notched trowel to apply thinset mortar or, for many kitchen backsplashes, premixed mastic adhesive over a workable section.
- Set the tile. Press tiles into the adhesive with a slight twist, using spacers to keep grout lines even. Work up from your baseline.
- Cut to fit. Use a tile cutter or wet saw for edges and a tile nipper or hole saw for outlet cutouts. Keep cut edges toward corners and outlets.
- Let it set. Allow the adhesive to cure per the label — usually 24 hours — before grouting.
Grouting and Finishing
Grout is where a backsplash comes together, and color choice is a real design decision. Matching grout creates a seamless field; contrasting grout outlines every tile and emphasizes the pattern.
- Spread grout with a rubber float held at an angle, working it into every joint and across the tile faces.
- Wipe off the haze with a damp sponge after the grout sets up slightly, rinsing often and being careful not to dig grout out of the joints.
- Buff away the final haze with a dry cloth once it dries.
- Seal porous grout and stone after curing to resist kitchen stains.
- Caulk the seams where the backsplash meets the countertop and inside corners, using flexible caulk instead of rigid grout so it won’t crack as the house moves.
Care and Maintenance
A tile back splash is about as low-maintenance as kitchen surfaces get. Wipe it down with a damp cloth and mild cleaner to remove grease and splatter. Avoid harsh abrasives on glass and stone. Reseal natural stone and cement grout periodically — once a year is a good rhythm in a busy kitchen — to keep them resisting stains. Address any cracked caulk along the counter promptly so water can’t sneak behind the tile.
Is a Tile Backsplash Worth It?
For the modest amount of material and effort involved, a tile back splash delivers an outsized return in both protection and style. It guards your walls from the daily mess of cooking and instantly elevates the look of the kitchen, all in a project small enough for a confident DIYer to tackle in a weekend. Pick a tile you love, plan the layout carefully, and finish with clean grout, and you’ll have a focal point that makes the whole room feel finished.
How High Should a Backsplash Go?
A common question is how far up the wall to tile. The standard is to fill the space between the countertop and the bottom of the upper cabinets — typically about 18 inches. Behind the cooktop, many homeowners tile higher, running it up to the range hood or even to the ceiling for a dramatic full-height feature. Behind a sink with a window, the tile usually wraps the window opening. There’s no single right answer: a full-height backsplash behind the range makes a bold statement and protects the most splash-prone wall, while a standard band keeps cost down. Decide based on your budget and how much of a focal point you want.
Tools You’ll Need
Gathering the right tools before you start keeps the job moving. For a typical backsplash you’ll want:
- A notched trowel sized for your tile to spread adhesive evenly.
- Tile spacers to keep grout lines consistent.
- A tile cutter or wet saw for straight cuts, plus nippers or a hole saw for outlets.
- A rubber grout float and grout sponge for the finishing stage.
- A level, tape measure, and pencil for layout.
- A caulk gun for sealing the seams at the counter and corners.
Renting a wet saw for the weekend is worth it if your tile is glass or natural stone, which chip easily with a manual cutter. Most of the rest you may already own or can pick up inexpensively.
Prefer to explore on your own?
See how new flooring looks in your actual room in seconds — free, no signup.
Try the free Floor Studio →