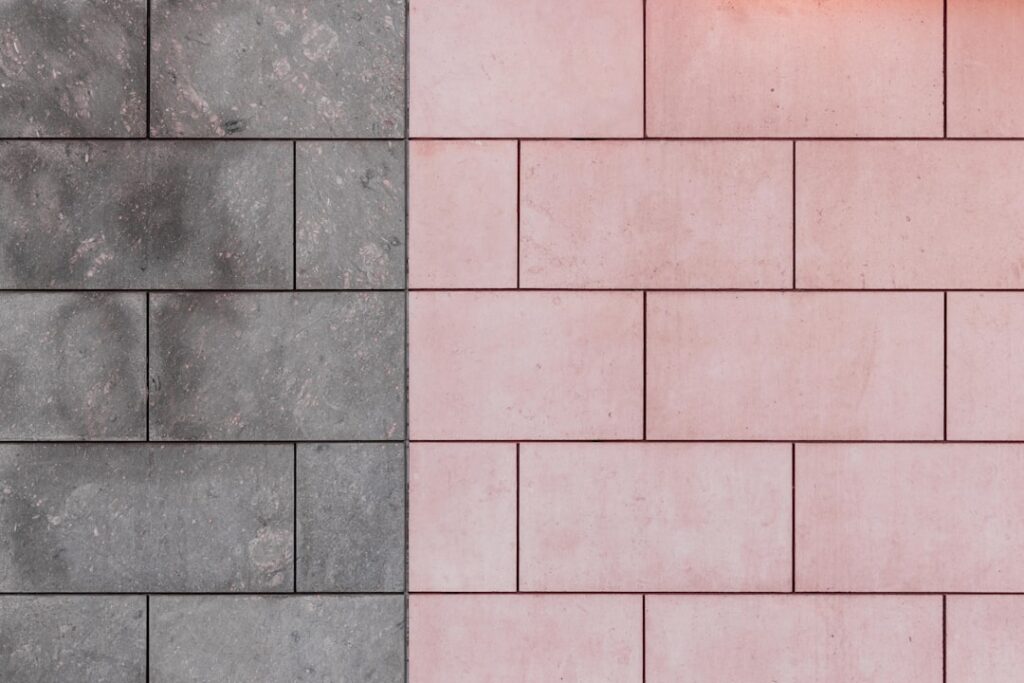
When a tile chips, a grout line crumbles, or a gap opens along a tub, the right tile filler can make the damage disappear without a full re-tile. The trick is choosing the correct product, because “tile filler” is really an umbrella term that covers several very different materials. Use the wrong one and you get cracking, discoloration, or a repair that pops loose within months.
Part of our Tile & Grout guide — explore the full guide →
This guide breaks down what tile filler actually is, how grout, caulk, and epoxy fillers differ, and the step-by-step way to fix the most common tile problems homeowners run into.
What “Tile Filler” Actually Means
There is no single product called tile filler. Instead, the phrase describes any material used to fill voids in or around tile: the joints between tiles, chips in the tile face, hairline cracks, and gaps where tile meets another surface. The three workhorses are grout, caulk, and epoxy-based fillers, and each one solves a different problem.
Picking correctly comes down to two questions: Where is the gap, and does that spot move or get wet? Rigid joints between tiles want grout. Joints that flex, like the corner where a wall meets a floor, want caulk. Chips and structural damage in the tile itself want a hard-setting epoxy or filler putty.
Grout: For the Joints Between Tiles
Grout fills the consistent gaps, called joints, between installed tiles. It comes in two main types. Sanded grout has fine aggregate mixed in and suits joints wider than about 1/8 inch, since the sand resists shrinkage and cracking. Unsanded grout is smoother and works best for joints 1/8 inch and narrower, and on delicate surfaces like polished marble that sand could scratch.
Use grout when you are filling or replacing the lines across a tile field, regripping a wall, or fixing a section where old grout has crumbled out. Cement-based grout is the standard, while epoxy grout costs more but resists stains and water far better, which makes it a strong choice for showers and kitchen backsplashes.
Grout is not flexible. That is exactly why it should never be used in corners or transitions that expand and contract, because it will crack there almost immediately.
Caulk: For Gaps That Move
Caulk is the right call for any joint that flexes or sits between two different planes. The classic examples are where a tile floor meets a baseboard, where the wall tile meets a bathtub or shower pan, and the inside corners where two walls meet. These spots shift slightly as the house settles, as wood expands, and as a filled tub presses down on its surround.
For wet areas, choose a 100 percent silicone or a siliconized acrylic caulk labeled for kitchens and baths, ideally with mildew resistance. Many tile manufacturers sell color-matched caulk so the line blends with the surrounding grout instead of standing out as a white stripe. Apply a thin, even bead, then tool it smooth with a wet fingertip or a caulk tool for a clean concave finish.
Epoxy and Filler Putty: For Chips and Cracks in the Tile
When the damage is in the tile itself rather than the joint, you need a hard-curing repair material. A two-part epoxy filler is the most durable option for chips on a tile face or a broken corner, because once cured it bonds tightly and can be sanded and painted to match. Ceramic and porcelain repair kits typically include epoxy plus tinting pigments so you can blend the patch to the tile color.
For very small surface chips, a tinted epoxy filler or a specialized ceramic touch-up compound fills the void and can be smoothed flush. Deeper cracks that run through a tile usually signal a problem underneath, such as a moving subfloor or a void beneath the tile. Filling the crack hides it temporarily, but if the tile keeps cracking, the tile likely needs to be removed and the substrate addressed.
How to Repair a Chipped Tile Step by Step
A chipped floor or wall tile is one of the most satisfying repairs to do yourself. Work in good light and take your time matching the color.
- Clean the chip thoroughly with a degreaser, then let it dry completely. Any dust or oil will keep the filler from bonding.
- Lightly scuff the inside of the chip with fine sandpaper so the filler grips.
- Mix a small amount of two-part epoxy filler on a scrap surface, following the package ratio exactly.
- Tint the epoxy with the included pigments until it matches the tile, testing on a hidden spot first.
- Press the filler into the chip slightly overfilled, then scrape it flush with a razor or putty knife.
- Let it cure fully per the instructions, then sand smooth and apply a matching glaze or sealer if the kit includes one.
Expect a small repair kit to run roughly $10 to $30, while a professional repair on a high-end or hard-to-match tile may cost more, especially if matching tiles must be sourced.
Common Mistakes to Avoid
The single most frequent error is using grout where caulk belongs. Grouting the joint between a tub and wall tile feels logical, but that joint moves, so the rigid grout cracks and lets water seep behind the wall. Always caulk those flexible transitions.
Another mistake is filling a recurring crack again and again without finding the cause. A crack that keeps reopening points to movement below the tile, and no filler will hold against that. Color is also commonly overlooked. Cement grout dries lighter than it looks wet, so test on a small area before committing to a full joint, and seal cement-based repairs once cured to resist staining.
When to Call a Professional
Plenty of tile filler jobs are well within reach for a careful homeowner, but some warrant a pro. Widespread cracking, tiles that sound hollow when tapped, or water damage behind shower tile usually mean the substrate or waterproofing has failed, which is beyond a surface fix. Matching discontinued or natural stone tile can also be tricky, and a specialist may have access to better tinting and replacement options.
For everyday chips, crumbled grout lines, and gaps along fixtures, the right product and a little patience deliver a clean, lasting result. Match the filler to the location, follow the manufacturer’s mixing and cure times, and you will keep your tile looking sound for years.
Prefer to explore on your own?
See how new flooring looks in your actual room in seconds — free, no signup.
Try the free Floor Studio →