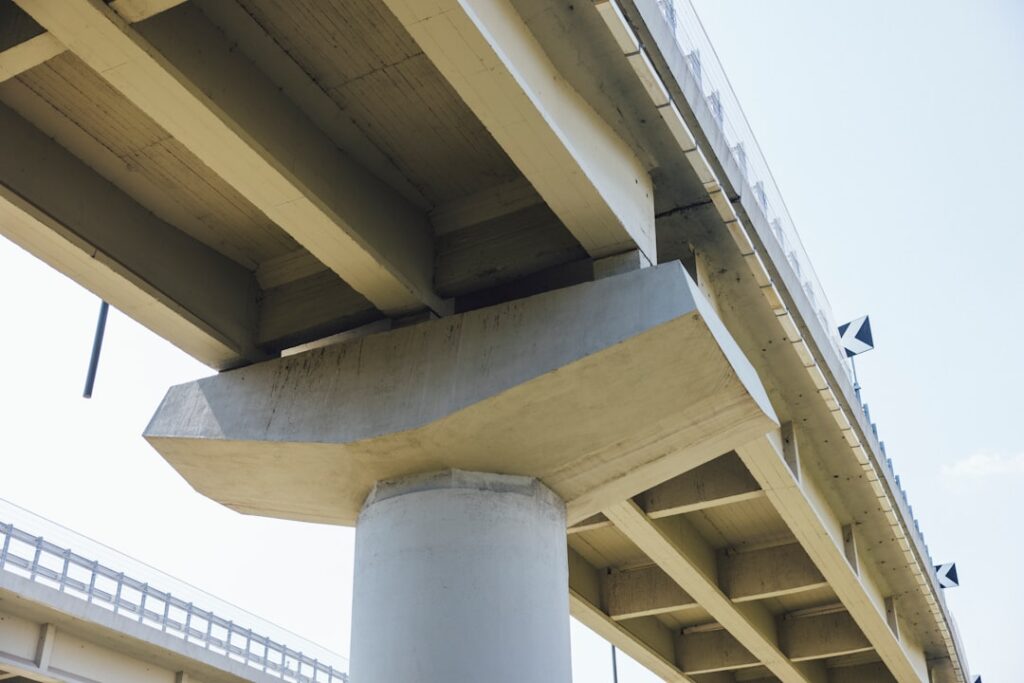
Concrete moves. It shrinks as it cures, swells in summer heat, contracts in winter cold, and shifts when the soil under it does. Fight that movement and the slab cracks wherever it pleases; plan for it and the movement happens quietly at joints you chose. A concrete expansion joint is the planned gap that gives a slab room to grow and shove without breaking itself or the structure next to it. This guide sorts out the three joint types people constantly confuse, gives the spacing rules pros use, compares filler materials, and walks through repairing joints that have failed.
Three Joint Types — and Why the Names Matter
Control joints (contraction joints)
These handle shrinkage. Curing concrete contracts about 1/16″ for every 10 feet, and since it’s restrained by friction with the ground, it cracks. A control joint is a deliberate weak line — tooled into fresh concrete or saw-cut within 6-18 hours — that must be at least 1/4 of the slab depth (1″ deep in a 4″ slab). The slab cracks along the bottom of that groove instead of randomly across your driveway. Control joints are by far the most common joints in flatwork, and most of what homeowners call “expansion joints” in a sidewalk are actually these.
Expansion joints
These handle growth. A slab in the sun expands roughly 0.66″ per 100 feet over a 100°F temperature swing. Where long runs of concrete meet each other or an immovable object, an expansion joint provides a full-depth gap — typically 1/2″ wide — filled with compressible material so the expanding slab squeezes filler instead of buckling or blowing out. Long sidewalks, pool decks, and driveways abutting garage slabs or streets need them.
Isolation joints
These handle independence. Anywhere a slab meets a structure that must not be pushed or dragged — foundation walls, columns, stairs, lamp posts, plumbing cleanouts — a full-depth isolation joint separates the two so each can settle and move on its own. Practically, isolation joints are built like expansion joints: compressible filler set against the fixed element before the pour. A patio poured tight to a concrete foundation without one will transfer heave and settlement straight into the wall.
Spacing Rules That Prevent Random Cracks
The industry rule of thumb for control joints: joint spacing in feet = 2 to 3 times the slab thickness in inches.
| Slab thickness | Max control joint spacing | Typical projects |
|---|---|---|
| 4″ | 8-12 ft (10 ft safe default) | Patios, sidewalks, driveways |
| 5″ | 10-15 ft | Driveways, garage slabs |
| 6″ | 12-18 ft | RV pads, commercial approaches |
Additional placement rules the rule of thumb doesn’t capture:
- Keep panels close to square. Length-to-width ratio should not exceed 1.5:1 — a 4′ wide sidewalk gets joints every 4-6 feet, not every 10.
- Joint at every inside corner. Re-entrant corners (where a slab wraps an obstacle or steps in an L) concentrate stress and crack first. Run a joint from the corner outward.
- Expansion joints every 40-100 feet on long runs, and always where new concrete meets existing slabs, curbs, foundations, and steps.
- Don’t run reinforcement through expansion or isolation joints. Steel crossing the gap pins the sides together and defeats the joint — stop bars and mesh short. (Control joints are different: mesh or fiber continuing across is normal; see reinforced concrete.)
Joint Filler Materials Compared
Pre-formed fillers (installed at the pour)
- Asphalt-impregnated fiberboard: the classic black 1/2″ x 4″ strips ($8-15 per 10-ft length). Cheap, sturdy enough to pour against, and everywhere. Downsides: it doesn’t recover after compression, absorbs water over time, and slowly degrades — the crumbling black lines in old driveways are exactly this at end of life.
- Closed-cell foam expansion joint (polyethylene): similar cost, doesn’t absorb water, and rebounds after compression. The better modern default; some products include a tear-off cap strip that leaves a clean recess for sealant.
- Cork and rubber fillers: premium options with excellent recovery for pool decks and exposed architectural work.
Sealants (installed over or into joints)
- Self-leveling polyurethane sealant: the gold standard for horizontal joints. It flows flat, bonds to both faces, and stretches with movement. Sika Sikaflex Self-Leveling and Loctite PL run $9-15 per 10-oz tube (covers roughly 12 feet of 1/2″ x 1/2″ joint) or $30-45 for 28-oz. Requires backer rod beneath.
- Backer rod: foam rope ($5-10 a roll) pressed into the joint to control sealant depth and create the correct hourglass profile. Rule: rod diameter about 25% larger than joint width; sealant depth about half of joint width (minimum 1/4″).
- Non-sag polyurethane: for joints on slopes or vertical faces where self-leveler would run downhill.
- Regular caulk? No — painter’s caulk and cheap silicone lack the movement capacity and bond. See our caulk guide for what each chemistry actually tolerates.
Why Sealing Joints Matters
An unsealed joint is an open drain into your subbase. Water down the joint erodes and softens the gravel and soil beneath the slab edges — which is why slabs so often settle and crack right at their joints. In freeze-thaw climates the water expands in the joint and spalls the edges; in every climate the gap fills with sand, and sand is incompressible, so a “filled” expansion joint can no longer absorb expansion at all. That combination — water below, grit inside — is the mechanism behind most buckled sidewalk panels. A $12 tube of self-leveling sealant is the cheapest slab insurance sold.
How to Repair a Failed Expansion Joint
- Remove the old filler. Cut the deteriorated fiberboard or old sealant free with a utility knife, joint raker, or oscillating multi-tool. Dig out debris to at least 1″ depth — a flat-head screwdriver and shop vac finish the job.
- Clean and dry. Blow or vacuum dust; pressure-wash if grimy, then let the joint dry completely. Polyurethane bonds poorly to damp, dusty faces.
- Set backer rod. Press the rod uniformly to leave a sealant depth of about half the joint width — for a 1/2″ joint, the rod sits roughly 1/4″ down.
- Tape the edges (optional but tidy). Painter’s tape along both sides gives crisp lines on broom-textured surfaces.
- Fill with self-leveling polyurethane. Cut the tip to joint width, fill in one steady pass, and let it find its own level. Slightly underfill rather than overfill — you want the sealant just below the surface, out of traffic.
- Cure. Tack-free in 1-3 hours, foot traffic in 24, full cure 3-7 days. Don’t pressure-wash the new joint for a week.
Wide or spalled joints (over 1″) can be rebuilt: chisel loose edges, patch faces with a polymer repair mortar, and re-establish a clean 1/2″ gap with foam filler before sealing. If the panels beside a joint have settled unevenly, the joint isn’t the disease — the base is; a concrete resurfacer handles surface wear, but sunken panels need mudjacking or replacement.
Common Mistakes
- Cutting control joints too late. After 18-24 hours the slab has already chosen its own crack pattern. Saw the same day.
- Joints too shallow. A decorative 1/2″ scoring line in a 4″ slab controls nothing — depth must hit 1″ (one-quarter of thickness).
- Skipping isolation at structures. Patios poured hard against foundations, stoops, and posts transfer every movement into them.
- Mortaring or concreting over joints. Filling gaps rigid “to look neat” welds panels together and relocates the crack somewhere worse.
- Sealant with no backer rod. Three-sided adhesion tears sealant apart in one season.
Concrete Expansion Joint FAQ
Do interior slabs need expansion joints?
Rarely — indoor temperature swings are small. Interior slabs need control joints (usually saw-cut) and isolation joints at columns and walls. Basement floors follow the same logic.
What size expansion joint for a driveway meeting the garage?
A 1/2″ full-depth isolation joint with closed-cell foam filler, sealed with self-leveling polyurethane, is standard.
How often should joint sealant be replaced?
Inspect annually; quality polyurethane typically lasts 5-10 years outdoors. Replace when it cracks, debonds from an edge, or sinks below the backer rod.
Joints are the one place you get to negotiate with concrete instead of losing to it. Space them by the rules, fill them with materials that compress and rebound, and keep them sealed — the slab will crack exactly where you told it to, and nowhere else.