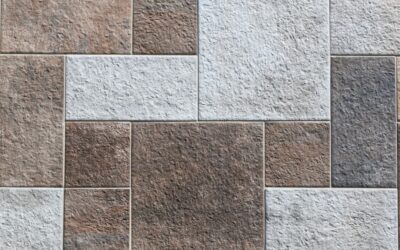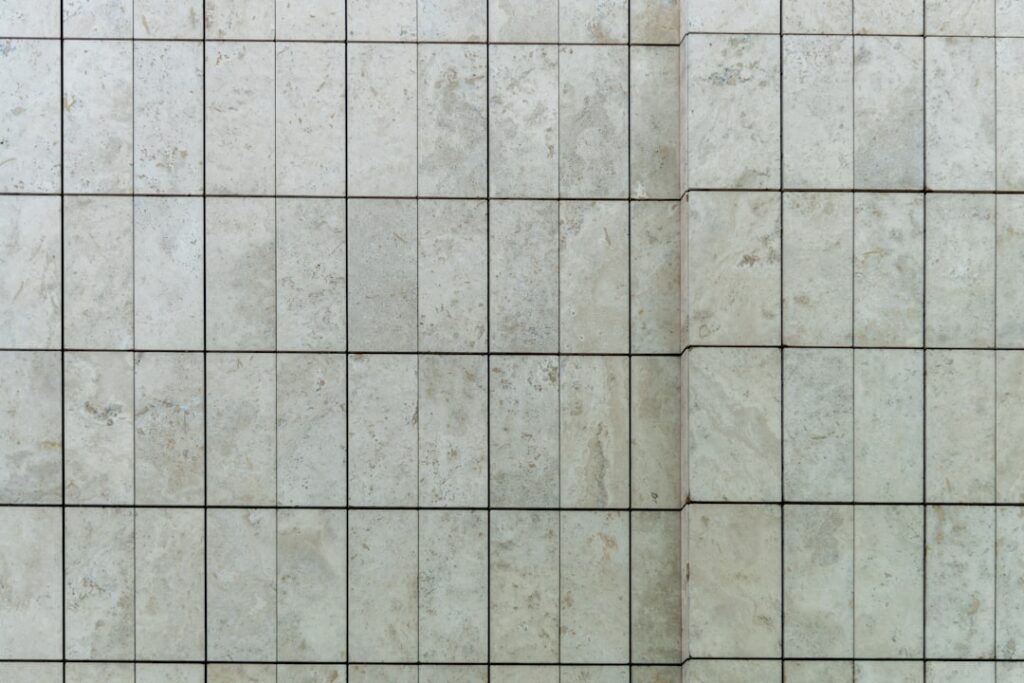
The hearth and surround are the single most photographed surface in most living rooms, which is why search traffic for tile fireplace designs photos spikes every fall as homeowners plan winter projects. The good news is that updating a dated fireplace with new tile is one of the highest-impact, lowest-cost remodels in the house. A 30 square foot surround tiled with $9 per square foot porcelain runs about $270 in materials plus a Saturday’s labor. The bad news is that fireplace tile faces unique challenges — heat exposure, hearth code clearances, and the need for design that complements an existing mantel rather than fighting it.
- What Makes Great Tile Fireplace Designs Photos Stand Out
- Material Choices That Survive Heat Exposure
- Nine Design Directions Worth Considering
- 1. Floor-to-Ceiling Single Material
- 2. Vertical Stack Subway
- 3. Herringbone Surround
- 4. Zellige Hand-Glazed
- 5. Soapstone Slabs
- 6. Brick-Look Porcelain
- 7. Geometric Cement Tile (Surround Only)
- 8. Slate Slabs With Stacked Edge
- 9. Vertical Mosaic Strip
- Hearth and Code Clearances
- Substrate Requirements
- Grout Choices for Heat and Soot
- Cost to Tile a Fireplace
- Mantel Coordination
- Photo Tips for Showing Off the Result
What Makes Great Tile Fireplace Designs Photos Stand Out
Before picking materials, study what separates the rooms that show up on design blogs from the surrounds that look dated within five years. The best tile fireplace designs photos in shelter magazines share three traits: they extend the tile far enough to read as a feature wall rather than a postage stamp, they pair tile color and grout to either contrast crisply or blend seamlessly, and they let the tile breathe by avoiding loud mantels that compete for attention.
Material Choices That Survive Heat Exposure
Not every tile holds up next to a working firebox. The materials that do, ranked by performance:
- Porcelain — fired at 2,200°F+ during manufacture, virtually indifferent to fireplace heat. Best all-around choice.
- Natural stone (granite, slate, soapstone) — handles heat indefinitely. Soapstone in particular absorbs and re-radiates heat.
- Glazed ceramic — fine for surrounds, but skip for hearths if you burn frequently. Glaze can craze over years.
- Glass mosaic — fine for surrounds beyond 6 inches from firebox opening; avoid for hearth.
- Marble — beautiful but can stain from soot and crack from thermal shock if installed incorrectly.
Avoid most cement tiles near working fireboxes — the binders soften under sustained heat over time.
Nine Design Directions Worth Considering
1. Floor-to-Ceiling Single Material
The cleanest contemporary look. One tile, one color, full height of the wall. Works well with porcelain slabs in 24×48 or 30×60 inch sizes that minimize grout lines. Total cost for a typical 8-foot wall by 5-foot wide install: $1,200 to $2,800 in materials.
2. Vertical Stack Subway
3×12 inch subway tile installed vertically, stacked rather than offset. Reads modern without going minimalist. White is timeless; deep navy or forest green make a stronger statement.
3. Herringbone Surround
Classic 2×6 or 3×12 tile in herringbone offers visual texture without competing with the mantel. Works best in transitional rooms blending traditional and modern furnishings.
4. Zellige Hand-Glazed
The Moroccan handmade tile trend that started around 2018 has become a permanent fixture in upscale interiors. Each 4×4 inch tile is slightly different — variations in glaze pooling and edge geometry. Expensive ($14 to $22 per square foot) but transforms a builder-grade fireplace.
5. Soapstone Slabs
Cut to fit the surround and hearth, soapstone is the traditional Vermont workhorse for woodstoves. Develops a soft patina with age. Bonus: it functions as thermal mass, releasing stored heat for hours after the fire dies.
6. Brick-Look Porcelain
For homeowners who want the warmth of brick without the maintenance and dust of real masonry. 2×10 inch brick-look porcelain installs in running bond and reads as authentic from across the room.
7. Geometric Cement Tile (Surround Only)
Patterned cement tiles in 8×8 size make incredible accent surrounds. Keep them at least 8 inches from the firebox opening per most local codes, which is an easy clearance to design around.
8. Slate Slabs With Stacked Edge
Cleft-faced slate cut to expose its natural stratification on the hearth front. Works beautifully in mountain modern and rustic interiors.
9. Vertical Mosaic Strip
A narrow vertical mosaic strip from hearth to ceiling, with painted drywall flanking it. Costs a tenth of full-coverage tile while providing visual focus.
Hearth and Code Clearances
Most US jurisdictions follow IRC requirements for fireplace clearances:
- Hearth extension: 16 inches minimum forward of the firebox opening
- Hearth side extension: 8 inches minimum to each side for fireboxes under 6 sq ft, 12 inches for larger fireboxes
- Combustible mantel clearance: 12 inches above the firebox top, more if the mantel projects forward
- Tile bonded to non-combustible substrate (cement board, masonry) within 6 inches of opening
Local codes vary. Confirm before you order tile — moving a 16-inch hearth extension out to 18 inches because of code adds 4 to 6 square feet of tile.
Substrate Requirements
Drywall is unacceptable within 12 inches of any heat source. Use cement backer board (Durock or HardieBacker, $14 per 3×5 ft sheet) on all tile surfaces, mechanically fastened to studs every 8 inches. For freestanding wood-burning stove installations, an air-gapped non-combustible wall protector adds another layer of safety and lets you reduce stove-to-wall clearances per NFPA 211.
Grout Choices for Heat and Soot
Soot from wood fires deposits on grout, especially light-colored joints, and can be difficult to clean. Smart grout choices:
- Charcoal or warm gray grout — hides soot, works with most tile colors
- Epoxy grout (Mapei Kerapoxy CQ) — non-porous, never needs sealing, wipes clean
- Sanded cement grout with penetrating sealer — cheaper, requires resealing every 2 to 3 years
Cost to Tile a Fireplace
For a typical 30 to 50 square foot surround plus hearth, expect:
- DIY with mid-grade porcelain: $400 to $900 in materials
- Pro install with mid-grade porcelain: $1,500 to $3,200 total
- Pro install with zellige or premium stone: $3,500 to $7,500 total
Mantel Coordination
The single biggest design fail in tiled fireplaces is choosing tile that fights the existing mantel. As a rule, pick one of three approaches: contrast strongly (white tile, dark wood mantel), match exactly (warm beige tile, warm beige limestone mantel), or eliminate the mantel and let the tile run uninterrupted to the ceiling.
Photo Tips for Showing Off the Result
Take photos at golden hour — about 90 minutes before sunset — with the fire lit but room lights off. The flickering firelight against a textured tile surround photographs better than any other interior surface in the home, which is why these images dominate Pinterest and Instagram. A 24mm equivalent lens shot from a kneeling position gives the most flattering proportion.
Prefer to explore on your own?
See how new flooring looks in your actual room in seconds — free, no signup.
Try the free Floor Studio →