If your bathroom tile is dated but you are not ready to gut the room, tile stickers for bathroom surfaces offer a fast, affordable, and renter-friendly makeover. These adhesive decals stick right onto existing tile, instantly transforming a tired backsplash, wall, or floor with fresh color and pattern in an afternoon. They are one of the most popular budget renovation tricks going, but they come with real limits worth understanding before you buy. This complete guide explains how tile stickers work, what they cost, how to apply them for the best results, and how long you can expect them to last.
Part of our Bathroom Remodeling & Flooring guide — explore the full guide →
What Are Tile Stickers
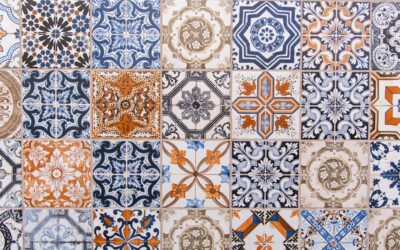
Tile stickers, also called tile decals or transfers, are thin vinyl sheets with adhesive backing, printed with patterns designed to cover a standard tile or grid of tiles. They come in two main forms: individual squares sized to match common tile dimensions, and larger sheets that span multiple tiles with the grout lines printed in. Peel off the backing, press the sticker onto clean tile, and the old surface disappears beneath a new look, from Moroccan geometrics to marble, subway, or bold color blocks.
The great appeal is reversibility and speed. Because they simply adhere to the surface, there is no demolition, no mortar, and no mess, making them ideal for renters, temporary updates, or homeowners testing a new style before committing to real tile.
Benefits of Using Tile Stickers
Decals earn their popularity through a stack of practical advantages that appeal to budget-minded and cautious renovators alike.
- Low cost: A fraction of the price of retiling, often under a hundred dollars for a backsplash.
- Fast application: Most projects finish in a single afternoon with no drying or curing time.
- No demolition: Existing tile stays in place, avoiding dust, debris, and disposal.
- Renter-friendly: Many peel off cleanly, restoring the original surface when you move.
- Huge design range: Countless patterns and colors let you try bold looks with low risk.
For a quick refresh that costs little and commits to nothing, few solutions match the sheer convenience of quality tile decals.
Limitations to Understand
Stickers are a cosmetic overlay, not a true tile, and they behave accordingly. In a wet, humid bathroom they face their toughest test, so honest expectations prevent disappointment. They perform best on walls and backsplashes that stay relatively dry, and they are far less reliable inside a shower or tub surround where constant water and steam attack the adhesive edges. On floors they can work in low-traffic spots but wear faster and may peel where feet and moisture concentrate.
Heat, standing water, and rough scrubbing all shorten their life. They also need a smooth, flat surface to adhere well; heavily textured, glossy, or dimensional tile makes for a weak bond and visible lifting. Knowing these boundaries helps you place stickers where they will actually succeed.
Where to Use Them in the Bathroom
Placement is everything with decals. The smartest applications keep them away from direct, constant water while still refreshing the room’s look.
- Backsplash behind the sink: The ideal low-moisture zone for a decorative update.
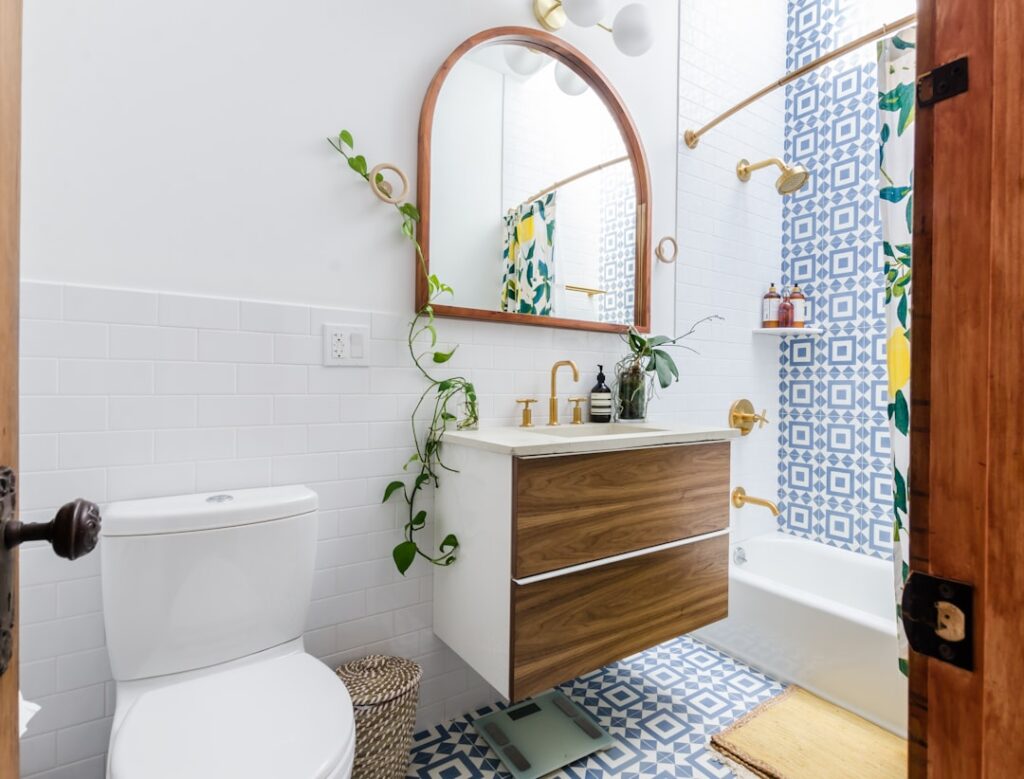
- Wall tile outside the shower: Great for large expanses that stay mostly dry.
- Vanity and mirror surrounds: Small accent areas that add pattern without water risk.
- Low-traffic floor sections: Possible with floor-rated stickers, though wear is faster.
Avoid the inside of showers and tub surrounds, where the combination of heat, water, and steam will loosen edges over time no matter how carefully you apply them.
How to Apply Tile Stickers
Preparation is the difference between decals that last and ones that peel within weeks. Take your time with these steps for a clean, durable result.
- Clean each tile thoroughly with a degreasing cleaner, then wipe with rubbing alcohol to remove all residue.
- Let the surface dry completely; any moisture or soap film weakens the bond.
- Measure and dry-fit stickers first to plan alignment before peeling any backing.
- Peel slowly and press from the center outward, smoothing out air bubbles with a squeegee or credit card.
- Seal the edges, and if the product allows, apply a clear sealant for extra moisture protection.
Working methodically and starting with impeccably clean tile gives the adhesive its best chance to grip. Rushing the prep is the single most common reason stickers fail early.
Cost and Value
Tile stickers are among the cheapest ways to update a bathroom. Individual decals typically run one to three dollars each, and full backsplash kits often land between thirty and eighty dollars depending on size and design quality. Even a generous wall project rarely exceeds a hundred and fifty dollars, compared to hundreds or thousands for genuine retiling. That value proposition is unbeatable for temporary updates, rental refreshes, or simply testing a look. Just weigh the modest cost against a shorter lifespan than real tile, and budget to replace them every few years in damp conditions.
How Long Do They Last
Longevity varies widely with placement and quality. In a dry, well-ventilated spot like a backsplash, good stickers can look great for three to five years or more. In humid areas or on floors, expect one to three years before edges lift or colors fade. High-quality, thicker vinyl decals outlast cheap thin ones considerably, so it pays to buy from reputable makers. Good ventilation, gentle cleaning with a soft cloth rather than abrasive scrubbing, and keeping the surface as dry as possible all extend their working life.
Choosing Quality Tile Stickers
Not all decals are created equal, and the quality of what you buy has a huge effect on both appearance and longevity. Cheap, thin stickers tend to show every imperfection in the tile beneath, wrinkle during application, and peel quickly in humidity. Investing a little more in thicker, better-made products pays off with a more convincing look and a longer working life, especially in a moisture-prone bathroom.
When shopping, look for a few key indicators of quality. Thicker vinyl resists bubbling and hides the grout lines and texture of the tile below more effectively. A laminated or sealed top layer adds water resistance and makes the surface easier to wipe clean. Products specifically labeled for bathroom or wet-area use are formulated to better withstand humidity than generic decorative decals. Reading reviews and checking whether a maker offers a water-resistant finish helps you avoid disappointment.
Keep these factors in mind as you compare options:
- Choose thicker vinyl for better durability and a smoother appearance.
- Look for a laminated or sealable top surface for moisture protection.
- Prefer products rated for bathrooms or humid environments.
- Confirm the sticker size matches your tile for clean, aligned coverage.
- Check whether the adhesive is designed to remove cleanly if you rent.
Matching the sticker size to your existing tile is especially important, since mismatched dimensions leave awkward gaps or overlaps that betray the illusion. Taking time to select a well-made product suited to your specific tile and conditions is the surest way to get results you will be happy with for years rather than weeks.
Are Tile Stickers Right for You
Choosing tile stickers for bathroom updates makes excellent sense when you want a fast, inexpensive, and reversible refresh, especially as a renter or someone testing a new style. Set your expectations honestly: keep them out of the shower, apply them to impeccably clean and smooth surfaces, and treat them as a several-year cosmetic solution rather than a permanent one. Placed thoughtfully and installed with care, they deliver a surprising amount of style for very little money and effort. For a low-commitment bathroom transformation, few options are as quick, affordable, or satisfying.
Prefer to explore on your own?
See how new flooring looks in your actual room in seconds — free, no signup.
Try the free Floor Studio →