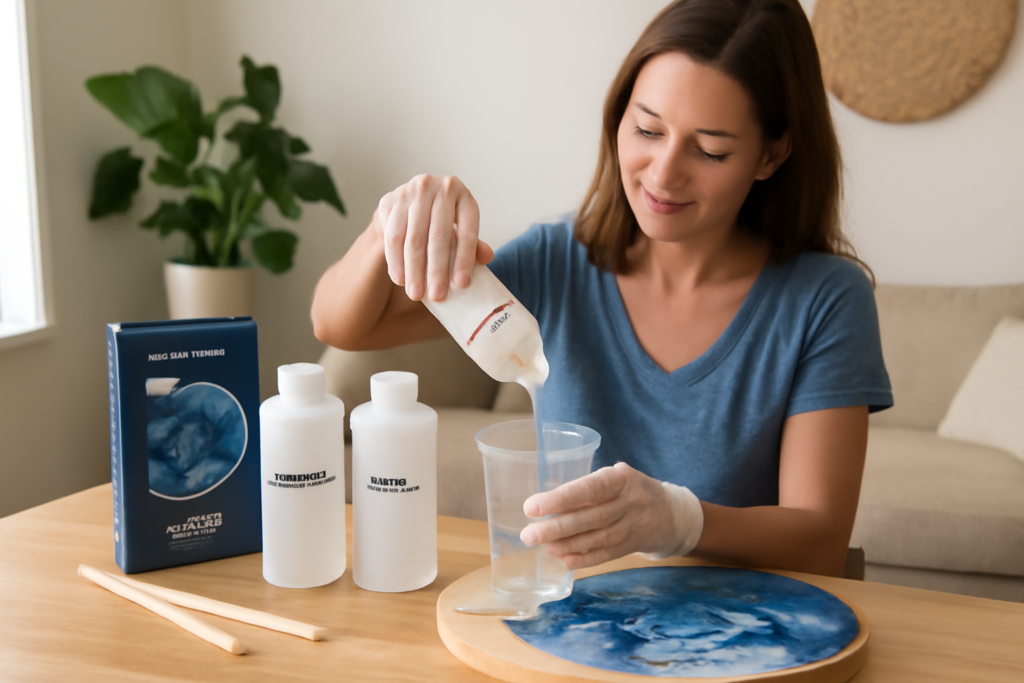
Resin art and glossy tabletop pours have exploded in popularity, and one of the names crafters reach for is a marine-roots brand known for clear, reliable epoxy. The TotalBoat artist epoxy resin kit is a two-part art resin system designed to cure crystal clear, self-leveling, and high-gloss, making it a popular choice for resin paintings, coasters, jewelry, geode art, and small tabletop coatings. TotalBoat is a real, well-regarded brand in the epoxy and marine coatings space. This guide explains how an artist epoxy kit works, how to mix and pour it well, and, most importantly, how to use it safely.
What an Artist Epoxy Resin Kit Is
An artist epoxy resin kit is a two-component system: a resin (Part A) and a hardener (Part B). When combined in the manufacturer’s specified ratio, a chemical reaction cures the mixture from a liquid into a hard, clear, glassy solid. Art resins like this are formulated to be clear, UV-resistant to slow yellowing, and self-leveling, meaning they flow out to a smooth surface on their own. They are designed for decorative and coating applications rather than thick deep-pour castings, which use a different, slower-curing formula.
Common Projects
- Resin art and pour paintings: Mixing pigments and dyes into the resin for abstract, flowing designs.
- Coasters and trays: Casting in silicone molds with color, glitter, or embedded objects.
- Tabletop and bar-top coatings: A glossy protective layer over wood, photos, or artwork.
- Jewelry and small decor: Pendants, keychains, and ornaments in molds.
- Geode and petri art: Layered, cell-forming designs using alcohol inks and pigments.
How to Mix and Pour Correctly
Epoxy is unforgiving of measuring errors, so follow the manufacturer’s instructions precisely.
- Read the manufacturer’s directions. Confirm the exact mix ratio and working time for your specific kit before starting.
- Measure accurately. Use graduated mixing cups and measure resin and hardener at the ratio TotalBoat specifies. Do not eyeball it.
- Mix thoroughly. Stir slowly and completely for the full recommended time, scraping the sides and bottom of the cup so no unmixed resin remains.
- Add color last. Blend in pigments, dyes, or mica after the resin and hardener are fully combined.
- Pour and spread. Pour onto your prepared, level surface and let it self-level, spreading with a spreader if coating a larger area.
- Pop bubbles. Pass a heat source briefly over the surface to release trapped air, following the kit’s guidance.
- Cover and cure. Protect from dust and let it cure undisturbed for the full time the manufacturer states.
Safety First
Epoxy resin involves chemicals that can irritate skin, eyes, and lungs, so safety is not optional. Follow these precautions every time.
- Ventilation: Work in a well-ventilated area, and use a respirator rated for organic vapors if ventilation is limited or you are working with larger quantities.
- Gloves: Wear nitrile gloves to keep uncured resin off your skin, which can cause irritation or sensitization over time.
- Eye protection: Wear safety glasses to guard against splashes.
- Skin and clothing: Cover exposed skin and protect surfaces; uncured resin is sticky and hard to remove.
- Follow the label: Adhere to the manufacturer’s mix ratios, cure times, and handling instructions exactly. Keep the safety data sheet accessible.
- Keep away from children, pets, and food: Do not use kitchen utensils, and store components sealed and out of reach.
Tips for a Flawless Finish
A few habits separate a clear, glassy pour from a cloudy, bubbly one. Work in a warm room, since epoxy flows and cures better at moderate temperatures; cold resin is thick and traps bubbles. Warm the resin bottles in warm water before mixing if the formula allows, which thins the resin and reduces bubbles. Mix slowly to avoid whipping in air, and tape the underside edges of panels to catch drips. After pouring, cover the piece with a box to keep dust off while it cures. Patience during the full cure is essential; touching or moving the piece too early ruins the surface.
Common Mistakes to Avoid
- Wrong mix ratio: The most common failure. Off-ratio resin may stay tacky or never fully cure.
- Under-mixing: Leaves soft, sticky spots. Always scrape the sides and bottom.
- Pouring too thick: Art resin is for coats and thin pours, not deep castings. Use a deep-pour formula for thick volumes.
- Working in cold or humid conditions: Leads to bubbles, cloudiness, and slow cure.
- Skipping safety gear: Repeated skin contact can cause sensitization that makes future epoxy use impossible.
Coloring and Effects
Much of the appeal of art resin is the range of effects you can create. Liquid pigments, mica powders, and alcohol inks each behave differently in the resin. Mica powders give a shimmering, metallic look and disperse evenly with stirring. Alcohol inks create dramatic cells and feathered patterns, especially when combined with a touch of white resin and a heat pass. Opaque pigment pastes produce solid, saturated colors, while transparent dyes keep the glassy clarity. Add color in small amounts and build up gradually, since a little goes a long way, and avoid adding too much colorant relative to resin, which can interfere with the cure. Always blend color in only after the resin and hardener are fully mixed.
Tools and Workspace Setup
A little preparation makes resin work far less stressful. Cover your work surface with a plastic sheet or wax paper, because cured drips are hard to remove. Work on a level surface so the self-leveling resin sets evenly. Keep graduated mixing cups, stir sticks, gloves, and a heat source within reach before you mix, since the clock starts ticking once the two parts combine. Have a covering ready to keep dust off the curing piece. Work in a warm, draft-free room, and protect the floor beneath your project. Disposable cups and sticks make cleanup easier, since uncured resin is difficult to wipe off reusable tools.
Curing and Aftercare
Most artist epoxies are dry to the touch within a day and reach full hardness over several days, but always defer to the kit’s stated cure schedule. Once fully cured, the surface is hard, glossy, and water-resistant. Clean finished pieces with mild soap and water and avoid abrasive cleaners that can dull the gloss. Keep finished art out of prolonged direct sun to slow any long-term yellowing, even with UV-resistant formulas.
Final Thoughts
The TotalBoat artist epoxy resin kit gives crafters and DIYers a clear, glossy, self-leveling resin from a trusted brand, well suited to art pours, coasters, and tabletop coatings. Success comes down to precise measuring, thorough mixing, working in warm and clean conditions, and respecting the cure time. Above all, treat safety as part of the process: gloves, eye protection, and good ventilation every single time. Follow those steps and you will get the kind of flawless, glassy results that make resin art so satisfying.