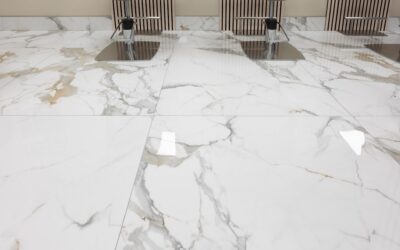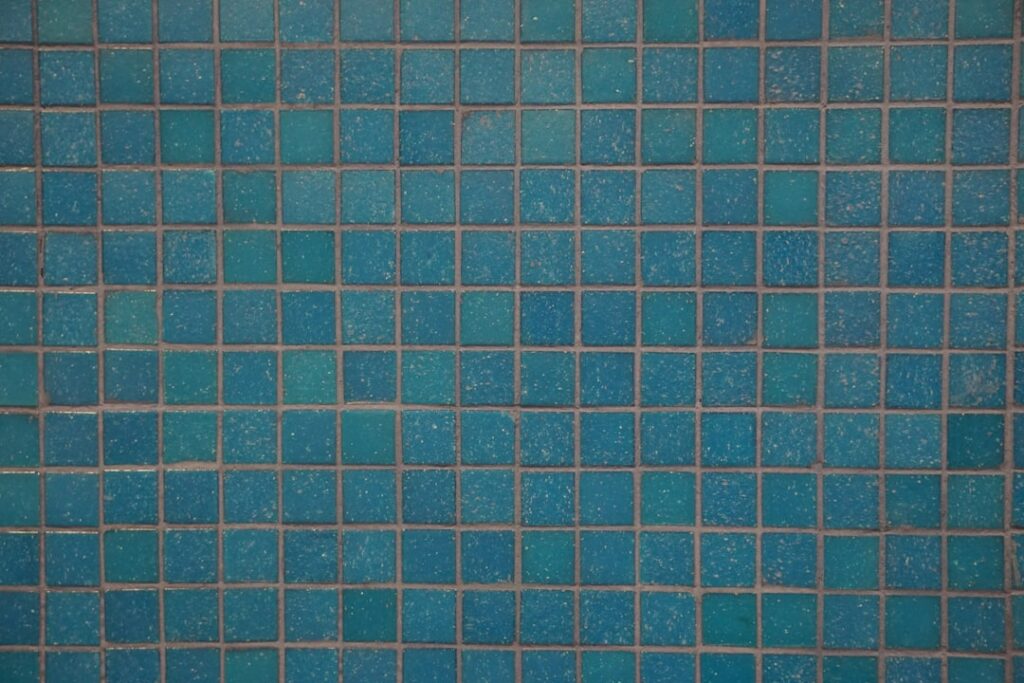
The tub and tile area is the hardest-working surface in any bathroom, taking on water, soap, heat, and humidity day after day. When it looks clean and stays watertight, the whole room feels fresh. When grout darkens, caulk peels, or the tub surface dulls, the entire bathroom looks tired no matter how nice everything else is.
Part of our Tile & Grout guide — explore the full guide →
The good news is that keeping a tub and tile surround in great shape is mostly about routine care plus a handful of repairs most homeowners can do themselves. This guide covers cleaning, sealing, repairs, and when refinishing makes more sense than replacement.
Understanding the Tub and Tile System
A tub surround is really a system working together: the tub itself, the tile field, the grout between tiles, the caulk at the joints, and the waterproofing behind the wall. Each part has a job, and a failure in one quickly affects the others. Cracked caulk lets water reach the wall cavity. Crumbling grout lets moisture behind the tile. A chipped tub can rust if it is steel or stain if it is acrylic.
Thinking of it as a connected system helps you catch small problems before they become expensive water damage.
Everyday Cleaning That Works
Consistent light cleaning beats occasional heavy scrubbing. The biggest enemies are soap scum, hard-water mineral deposits, and mildew that thrives in the constant moisture.
- Use a pH-neutral or stone-safe cleaner on natural stone tile to avoid etching
- For ceramic and porcelain, a mild bathroom cleaner cuts soap scum without harming grout
- A soft brush reaches grout lines and corners where mildew hides
- Squeegee glass and wipe the tub after showers to slow scum and mineral buildup
- Run the exhaust fan during and after showers to reduce humidity and mold
Never mix cleaning chemicals, especially bleach and ammonia products, since the combination releases toxic fumes. Ventilate the room whenever you use strong cleaners.
Caring for Grout
Grout is porous and absorbs water, soap, and grime, which is why it darkens and harbors mildew. Sealing cement grout once a year helps it resist stains and moisture. When grout is just dirty, a baking soda paste and a stiff brush usually restore it. When it is cracked, crumbling, or missing, it needs to be removed and replaced rather than just cleaned.
Regrouting involves scraping out the failed grout with a grout saw or oscillating tool, cleaning the joints, and pressing in fresh grout. It is labor-intensive but very doable, and it dramatically improves both the look and the water resistance of a tired surround.
The Critical Role of Caulk
The joint where the tub meets the tile is the single most important seal in the bathroom, and it is sealed with caulk, not grout, because that joint flexes as the tub fills and empties. When caulk cracks, peels, or grows mold, water sneaks behind the tub and into the wall.
- Cut out and remove all the old caulk with a plastic scraper or caulk tool.
- Clean the joint thoroughly and let it dry completely, since mold loves leftover moisture.
- Apply a continuous bead of mildew-resistant silicone caulk made for kitchens and baths.
- Smooth the bead with a wet finger or tool for a clean, watertight seal.
- Let it cure fully, often 24 hours, before exposing it to water.
Refreshing the caulk every few years is cheap insurance against costly hidden water damage.
Repairing Chips and Surface Damage
Small chips in a tub or cracks in a tile can be repaired without replacing anything. Tub and tile repair kits let you fill chips, color-match the surface, and restore a smooth finish. The key is a clean, dry surface and patience while each layer cures.
For a single cracked tile, you can sometimes remove and replace just that tile if you have a matching spare, though matching older tile is often the hard part. Address chips promptly, especially on steel tubs, since exposed metal rusts and the damage spreads.
Refinishing Versus Replacing
When a tub is structurally sound but stained, dated, or dull, refinishing is often the smarter, cheaper path than a full tear-out. A professional reglazing applies a fresh, bonded coating that can make an old tub and tile surround look new for a fraction of replacement cost and with far less demolition.
Replacement makes sense when there is rot behind the walls, persistent leaks, or you want to completely change the layout. If you suspect water has gotten behind the tile or you see soft spots, bring in a licensed contractor to assess the wall before you invest in cosmetic fixes that only cover a deeper problem.
Preventing Mold and Mildew
Mold and mildew are the most persistent enemies of any tub and tile surround because the space stays warm and damp, exactly the conditions they love. The smartest strategy is to attack the moisture itself rather than just scrubbing the spots after they appear.
- Run the exhaust fan during showers and for 20 to 30 minutes afterward
- Squeegee the walls and wipe the tub to remove standing water
- Spread out wet washcloths and loofahs so they dry instead of harboring growth
- Keep grout sealed and caulk intact so moisture cannot hide behind surfaces
- Leave the shower curtain or door open to promote airflow and drying
If you already have mildew in the grout or caulk, a dedicated mildew remover or a baking soda paste with a brush usually lifts surface growth. When black staining keeps returning through caulk despite cleaning, the mold is growing underneath and the caulk should be removed and replaced entirely. Persistent mold beyond the surface, or a musty smell you cannot find the source of, can signal moisture behind the wall, which is worth having a professional inspect before it becomes structural.
Keeping It Looking New
A little routine goes a long way. Wipe down surfaces, run the fan, reseal grout yearly, and refresh caulk before it fails. Catching small issues early keeps the bathroom watertight and attractive while avoiding the major repairs that come from neglected moisture. With steady care, your tub and tile will stay clean, sealed, and inviting for many years.
Prefer to explore on your own?
See how new flooring looks in your actual room in seconds — free, no signup.
Try the free Floor Studio →