A tile tub surround is the waterproof, tiled wall area that wraps the three sides of a standard alcove bathtub. Done right, it turns an ordinary bathtub into a clean, low-maintenance feature that lasts for decades. Done poorly, it becomes a source of hidden leaks, soft drywall, and mold. This guide walks you through the materials, layout decisions, waterproofing, realistic costs, and the installation sequence so you can plan the project with confidence, whether you hire a pro or tackle it yourself.
Part of our Tile & Grout guide — explore the full guide →
Why Tile Beats Prefab Surrounds
Prefabricated acrylic or fiberglass surrounds install fast and cost less up front, but they show their age. Seams yellow, caulk lines fail, and you cannot patch a cracked panel without replacing the whole unit. Tile, by contrast, is repairable one piece at a time, resists heat and abrasion, and offers nearly unlimited design freedom in color, size, and pattern.
The trade-off is labor. A tile surround demands proper substrate preparation, waterproofing, and patient setting and grouting. That extra effort is exactly why a well-built tiled wall can outlast two or three prefab units, and why it tends to add more resale value to a bathroom.
Choosing the Right Tile
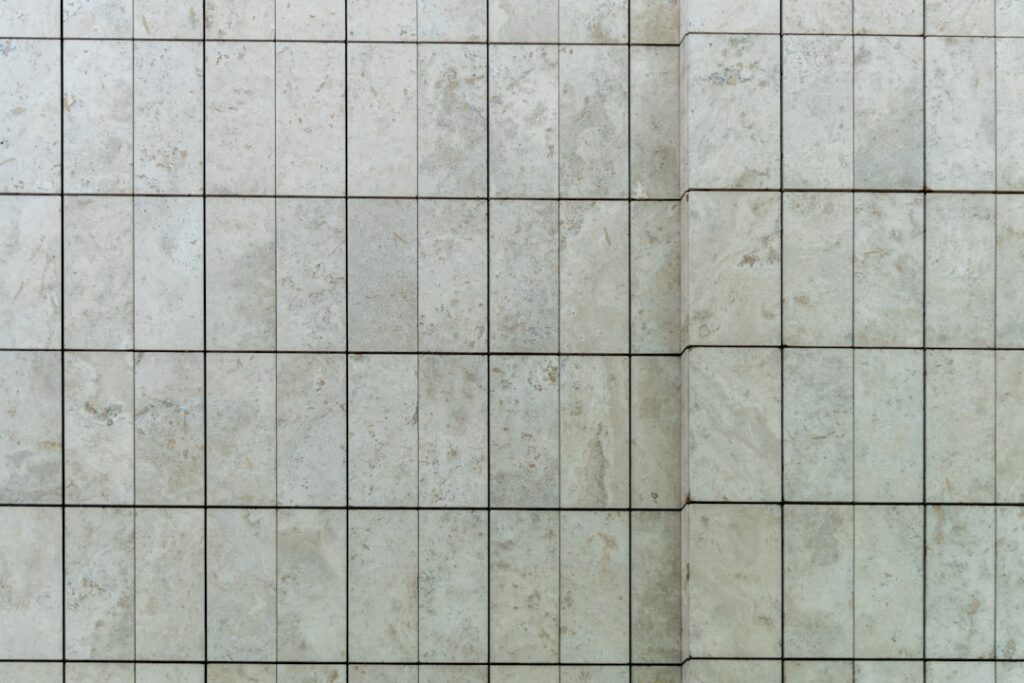
Porcelain and ceramic are the workhorses of any tub surround. Porcelain is denser and absorbs less water, which makes it the safer pick for wet zones. Glazed ceramic performs well too and usually costs a little less. Natural stone such as marble or travertine looks stunning but is porous, requires sealing, and reacts badly to acidic cleaners, so reserve it for homeowners willing to maintain it.
- Subway tile (3×6 in): classic, budget-friendly, but means more grout lines to clean.
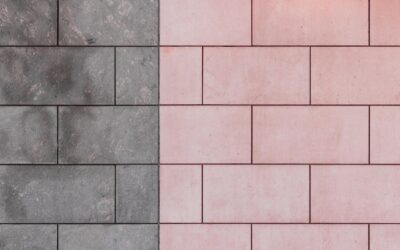
- Large-format tile (12×24 in): fewer grout joints, a modern look, but needs a very flat wall.
- Mosaic sheets: great for accent bands or curved areas, though grout-heavy.
- Porcelain slab panels: premium, almost seamless, and best left to experienced installers.
For a typical alcove tub measuring 60 inches long, plan on covering roughly 60 to 90 square feet of wall depending on how high you tile. Many homeowners run tile to about 6 feet or all the way to the ceiling for a finished look.
Substrate and Waterproofing
This is the part that separates a surround that lasts from one that fails. Never tile directly over standard drywall in the wet zone. Greenboard, despite its reputation, is not waterproof either. The reliable options are cement backer board (such as 1/2-inch fiber-cement panels) or a foam tile backer board, paired with a waterproofing layer.
You generally have two waterproofing strategies. The first is a fabric or sheet membrane bonded over backer board with thinset. The second is a liquid waterproofing membrane rolled or troweled on in two coats. Either way, treat the inside corners and the joint where the tub meets the wall with reinforcing tape or band, because those transitions flex and crack first. Always follow the membrane manufacturer’s instructions for coverage and cure time; skipping a coat or rushing the cure is how water finds its way behind the tile.
Planning Your Layout
Before mixing any mortar, dry-lay your design and snap level lines. Bathtubs are rarely perfectly level, so do not use the tub rim as your reference line. Instead, measure up from the lowest point and establish a true level baseline. Starting from a level line keeps your courses straight all the way up.
Center your layout so you avoid thin, awkward sliver tiles at the edges and corners. On the back wall, find the center and work outward; on the end walls, plan the cuts to land at the outside corners where they are least noticeable. Think ahead about where the tub spout, faucet handles, and shower valve penetrate the tile, and try to keep those cuts clean and symmetrical.
Step-by-Step Installation Overview
- Remove the old surround, inspect framing for rot, and replace any damaged studs or blocking.
- Protect the tub with cardboard or a drop cloth taped in place.
- Install cement backer board, leaving a 1/4-inch gap above the tub flange, and tape the seams.
- Apply the waterproofing membrane per the manufacturer’s directions, including corners and the tub-to-wall joint.
- Snap your level layout lines and dry-fit the field tile.
- Spread thinset with the correct notched trowel, set tiles, and use spacers for consistent joints.
- Let the thinset cure fully (usually 24 hours) before grouting.
- Grout the joints, then wipe and shape the lines; once cured, apply a flexible silicone caulk at the tub-to-tile joint and inside corners.
- Seal grout (and any natural stone) after the recommended waiting period.
One detail worth repeating: the joint between the tub and the first row of tile should be caulked with silicone, not grouted. That joint moves as the tub fills and empties, and rigid grout will crack there every time.
What a Tile Tub Surround Costs
Costs vary widely with tile choice and labor rates, so treat these as planning estimates. Budget ceramic tile can run roughly $2 to $7 per square foot for materials, while porcelain and stone climb to $8 to $25 or more. Backer board, membrane, thinset, grout, and caulk together typically add a few hundred dollars in supplies.
- DIY materials only: often $400 to $1,200 for a standard alcove tub.
- Professional installation: commonly $1,500 to $4,500 installed, depending on tile and region.
- High-end stone or slab: can exceed $5,000 installed.
If your existing framing, plumbing, or subfloor needs repair, expect those fixes to add to the total. Getting two or three local quotes is the best way to set realistic expectations for your area.
Maintenance That Keeps It Looking New
Once your tile tub surround is finished, upkeep is simple but consistent. Wipe the walls after showers to discourage soap scum, and run a bathroom fan to pull moisture out of the room. Clean with a pH-neutral cleaner; harsh acids can erode grout and etch natural stone.
Inspect the caulk line at the tub joint once or twice a year. When it starts to peel, discolor, or pull away, cut it out and recaulk promptly, because that small line is your last defense against water reaching the framing. Reseal grout annually if you used a penetrating sealer, and address any cracked or loose tile quickly before water migrates behind it. With routine care, a quality tiled surround will look sharp and stay watertight for 20 years or more.
When to Call a Professional
Plenty of confident DIYers complete a tub surround successfully, but a few situations call for a pro. If you uncover rotted framing, plan to relocate plumbing, or want a seamless large-format or slab installation, an experienced tile setter will save you grief. The same goes for waterproofing if you are unsure about membrane systems, since a hidden leak can cost far more to repair than the tile job itself. When in doubt, invest in expertise where it protects the structure behind your walls.
Prefer to explore on your own?
See how new flooring looks in your actual room in seconds — free, no signup.
Try the free Floor Studio →