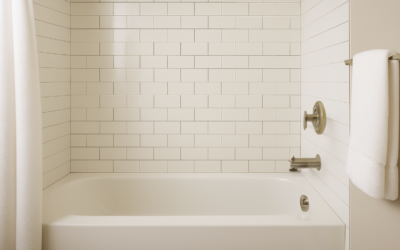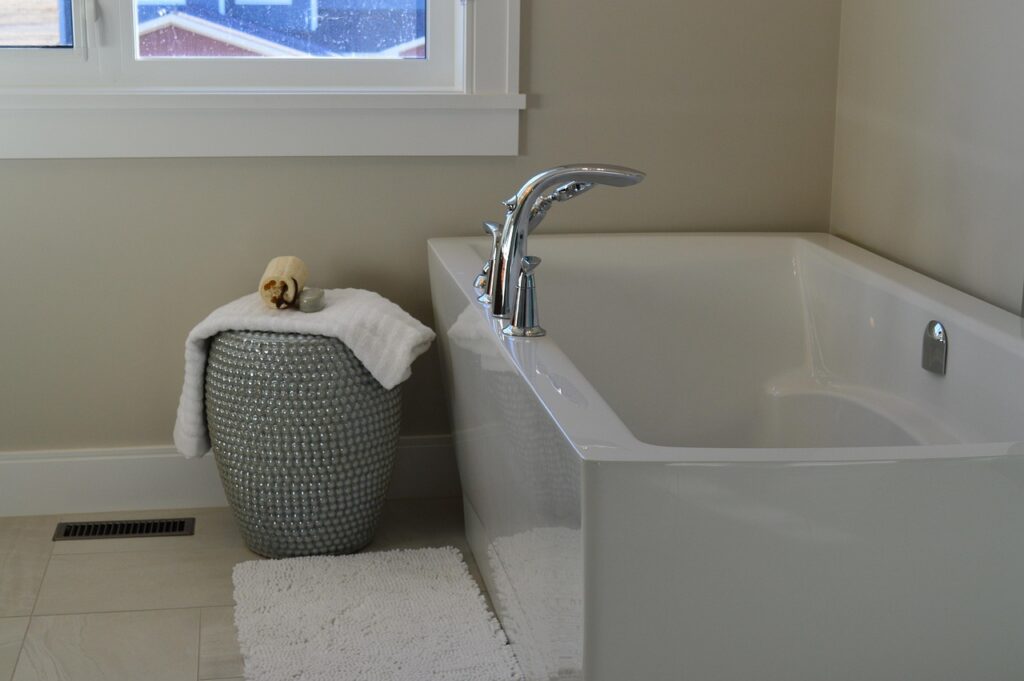
Tile is the most popular and most durable material for bathtub surrounds. A well-tiled tub surround protects the walls behind it from water damage, resists mold and mildew, and transforms a basic bathroom into a space that looks custom designed. But choosing the right tile, size, pattern, and waterproofing method for a bathtub surround involves different considerations than choosing floor tile or backsplash tile.
Part of our Bathroom Remodeling & Flooring guide — explore the full guide →
This guide covers the best tile materials for tub surrounds, recommended sizes, waterproofing requirements, design patterns, installation height, and maintenance tips to keep your bathtub tiles looking great for decades.
Tile Materials for Bathtub Surrounds
Porcelain Tile
Porcelain is the gold standard for bathtub surrounds. It is denser than standard ceramic, absorbs less than 0.5 percent water (classified as impervious), and is highly resistant to staining, scratching, and chemical damage. Porcelain tile comes in an enormous range of sizes, colors, textures, and finishes, including options that convincingly replicate natural stone, marble, and wood grain.
For tub surrounds, porcelain’s low water absorption is its most important quality. It will not degrade or stain from constant moisture exposure. Glazed porcelain is the easiest to clean and maintain. Polished porcelain looks stunning but can be slippery when wet, so it is best reserved for walls rather than tub decks or shower floors.
Price range: $2 to $15 per square foot, with most mid-range options falling between $4 and $8 per square foot.
Ceramic Tile
Ceramic tile is made from the same basic materials as porcelain (clay fired in a kiln) but is fired at a lower temperature, resulting in a softer, more porous body. Standard ceramic absorbs 3 to 7 percent water, which is higher than porcelain but still acceptable for wall applications in a tub surround when properly waterproofed behind the tile.
Ceramic is less expensive than porcelain and easier to cut, making it a popular choice for DIY tub surround projects. The glaze on the surface is waterproof even though the body is not, so as long as the grout and waterproofing membrane behind the tile are properly maintained, ceramic performs well in tub surrounds.
Price range: $1 to $10 per square foot, with budget options available under $2.
Glass Tile
Glass tile adds a luminous, reflective quality that no other material can match. Light bounces off and through glass tiles, creating visual depth that makes bathrooms feel larger and brighter. Glass tiles come in a dazzling range of colors, from subtle earth tones to vibrant jewel tones.
Glass is completely waterproof (zero water absorption) and does not harbor mold or bacteria. However, glass tile is more difficult to install than ceramic or porcelain. It requires a white thin-set adhesive (gray shows through translucent glass), careful handling to avoid chipping, and precise cutting with a wet saw equipped with a glass-cutting blade.
Glass tile is also more expensive and shows every water spot and soap film. Maintenance requires more frequent cleaning to keep it looking pristine. Many homeowners use glass tile as an accent band or feature wall rather than covering the entire surround to manage costs and maintenance.
Price range: $5 to $30 per square foot.
Natural Stone Tile
Marble, travertine, slate, and granite tiles bring natural beauty and a luxurious feel to bathtub surrounds. Each stone tile is unique, with natural veining and color variations that create a one-of-a-kind look.
However, natural stone requires more care than porcelain or ceramic. Most natural stones are porous and must be sealed regularly to prevent water absorption and staining. Marble is particularly susceptible to etching from acidic products like certain shampoos and body washes. Travertine has a naturally pitted surface that can harbor mold if not properly filled and sealed.
If you choose natural stone for your tub surround, commit to regular sealing (every 6 to 12 months) and use pH-neutral cleaning products. Avoid acidic cleaners entirely.
Price range: $5 to $50 per square foot, depending on the stone type and quality.
Tile Sizes for Tub Surrounds
The size of tile you choose affects both the look and the practicality of your tub surround.
Subway Tiles (3×6, 4×8, 4×12 Inches)
Subway tile remains the most popular choice for tub surrounds, and for good reason. The rectangular shape is versatile, the proportions are visually pleasing, and the pattern works with virtually every bathroom style from vintage to modern. The classic 3×6-inch size is timeless, while larger subway formats (4×8, 4×12, or even 4×16) offer a more contemporary look with fewer grout lines.
Large-Format Tiles (12×24, 24×24 Inches and Larger)
Large-format tiles create a sleek, modern look with minimal grout lines. Fewer grout lines means less maintenance and a cleaner visual appearance. Large tiles can make a small bathroom feel more spacious by reducing the visual clutter of many grout lines.
The challenge with large-format tiles in tub surrounds is installation. Large tiles are heavy, require perfectly flat and plumb walls, and need specialized thin-set (large and heavy tile mortar) to prevent sagging on vertical surfaces. This is typically not a beginner DIY project.
Mosaic Tiles (1×1, 2×2 Inches, or Irregular Shapes)
Mosaic tiles come on mesh-backed sheets, making them easier to install than individual small tiles. They are excellent for accent bands, niche interiors, and curved surfaces where larger tiles cannot conform. Mosaics add visual interest and can create intricate patterns and color blends.
The downside of mosaics is the amount of grout. More grout lines mean more maintenance, more potential for mold, and more cleaning. Using mosaic tiles as accents rather than for the entire surround gives you the visual impact without the full maintenance burden.
Waterproofing Requirements
This is the most critical and most often overlooked aspect of a bathtub tile surround. Tile and grout are not waterproof. Without proper waterproofing behind the tile, water penetrates through the grout, soaks into the wall substrate, and causes mold growth, rot, structural damage, and eventual tile failure.
Waterproofing Methods
Liquid Waterproofing Membranes
Products like RedGard (Custom Building Products), Hydroban (Laticrete), and AquaDefense (Mapei) are painted or rolled directly onto the wall substrate (cement board or fiber cement board). They dry to form a continuous, flexible waterproof membrane. Two coats are recommended, with the second coat applied perpendicular to the first for complete coverage.
Liquid membranes are popular because they are easy to apply, affordable, and bond directly to cement board. They also seal seams, screw holes, and joints without additional taping in most cases.
Sheet Membranes
Products like Schluter KERDI and Noble Company NobleSeal are polyethylene sheet membranes that are adhered to the wall with thin-set mortar. Sheet membranes provide a guaranteed uniform thickness and are the preferred method for many professional tile installers.
Sheet membranes are more expensive than liquid membranes and require careful installation to ensure all seams are properly overlapped and sealed with the manufacturer’s preformed corners and seam tape.
Foam Panel Systems
Products like Schluter KERDI-BOARD and Wedi Building Board are waterproof foam panels that replace cement board entirely. They serve as both the wall substrate and the waterproofing in a single product. Tile is installed directly onto the foam panel with thin-set.
These systems are lightweight, easy to cut, and provide integrated waterproofing. They are increasingly popular for shower and tub surround projects, especially in remodels where minimizing wall thickness is important.
What Goes Behind the Tile
Never install tub surround tile directly on drywall or green board (moisture-resistant drywall). Green board resists moisture better than standard drywall, but it is not waterproof and will eventually fail in a tub surround. The correct substrate is cement board (Durock, Hardiebacker) or a waterproof foam panel. The waterproofing membrane goes on top of the substrate, and the tile goes on top of the membrane.
Patterns and Design Ideas
Classic Subway (Running Bond)
Subway tiles installed in a running bond (brick) pattern with each row offset by half a tile. This is the default and most versatile pattern. It works with every bathroom style and never looks dated.
Stacked Bond
Subway tiles aligned in a straight grid with no offset. This creates a clean, modern, geometric look. Stacked bond requires very precise installation because any misalignment is immediately visible.
Herringbone
Rectangular tiles arranged in a V-shaped zigzag pattern. Herringbone adds movement and visual interest to a tub surround. It works beautifully as a feature wall (the back wall of the tub) with simpler patterns on the side walls.
Large-Format with Mosaic Accent Band
A popular design combines large-format tiles for the main surround area with a horizontal band of mosaic tile at eye level or along the top edge. This breaks up the expanse of large tiles and adds a decorative element without overwhelming the space.
Vertical Stack
Running subway tiles vertically instead of horizontally creates a tall, elongated look that draws the eye upward and makes the ceiling feel higher. This is a simple design change that has a significant visual impact in bathrooms with standard 8-foot ceilings.
Installation Height
How high should bathtub surround tile go? There are several common approaches:
- Standard height (6 feet from the tub rim) – Tile reaches approximately 6 feet from the floor, which covers the area that gets wet during showering. This is the minimum recommended height for a tub with a shower.
- To the ceiling – Tiling all the way to the ceiling creates a seamless, finished look and provides complete water protection. This is the current design trend and is recommended for bathrooms with standard ceiling heights. It eliminates the awkward paint-to-tile transition line.
- 48 inches from the tub rim – If the tub is used only for bathing (no shower), tile to 48 inches above the tub rim is sufficient to protect against splashing.
For tub-shower combinations, tiling to the ceiling is the best practice. It looks more finished, provides better water protection, and avoids the need to paint the wall above the tile, which can be tricky in a humid environment.
Maintenance
Keeping bathtub tiles in good condition requires regular but simple maintenance:
- Squeegee after each use – Running a squeegee over the tile walls after every shower takes 30 seconds and dramatically reduces soap scum, water spots, and mold growth.
- Ventilate – Run the bathroom exhaust fan during and for at least 20 minutes after every shower or bath. Moisture is the primary enemy of grout and the wall behind the tile.
- Clean weekly – Spray the tile and grout with a pH-neutral bathroom cleaner and wipe down with a soft cloth or sponge. Avoid acidic cleaners on natural stone or cement grout.
- Seal grout annually – Cement-based grout should be sealed every 6 to 12 months in a tub surround to prevent water penetration and staining.
- Inspect caulk – Check the caulk at the tub-to-tile joint, corners, and any changes in plane every few months. Cracked, peeling, or moldy caulk should be removed and replaced immediately. This joint is a critical waterproofing point.
Final Thoughts
Bathtub tile is one of the most impactful upgrades you can make in a bathroom. Porcelain and ceramic tile are the most practical choices for most homeowners, offering durability, water resistance, and endless design options. Glass and natural stone add luxury but require more maintenance and careful installation. Regardless of the tile you choose, proper waterproofing behind the tile is non-negotiable and determines whether your tub surround lasts 5 years or 50.
For more on selecting and installing tile, explore our tile flooring guide.
Prefer to explore on your own?
See how new flooring looks in your actual room in seconds — free, no signup.
Try the free Floor Studio →