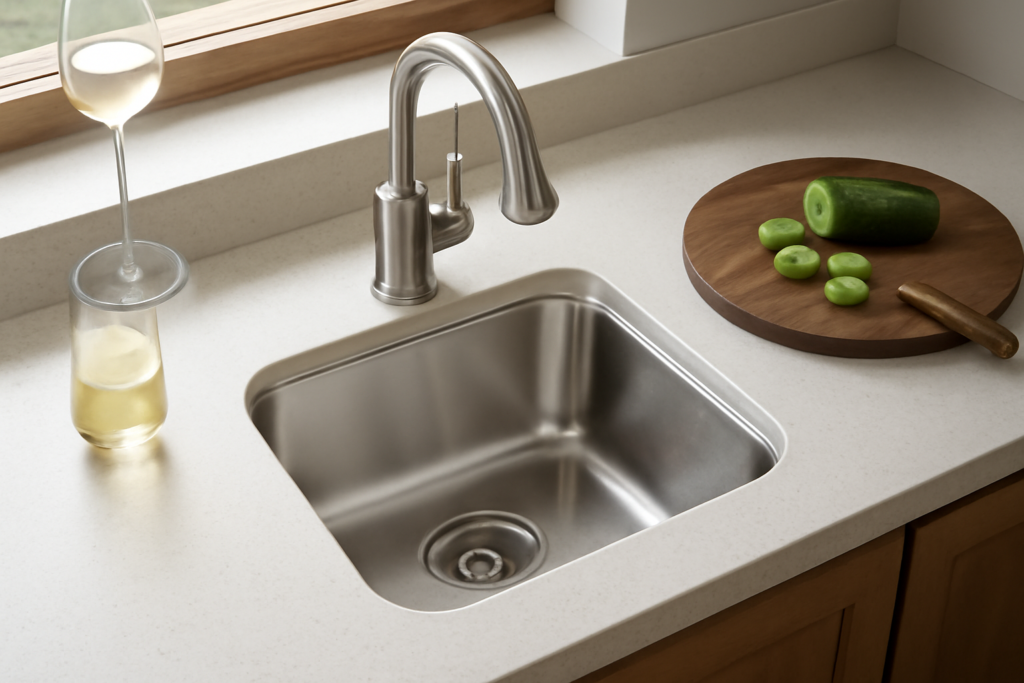
A second sink is one of the most useful upgrades in a busy kitchen, but it only earns its place if it is sized and positioned for how you actually work. An undermount bar sink mounts beneath the countertop so the edge of the stone or solid surface wraps cleanly over the bowl, which makes it easy to sweep crumbs, rinse produce and wipe spills straight in. Most bar and prep models are between 12 and 20 inches wide, small enough to tuck into an island, wet bar or coffee station without stealing much counter space.
Getting the details right means choosing a bowl size that fits your tasks, placing the drain where the plumbing can reach it, and pairing a faucet that matches the bowl depth. The rest of the decisions, such as finish and shape, come down to style.
What an Undermount Bar Sink Does Best
An undermount bar sink is a compact secondary basin, usually a single bowl, that attaches to the underside of a solid countertop with clips or adhesive. Because there is no rim sitting on top of the counter, the transition from countertop to sink is flush, which looks cleaner and is easier to keep clean than a drop-in model.
Typical uses include:
- Prep sink on an island: rinse vegetables, drain pasta water or thaw food while someone else uses the main sink.
- Wet bar: fill ice buckets, rinse glassware and mix drinks in a basement, den or entertaining area.
- Coffee or beverage station: dump grounds, rinse carafes and fill kettles near the machine.
- Butler’s pantry: stage serving dishes and rinse flatware away from the main cooking zone.
- Outdoor kitchen: with suitable outdoor-rated materials and winterizing, a small undermount bowl handles grilling prep.
Undermount mounting needs a solid surface countertop such as quartz, granite, marble, solid surface or concrete. Standard laminate countertops usually cannot support an undermount sink because the exposed particleboard edge around the cutout absorbs water.
Common Sizes and Bowl Depths
Bar and prep sinks come in a narrow range of footprints. Measure your cabinet interior and think about the largest item you will wash before choosing.
| Size (outer) | Best for | Minimum base cabinet |
|---|---|---|
| 12 x 12 to 15 x 15 inches | Wet bars, coffee stations, glass rinsing | 15 to 18 inches |
| 16 x 16 to 18 x 18 inches | General prep, small pots, colanders | 18 to 21 inches |
| 18 x 20 to 22 x 18 inches | Serious island prep, sheet pans on edge | 21 to 24 inches |
| Rectangular 10 to 12 x 18 to 24 inches | Trough or narrow prep along an island | Varies by length |
Bowl depth for small sinks usually ranges from about 5 to 9 inches. Shallow bowls, around 5 to 6 inches, suit wet bars and look sleek, but they splash more. For a prep sink, 7 to 9 inches gives room for a colander and keeps water in the bowl. A small undermount bar sink that is too deep can also be hard to reach into across a wide island, so balance depth with reach.
Corner Radius and Shape
Tight-radius corners (nearly square) maximize usable space and give a modern look. Larger radius corners are easier to clean. Round bar sinks fit narrow counters and look traditional, but they hold less than a square bowl of the same width.
Choosing a Material and Finish
A stainless undermount bar sink is the most common choice because it is affordable, durable and works with nearly any countertop and faucet. Look for 16 or 18 gauge steel (lower numbers are thicker) and sound-deadening pads or spray coating on the underside. Brushed or satin finishes hide scratches better than polished.
- Stainless steel: budget friendly and easy to replace, though it shows water spots.
- Black undermount bar sink options: usually made from granite composite, fireclay or coated stainless. These hide water spots and look striking against light stone, but some coated finishes can scratch if you drag heavy cookware across them.
- Granite composite: dense, quiet and resistant to chips, available in black, gray and white tones.
- Fireclay: glossy and classic, but heavier and needs strong support.
- Copper and hammered metals: popular for wet bars, with a living finish that patinas over time.
As a rough guide, basic stainless bar sinks often fall in the $100 to $300 range, while composite, fireclay and specialty metal models commonly run $250 to $700 or more. Fabricator cutout and polishing fees for an undermount opening typically add a few hundred dollars if they are not included in the countertop quote.
Placement, Drain Location and Plumbing Prep
Where you put the sink matters as much as which sink you buy. A prep sink works best between the refrigerator and the cooktop, so you can wash, chop and cook in a short line. A wet bar sink should sit near where drinks are served, with glass storage close by.
Drain Placement
Most small undermount sinks have a centered drain. A rear-offset drain pushes the plumbing toward the back of the cabinet, which frees space underneath and keeps the drain out from under dishes. In an island, the drain line has to run through the floor to reach the main waste line, and the vent must be handled with an island loop vent or an air admittance valve where local code allows. That is the most complex part of adding an island sink, so talk with a plumber before committing to a location.
Supply Lines and Cabinet Space
Plan room for hot and cold supply stops, the P-trap and any accessories, such as a small instant hot water dispenser or a filtration unit. If you want a garbage disposer, check that the bowl and drain size support it; many bar sinks have a 2-inch drain that will not accept a standard disposer without a larger opening. Leave space for a pull-out trash or bin if this sink will handle food scraps.
Pairing a Faucet With a Small Sink
The faucet makes or breaks a bar sink. A spout that is too tall or too long sprays water over the edge of a shallow bowl.
- Spout reach: aim for the stream to land near the center of the drain or slightly in front of it.
- Spout height: 8 to 12 inches is usually enough for a small bowl. Taller spouts suit deeper prep sinks where you fill pots.
- Pull-down sprayer: useful for prep sinks; less necessary at a wet bar.
- Single handle: easy to operate with one hand while holding glassware or produce.
- Mounting: undermount sinks have no faucet holes, so the faucet goes through the countertop. Tell your fabricator the hole count and location before they drill.
Match finishes with the main kitchen faucet or use a coordinating accent finish at the bar for contrast.
Installation Steps Overview
Undermount sinks are usually installed when the countertop goes in, either by the fabricator or the installer. If you are planning a project, here is how it typically flows:
- Choose the sink before templating so the fabricator can use the manufacturer’s cutout template.
- Confirm the base cabinet interior fits the sink’s outer dimensions plus clip space.
- The fabricator cuts and polishes the opening, often with a small reveal (the countertop edge set slightly back from the bowl edge) or a flush or negative reveal, based on your preference.
- The sink is set from below with silicone along the rim and secured with mounting clips anchored into the stone, or supported with a sink bracket or cradle for heavier materials.
- Silicone is allowed to cure, typically 24 hours, before the sink is loaded with water.
- The faucet, drain, P-trap and supply lines are connected, then the system is checked for leaks under full flow.
For heavier fireclay or composite sinks, extra support under the bowl keeps the clips from carrying the full weight once the sink is filled with water and dishes.
Troubleshooting Common Problems
- Sink pulling away from the countertop: silicone or clips have failed. Support the sink from below, clean out old sealant, reseal and re-clip.
- Leaks under the cabinet: check the drain flange putty or gasket, the P-trap slip nuts and the supply connections in that order.
- Slow drain: small bar sink drains clog with coffee grounds and citrus pulp. Use a basket strainer and clean the trap periodically.
- Splashing: the faucet reach or height is too aggressive for the bowl. An aerator with lower flow or a shorter spout can help.
- Grime along the seam: wipe the reveal edge often and reseal the joint if the silicone darkens or peels.
When to Call a Pro
Hire a licensed plumber when adding a sink where there was none, especially in an island, since the drain, vent and supply lines often run through the floor and require a permit. A countertop fabricator should handle the cutout and mounting for stone surfaces. Replacing an existing small undermount sink is a moderate DIY project only if you are comfortable working from inside a cabinet and supporting the sink while sealant cures.
Frequently Asked Questions
What size is a typical undermount bar sink?
Most are 12 to 18 inches wide and 12 to 18 inches front to back, with bowls 5 to 9 inches deep. Prep sinks lean toward the larger end, while wet bar sinks are often closer to 15 inches square.
Can I install an undermount bar sink in a laminate countertop?
Usually not. Standard laminate has an exposed core around the cutout that swells with moisture. Some specialty laminate systems allow undermounting, but solid stone or solid surface counters are the normal choice.
Do bar sinks need a vent?
Yes. Every sink drain needs venting under plumbing code. Island sinks often use a loop vent or an air admittance valve where allowed, which is why a plumber should plan the layout.
Can a small bar sink have a garbage disposal?
Some can. Many bar sinks have a 2-inch drain that will not accept a standard disposer. If you want one, choose a sink with a standard 3.5-inch drain opening.
Is a stainless or black bar sink easier to maintain?
Black composite sinks hide water spots well, while stainless hides scratches better with a brushed finish. Both clean easily with mild soap and a soft cloth.