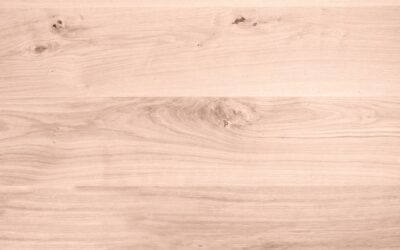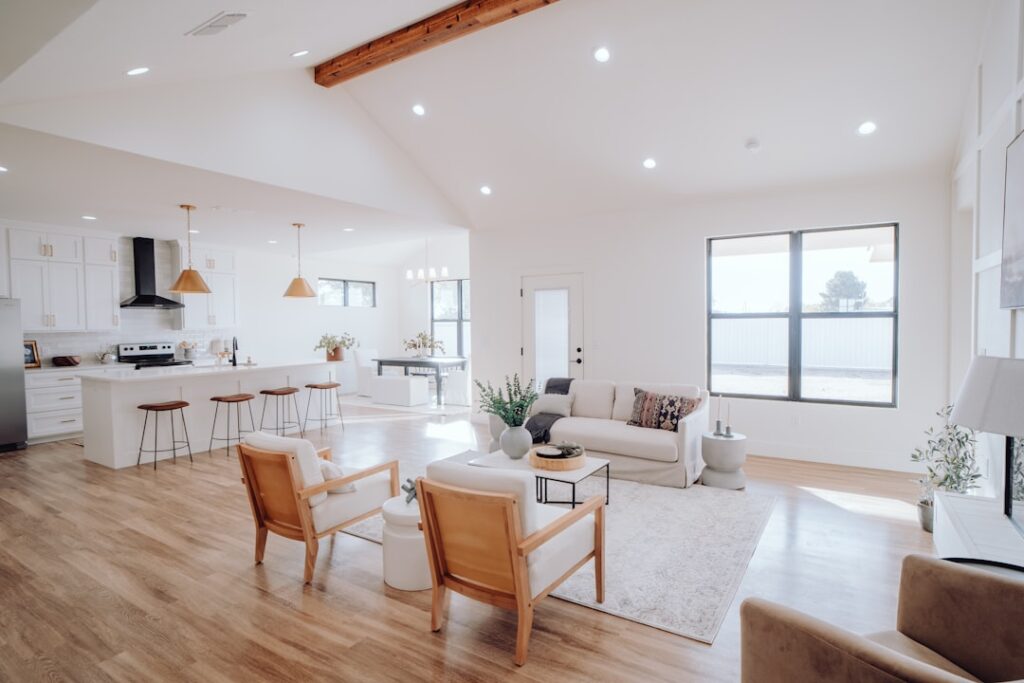
Walk into most flooring showrooms and nearly every engineered board on display arrives sealed at the factory, ready to click together and walk on the same afternoon. That makes unfinished engineered hardwood flooring a genuine surprise to many homeowners, because it flips the process on its head: you install raw wood, then sand and finish it in place. The payoff is a floor that looks and behaves almost exactly like solid site-finished hardwood, with the dimensional stability of a plywood core. It is not the fastest option, and it is rarely the cheapest, but for the right project it is hard to beat.
This guide walks through what unfinished engineered actually is, where it shines, where it frustrates, and how to shop for it without overpaying.
What “Unfinished Engineered” Actually Means
Engineered flooring is built in layers. A real wood wear layer, usually between 2mm and 6mm thick, sits on top of a cross-laminated plywood or HDF core. Those crossed grain directions fight the seasonal swelling and shrinking that plagues solid planks, which is why engineered products handle basements, concrete slabs, and radiant heat far better.
“Unfinished” simply means the top wood layer arrives bare. No urethane, no aluminum oxide, no stain. You install it, rent a drum or orbital sander, and apply your own stain and topcoat on site. Because the wear layer on a quality board is 4mm to 6mm thick, there is enough material to sand flat and finish just like a solid floor. Thin 2mm veneers are usually sold prefinished for a reason, so if you want the unfinished route, insist on a thicker wear layer.
The Case For Going Unfinished
The biggest reason people choose this route is a flawless, seamless surface. Prefinished planks have micro-beveled edges that create tiny V-grooves between every board. Site finishing fills and flattens those seams so the floor reads as one continuous plane, which many designers prefer in formal spaces.
- Custom color: You are not locked into a manufacturer’s stain menu. Want a specific gray-brown or a natural matte oil look? You mix and match on site.
- Seamless finish: No beveled edges collecting grit and mop water.
- Match existing wood: If you are extending a floor into a new room, unfinished lets you feather the color to blend old and new.
- Repairability: A whole-floor recoat is straightforward because the finish is uniform edge to edge.
You also get engineered stability in the bargain. A 3/4-inch solid oak plank can cup badly over a slab; an engineered board with a 5mm oak top will not.
The Downsides Worth Knowing
Site finishing is messy, slow, and skilled work. Expect three to five days of sanding, staining, and coating, plus another two to four days of cure time before you move furniture back. During that window your household is displaced from the room, and the whole area needs to stay dust-free.
Fumes are real. Oil-based polyurethane off-gasses strongly for days; even low-VOC water-based finishes need ventilation. If anyone in the home has respiratory sensitivity, plan to be out during application. There is also the risk factor: a bad sanding job leaves swirl marks or dish-outs that a prefinished floor never exposes you to. Hire a pro who has finished engineered specifically, because sanding too aggressively can cut straight through a thin veneer and ruin the board.
Cost: What to Budget
Unfinished engineered material typically runs $4 to $9 per square foot, landing between builder-grade prefinished and premium wide-plank product. The finishing labor is where the real money goes. Professional sand-and-finish runs $3 to $6 per square foot on top of the material, so a 400-square-foot living room can add $1,200 to $2,400 in labor alone.
Compare that to prefinished engineered, which installs for roughly $2 to $4 per square foot in labor with no finishing step. Rough all-in numbers:
- Unfinished engineered, installed and finished: $8 to $16 per square foot
- Prefinished engineered, installed: $6 to $12 per square foot
- DIY finishing: saves the labor but budget $250 to $400 for sander rental, abrasives, stain, and three coats of finish
How to Shop for the Right Board
Wear layer thickness is the single most important spec. Do not buy unfinished engineered with a wear layer under 4mm, and 5mm to 6mm is ideal because it gives you the material to sand now and to refinish once or twice over a 30-year life. Ask the seller for the wear layer in millimeters, not just “thick veneer.”
Check the core next. A Baltic birch or eucalyptus plywood core with 7 to 11 plies is stable and holds fasteners well. Cheaper HDF cores are fine for floating floors but do not accept nails the way plywood does. Board width matters for movement too; wider planks (7 inches and up) look modern but move more, so acclimate them longer.
Species affects finishing. White oak and hickory sand beautifully and take stain evenly. Maple and birch can blotch, so plan a conditioner or a natural finish. Acclimate every box in the installation room for 5 to 10 days, checking that the wood and slab moisture readings are within manufacturer spec before you start.
Installation Basics
Unfinished engineered can be nailed, glued, or in some products floated, though most installers glue or nail it down before finishing so the boards do not shift under the sander. Over a wood subfloor, cleats or staples every 6 to 8 inches work well. Over concrete, a full-spread urethane adhesive is standard, with a moisture barrier if slab readings run high.
After the floor is down and fastened, the sanding sequence typically runs 40-grit, then 60, then 80 or 100 grit, followed by stain and two to three coats of finish. Screen lightly between topcoats. Because you are working over a laminated board, keep the drum sander moving and never gouge; the veneer is forgiving at 5mm but not infinite.
Finish Options That Change the Result
Because you finish on site, the topcoat you choose defines how the floor looks and wears. Oil-based polyurethane ambers over time and gives a warm, traditional glow, but it takes 24 hours between coats and off-gasses hard for several days. Water-based polyurethane dries clear, cures faster (you can often recoat in 2 to 4 hours), and keeps pale species like white oak looking cool and natural. Expect to pay a premium of roughly $10 to $20 per gallon for quality water-based product, and plan on three coats for a floor that takes daily traffic.
Penetrating hardwax oils, such as Rubio Monocoat or Osmo, are the third route. They soak into the wood rather than forming a plastic film, leaving a low-sheen, natural feel that is easy to spot-repair. The trade-off is more frequent maintenance, since a hardwax oil floor benefits from a refresher coat every few years in busy areas. For a mudroom or kitchen, a durable water-based urethane is the safer bet; for a low-traffic study where you want a matte, tactile surface, hardwax oil shines.
Maintenance and Long-Term Value
One underrated benefit of the unfinished route is that you know exactly what finish is on your floor, which makes future recoats and repairs predictable. Sweep or vacuum weekly, clean with a pH-neutral hardwood cleaner, and keep felt pads under furniture legs. With a 5mm to 6mm wear layer, you can screen-and-recoat every 7 to 10 years to refresh the finish, and do a full sand-and-refinish once or twice over the floor’s life. That refinishing capacity is what separates a real-wood engineered floor from a laminate or thin-veneer product that must be torn out when it wears.
Is It Right for Your Project?
Choose unfinished engineered hardwood flooring when you want a custom color, a seamless surface, or a match to existing site-finished wood, and you are installing over a slab or below grade where solid planks would fail. Skip it if you need the room back fast, cannot tolerate finishing fumes and dust, or you are working with a thin-veneer budget product. For most homeowners the sweet spot is a 5mm to 6mm white oak wear layer, glued down over a stable subfloor, finished with a durable water-based polyurethane for a floor that looks bespoke and lasts decades.
Prefer to explore on your own?
See how new flooring looks in your actual room in seconds — free, no signup.
Try the free Floor Studio →